Flutter三方库适配OpenHarmony【secure_application】— 认证流程与 authenticationEvents 流
欢迎加入开源鸿蒙跨平台社区:https://openharmonycrossplatform.csdn.netsecure_application 不强制你用某种认证方式——PIN 码、手势密码、指纹、面容识别,甚至一个简单的"确认"按钮都行。它只提供了一个回调和一套事件流,让你自由接入任何认证方案。这种"不绑定具体实现"的设计非常灵活,但也意味着你需要理解它的工作机制才能正确使用。.overla
前言
欢迎加入开源鸿蒙跨平台社区:https://openharmonycrossplatform.csdn.net
secure_application 不强制你用某种认证方式——PIN 码、手势密码、指纹、面容识别,甚至一个简单的"确认"按钮都行。它只提供了一个 onNeedUnlock 回调和一套 authenticationEvents 事件流,让你自由接入任何认证方案。
这种"不绑定具体实现"的设计非常灵活,但也意味着你需要理解它的工作机制才能正确使用。
一、onNeedUnlock 回调设计
1.1 回调签名
final Future<SecureApplicationAuthenticationStatus?>? Function(
    SecureApplicationController? secureApplicationStateNotifier)? onNeedUnlock;
拆解一下这个复杂的类型签名:
| 部分 | 含义 |
|---|---|
Function(SecureApplicationController?) |
接收 Controller 作为参数 |
Future<...?>? |
返回一个可空的 Future |
SecureApplicationAuthenticationStatus? |
Future 的值是可空的认证状态 |
最外层的 ? |
整个回调本身可以为 null |
1.2 使用方式
SecureApplication(
  onNeedUnlock: (controller) async {
    // 这里执行认证逻辑
    final authenticated = await authenticateUser();
    if (authenticated) {
      controller?.authSuccess(unlock: true);
      return SecureApplicationAuthenticationStatus.SUCCESS;
    } else {
      controller?.authFailed(unlock: true);
      return SecureApplicationAuthenticationStatus.FAILED;
    }
  },
  child: MyApp(),
)
1.3 触发时机
// 在 didChangeAppLifecycleState(resumed) 中触发
if (secureApplicationController.secured &&
    secureApplicationController.value.locked) {
  if (widget.onNeedUnlock != null) {
    var authStatus = await widget.onNeedUnlock!(secureApplicationController);
  }
}
三个条件同时满足才触发:
secured == true:保护已开启locked == true:当前处于锁定状态onNeedUnlock != null:开发者提供了认证回调
二、SecureApplicationAuthenticationStatus 枚举
2.1 定义
enum SecureApplicationAuthenticationStatus {
  SUCCESS,
  FAILED,
  LOGOUT,
  NONE
}
2.2 各状态含义
| 状态 | 含义 | 触发方式 | 典型场景 |
|---|---|---|---|
| SUCCESS | 认证成功 | authSuccess() |
指纹验证通过 |
| FAILED | 认证失败 | authFailed() |
密码输入错误 |
| LOGOUT | 用户登出 | authLogout() |
主动退出登录 |
| NONE | 初始状态 | BehaviorSubject 初始值 | 应用刚启动 |
2.3 状态与行为的关联
| 状态 | authenticated 字段 | 是否解锁 | 事件流发射 |
|---|---|---|---|
| SUCCESS | true | 可选(unlock 参数) | ✅ |
| FAILED | false | 可选(unlock 参数) | ✅ |
| LOGOUT | false | 可选(unlock 参数) | ✅ |
| NONE | 不变 | 不变 | ✅(初始值) |
三、authSuccess / authFailed / authLogout
3.1 authSuccess
void authSuccess({bool unlock = false}) {
  value = value.copyWith(authenticated: true);
  _authenticationEventsController.add(SecureApplicationAuthenticationStatus.SUCCESS);
  if (unlock) this.unlock();
  notifyListeners();
}
三个操作:
- 设置
authenticated = true - 发射 SUCCESS 事件
- 如果
unlock=true,执行解锁(移除遮罩)
3.2 authFailed
void authFailed({bool unlock = false}) {
  value = value.copyWith(authenticated: false);
  _authenticationEventsController.add(SecureApplicationAuthenticationStatus.FAILED);
  if (unlock) this.unlock();
  notifyListeners();
}
3.3 unlock 参数的含义
| unlock | 行为 | 适用场景 |
|---|---|---|
| true | 认证后移除遮罩 | 大多数场景 |
| false | 认证后遮罩保持 | 需要额外确认的场景 |
// 典型用法:认证成功后解锁
controller.authSuccess(unlock: true);

// 特殊用法:认证失败但仍然解锁(让用户看到内容,但记录失败状态)
controller.authFailed(unlock: true);

// 特殊用法:认证成功但不解锁(需要额外步骤)
controller.authSuccess(unlock: false);
💡 为什么 authFailed 也可以 unlock? 有些应用的策略是:认证失败后仍然让用户进入,但清除敏感数据,只显示脱敏信息。这时候需要
authFailed(unlock: true)+ 监听 FAILED 事件清除数据。
四、BehaviorSubject 事件流
4.1 认证事件流
final BehaviorSubject<SecureApplicationAuthenticationStatus>
    _authenticationEventsController =
    BehaviorSubject<SecureApplicationAuthenticationStatus>.seeded(
        SecureApplicationAuthenticationStatus.NONE);

Stream<SecureApplicationAuthenticationStatus> get authenticationEvents =>
    _authenticationEventsController.stream;
4.2 锁定事件流
final BehaviorSubject<bool> _lockEventsController =
    BehaviorSubject<bool>.seeded(false);

Stream<bool> get lockEvents => _lockEventsController.stream;
4.3 BehaviorSubject 的特性
| 特性 | 说明 | 对 secure_application 的意义 |
|---|---|---|
| 有初始值 | seeded() 设置 | 新页面打开时立即知道当前状态 |
| 新订阅者收到最新值 | 订阅即触发 | 不需要等到下次状态变化 |
| 可获取当前值 | .value 属性 | 同步读取当前状态 |
4.4 订阅示例
// 监听认证事件
controller.authenticationEvents.listen((status) {
  switch (status) {
    case SecureApplicationAuthenticationStatus.SUCCESS:
      print('认证成功');
      break;
    case SecureApplicationAuthenticationStatus.FAILED:
      print('认证失败,清除敏感数据');
      clearSensitiveData();
      break;
    case SecureApplicationAuthenticationStatus.LOGOUT:
      print('用户登出');
      navigateToLogin();
      break;
    case SecureApplicationAuthenticationStatus.NONE:
      break;
  }
});

// 监听锁定事件
controller.lockEvents.listen((locked) {
  if (locked) {
    pauseVideoPlayback();
  } else {
    resumeVideoPlayback();
  }
});
五、认证流程与第三方库集成
5.1 与 local_auth 集成
import 'package:local_auth/local_auth.dart';

SecureApplication(
  onNeedUnlock: (controller) async {
    final localAuth = LocalAuthentication();
    final canCheck = await localAuth.canCheckBiometrics;
    if (!canCheck) {
      controller?.authFailed(unlock: true);
      return SecureApplicationAuthenticationStatus.FAILED;
    }
    try {
      final didAuth = await localAuth.authenticate(
        localizedReason: '请验证身份以查看内容',
        options: AuthenticationOptions(
          biometricOnly: false,
          stickyAuth: true,
        ),
      );
      if (didAuth) {
        controller?.authSuccess(unlock: true);
        return SecureApplicationAuthenticationStatus.SUCCESS;
      }
    } catch (e) {
      print('认证异常: $e');
    }
    controller?.authFailed(unlock: true);
    return SecureApplicationAuthenticationStatus.FAILED;
  },
  child: MyApp(),
)
5.2 自定义 PIN 码认证
onNeedUnlock: (controller) async {
  final pin = await showDialog<String>(
    context: navigatorKey.currentState!.overlay!.context,
    barrierDismissible: false,
    builder: (context) => PinCodeDialog(),
  );
  if (pin == correctPin) {
    controller?.authSuccess(unlock: true);
    return SecureApplicationAuthenticationStatus.SUCCESS;
  }
  controller?.authFailed(unlock: true);
  return SecureApplicationAuthenticationStatus.FAILED;
}
5.3 无认证(自动解锁)
onNeedUnlock: (controller) async {
  controller?.authSuccess(unlock: true);
  return SecureApplicationAuthenticationStatus.SUCCESS;
}
最简单的方式:用户切回 App 时自动解锁,不需要任何认证。适用于只需要在应用切换器中隐藏内容的场景。
5.4 OpenHarmony 上的生物识别
在 OpenHarmony 上,生物识别需要使用 User Authentication Kit:
// 需要一个专门的 OpenHarmony 生物识别插件
// 或者通过 MethodChannel 调用原生 API
if (Platform.isOhos) {
  // 使用 OpenHarmony 的 User Authentication Kit
  final result = await ohosAuth.authenticate();
} else {
  // 使用 local_auth
  final result = await localAuth.authenticate(...);
}
📌 当前限制:local_auth 插件尚未适配 OpenHarmony。如果需要在 OpenHarmony 上使用生物识别,需要自己实现一个 MethodChannel 桥接到 User Authentication Kit。
六、认证失败后的响应
6.1 通过回调响应
SecureApplication(
  onAuthenticationFailed: () {
    // 清除缓存
    cache.clear();
    // 记录日志
    analytics.logEvent('auth_failed');
  },
  onAuthenticationSucceed: () {
    analytics.logEvent('auth_success');
  },
  onLogout: () {
    // 清除所有用户数据
    userSession.clear();
    // 跳转到登录页
  },
  child: MyApp(),
)
6.2 通过事件流响应
class _SecurePageState extends State<SecurePage> {
StreamSubscription? _authSub;
void initState() {
super.initState();
final controller = SecureApplicationProvider.of(context, listen: false);
_authSub = controller?.authenticationEvents
.where((s) => s == SecureApplicationAuthenticationStatus.FAILED)
.listen((_) {
setState(() => _showWarning = true);
Navigator.of(context).pushReplacementNamed('/login');
});
}
void dispose() {
_authSub?.cancel();
super.dispose();
}
}
6.3 两种方式的对比
| 方式 | 作用域 | 适用场景 |
|---|---|---|
| 回调(onAuthenticationFailed) | 全局 | 全局性的操作(清缓存、记日志) |
| 事件流(authenticationEvents) | 局部 | 页面级的响应(跳转、UI 变化) |
七、事件流的生命周期管理
7.1 订阅与取消
// 订阅
_authSub = controller.authenticationEvents.listen(handler);

// 取消(在 dispose 中)
_authSub?.cancel();
7.2 不取消的后果
| 后果 | 严重程度 |
|---|---|
| 内存泄漏 | 中 |
| 页面销毁后仍触发回调 | 高(可能导致 setState on disposed widget) |
| 重复订阅 | 中(多次触发同一逻辑) |
7.3 Controller 的 dispose
void dispose() {
_authenticationEventsController.close();
_lockEventsController.close();
super.dispose();
}
Controller dispose 时关闭两个 BehaviorSubject,所有订阅者会收到 done 事件。
总结
本文详细讲解了 secure_application 的认证流程:
- onNeedUnlock:异步回调,接收 Controller,返回认证状态
- 四种认证状态:SUCCESS / FAILED / LOGOUT / NONE
- authSuccess/authFailed:设置状态 + 发射事件 + 可选解锁
- BehaviorSubject:新订阅者立即收到最新值
- 第三方集成:local_auth、自定义 PIN、OpenHarmony User Auth Kit
下一篇我们完整解析示例应用——看看这些 API 在实际代码中是怎么组合使用的。
如果这篇文章对你有帮助,欢迎点赞👍、收藏⭐、关注🔔,你的支持是我持续创作的动力!
相关资源:
- secure_application API 文档
- rxdart BehaviorSubject
- local_auth 插件
- OpenHarmony User Authentication Kit
- Flutter Stream 编程
- secure_application 源码
- Dart async/await
- 开源鸿蒙跨平台社区
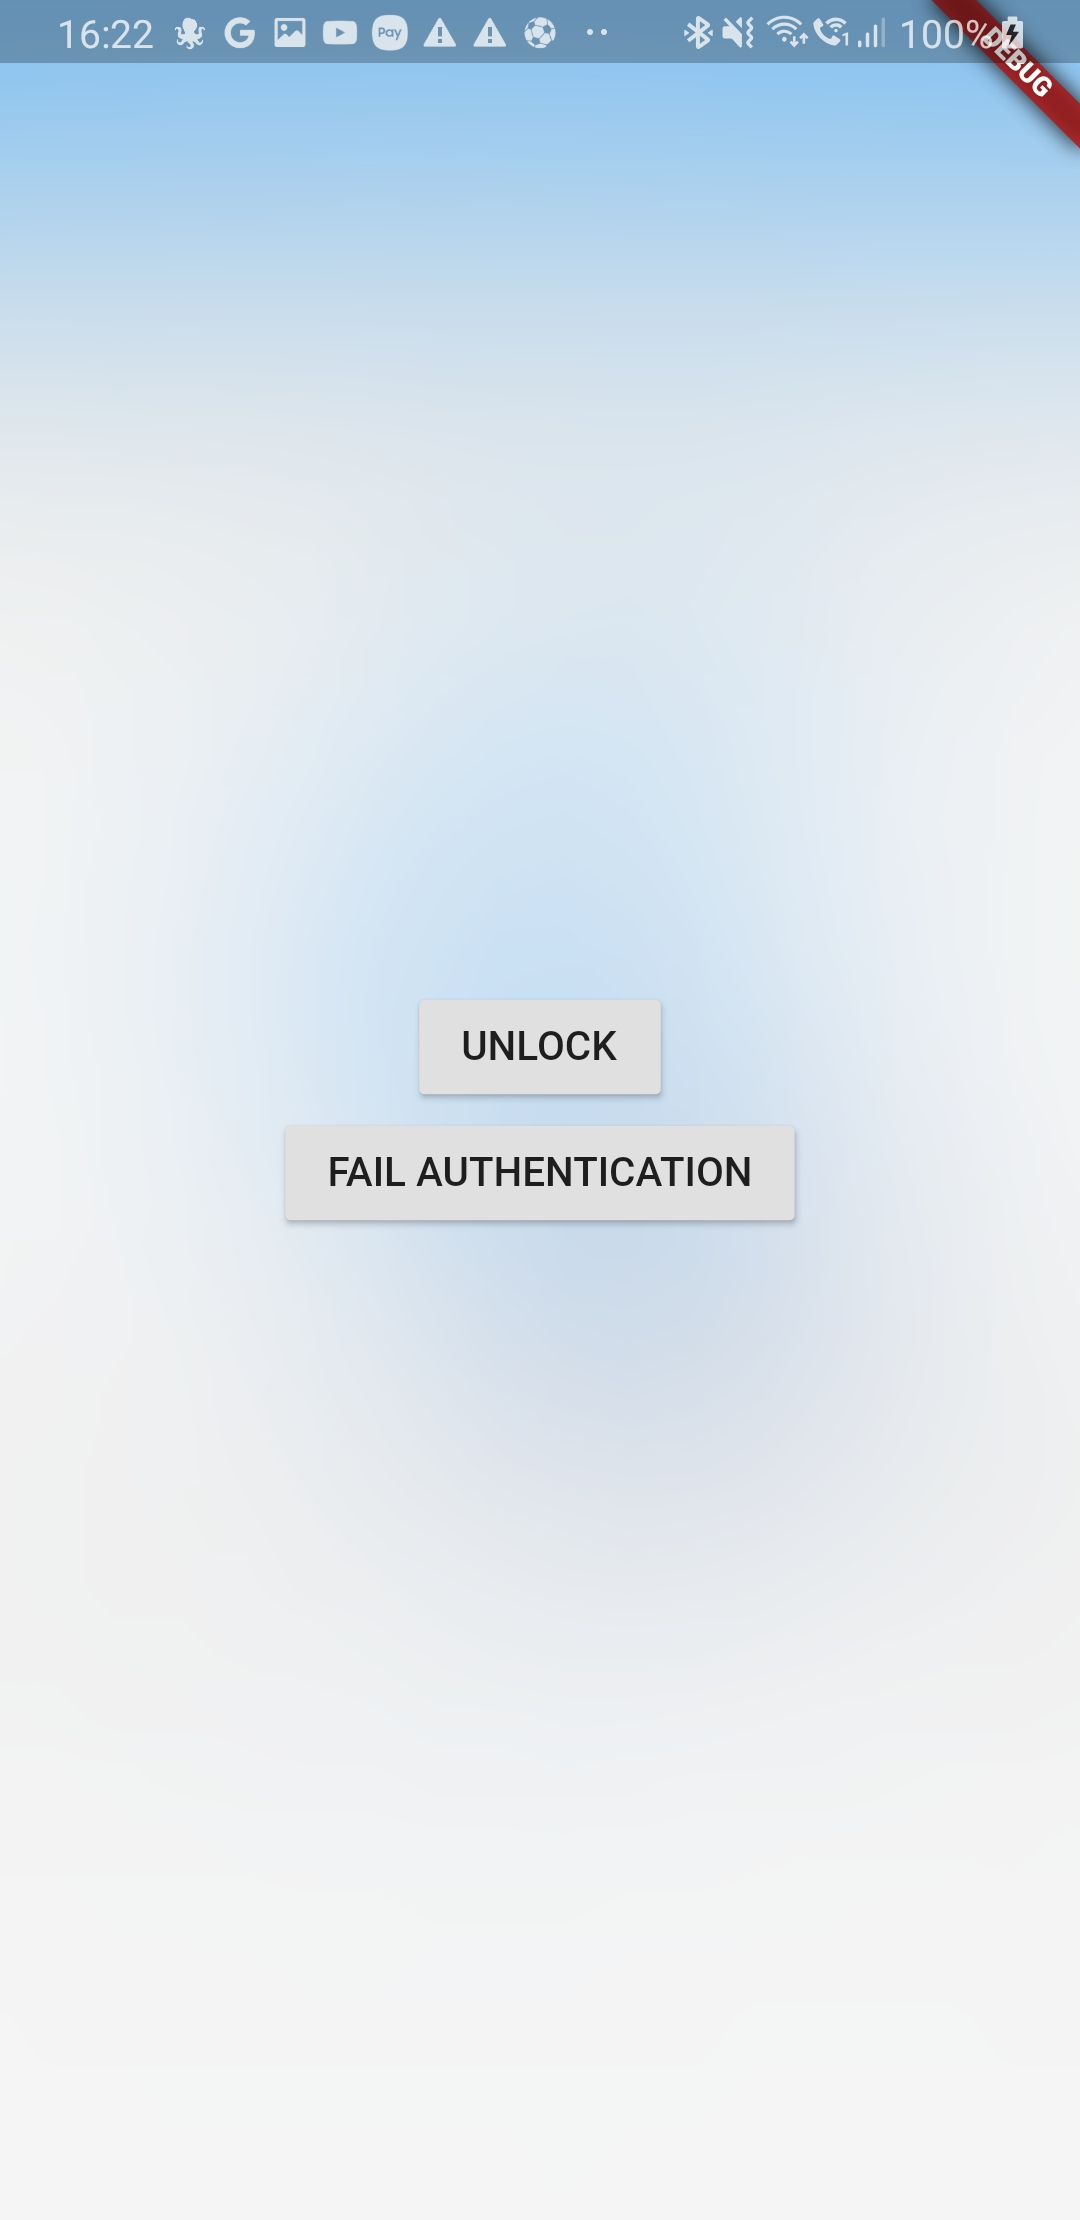
认证界面示例:模糊遮罩上方的解锁按钮

开源鸿蒙跨平台开发社区汇聚开发者与厂商,共建“一次开发,多端部署”的开源生态,致力于降低跨端开发门槛,推动万物智联创新。
更多推荐
 23
23 0
0- 0


 已为社区贡献46条内容

所有评论(0)