WIN11本地编译RustDesk1.4.5客户端并启用硬件编解码
本文详细介绍了RustDesk远程桌面软件的自定义编译和修改流程。主要内容包括:1)环境搭建(安装Git、C++工具链、Rust、vcpkg、Flutter等);2)源码获取和编译(配置硬件编解码、生成桥接代码);3)客户端界面定制(移除地址簿、服务器提示等非必要功能);4)默认设置修改(强制启用UDP打洞、IPv6连接,设置固定密码和暗黑主题等)。通过替换引擎、应用补丁和修改配置文件,实现了去除
1、安装git,我使用的win11自带的winget,在powershell或者cmd执行
winget install Git.Git2、安装 Microsoft C++ 生成工具,安装2022版本,一定要是2022版本,最新版2026无法使用。
下载地址 Visual Studio 旧版下载 - 2019、2017、2015 ,在下载页面选择生成工具下载。
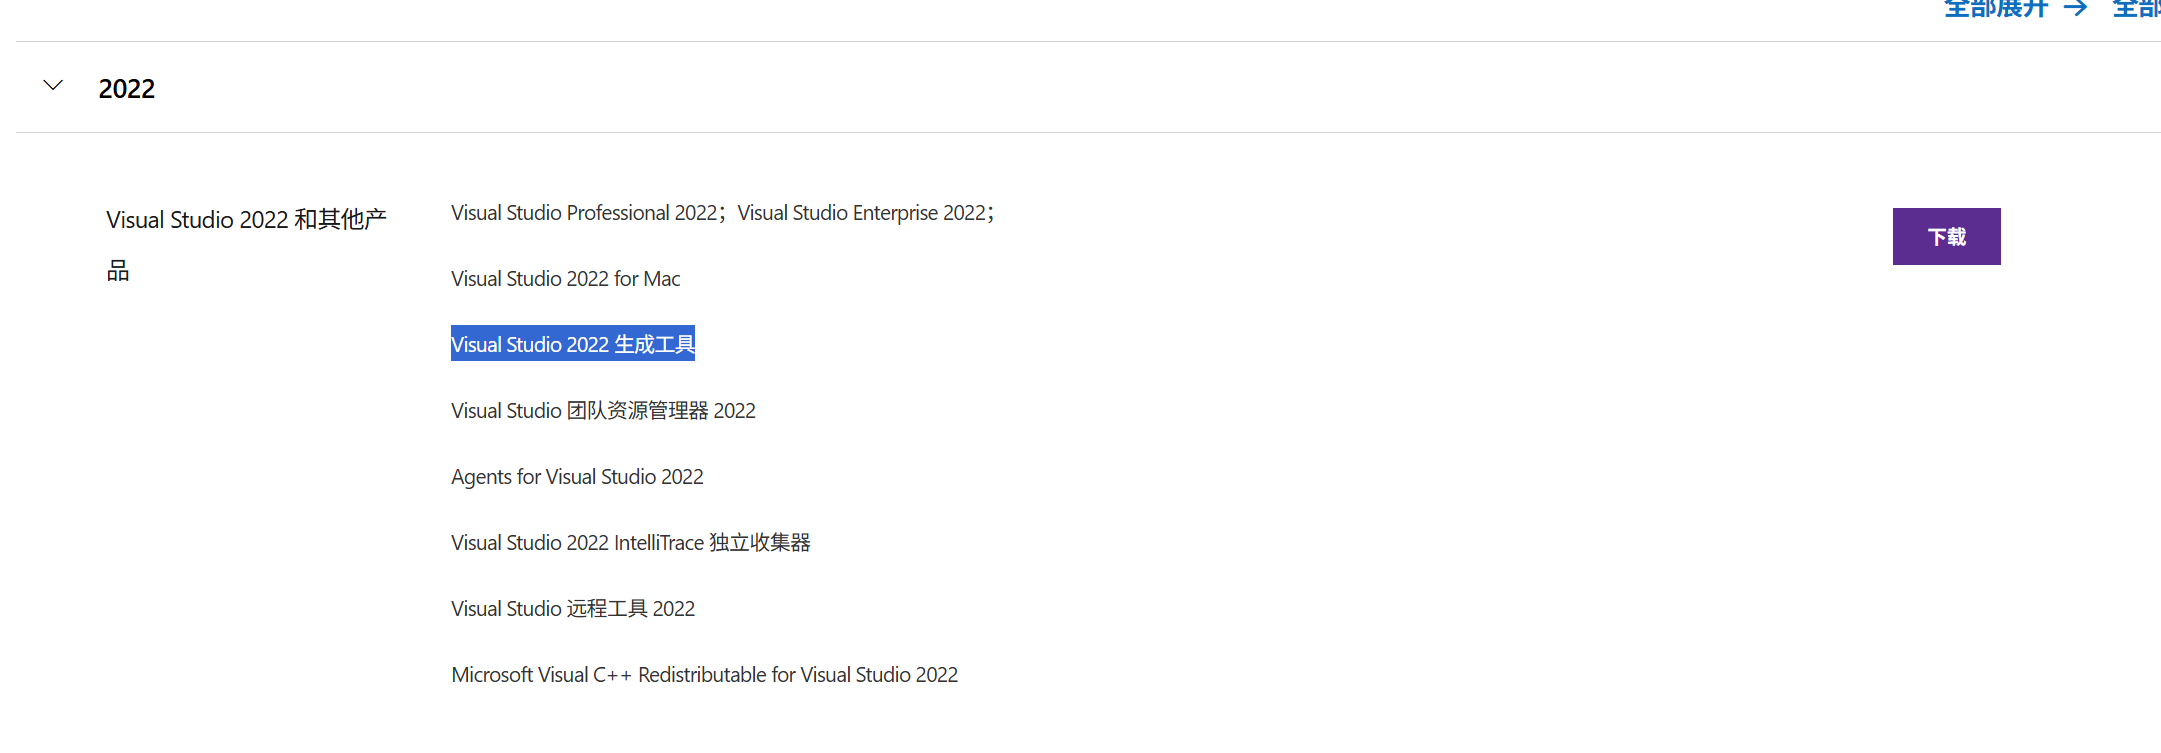
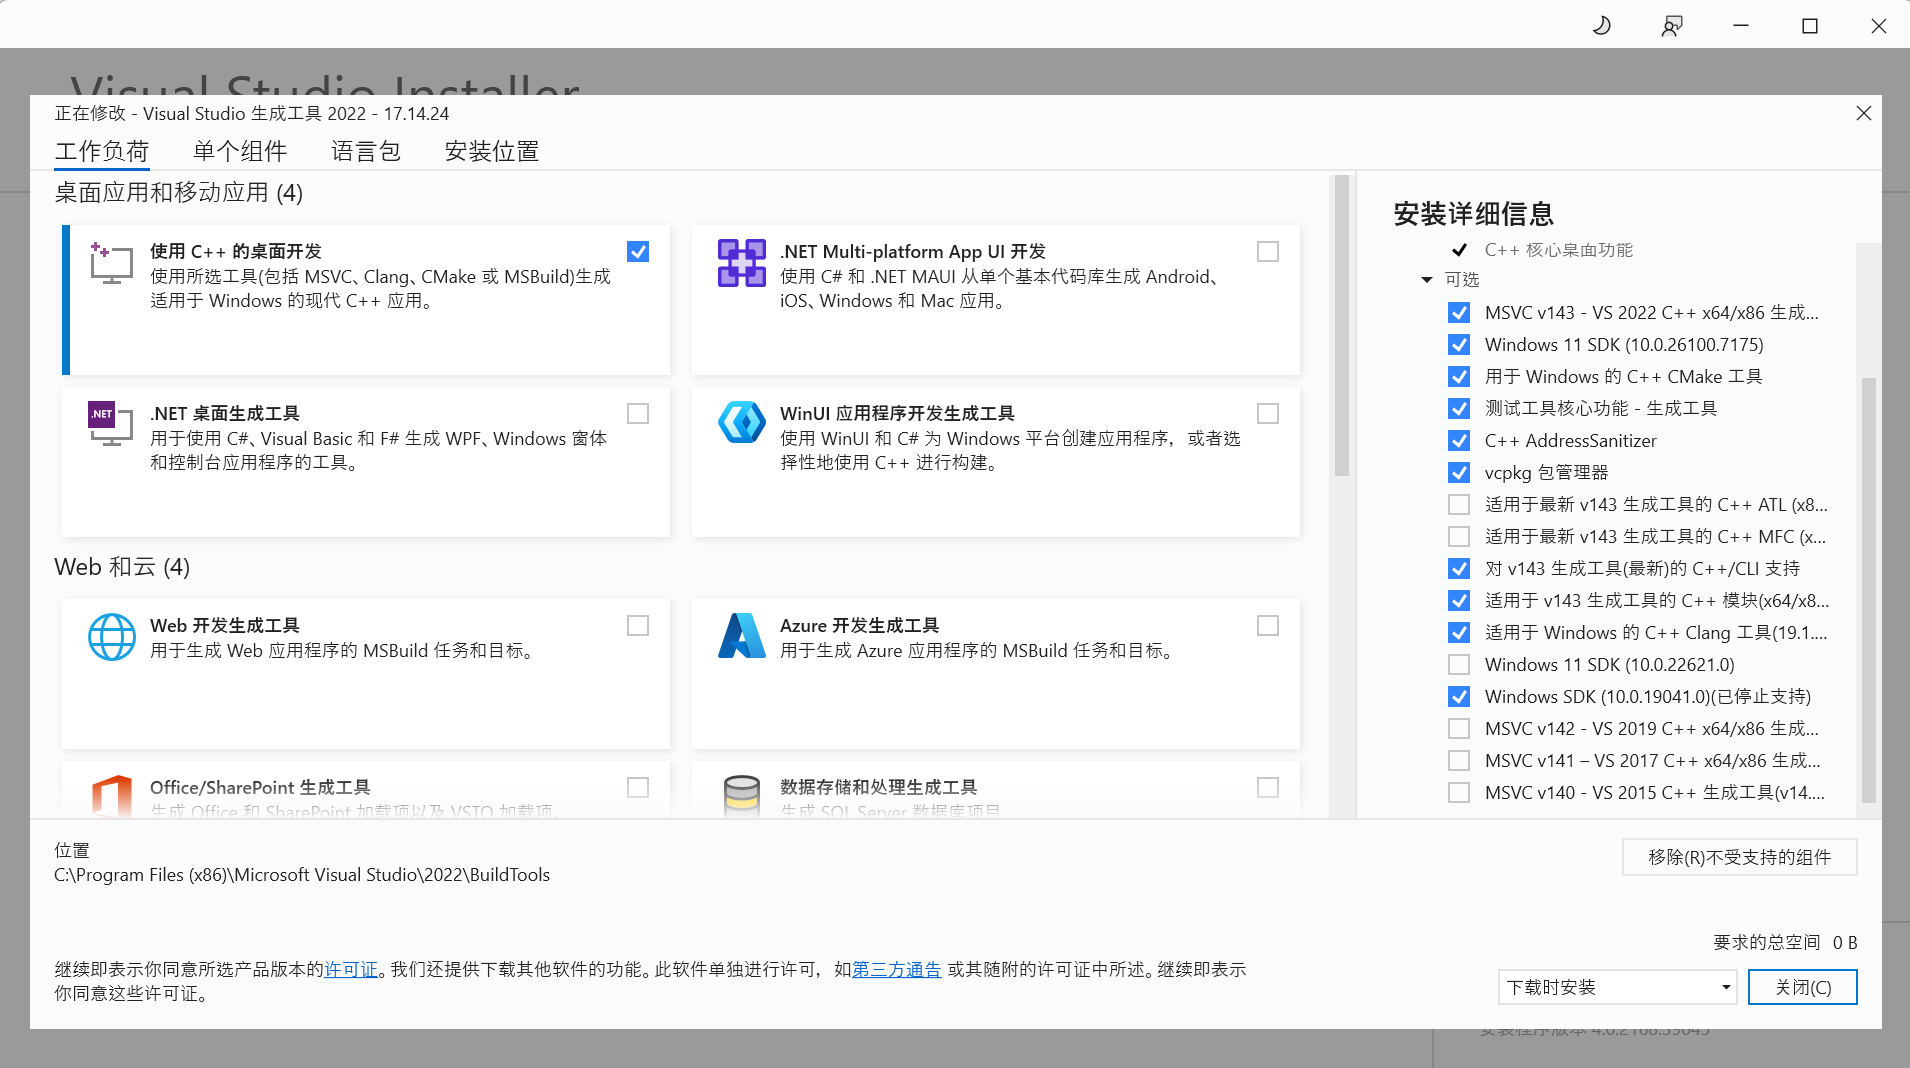
安装时打勾:
使用C++的桌面开发
Windows10 SDK
对 v143 生成工具(最新)的C++/CLI支持
适用于 v143 生成工具的C++模块(x64/x86)
适用于 Windows 的 C++ Clang 工具
3、安装RUST语言1.75.0版本
Rust语言下载:https://www.rust-lang.org/tools/install
以管理员权限运行后选1安装
安装完成后在终端中执行
rustup install 1.75
rustup default 1.75
rustup target add x86_64-pc-windows-msvc
现在已经将rust切换到1.75版本了,可以使用rustc --version进行验证
rustc --version4、安装vcpkg包管理工具
在git-bash中执行
cd c:\
git clone https://github.com/microsoft/vcpkg
cd vcpkg
./bootstrap-vcpkg.bat
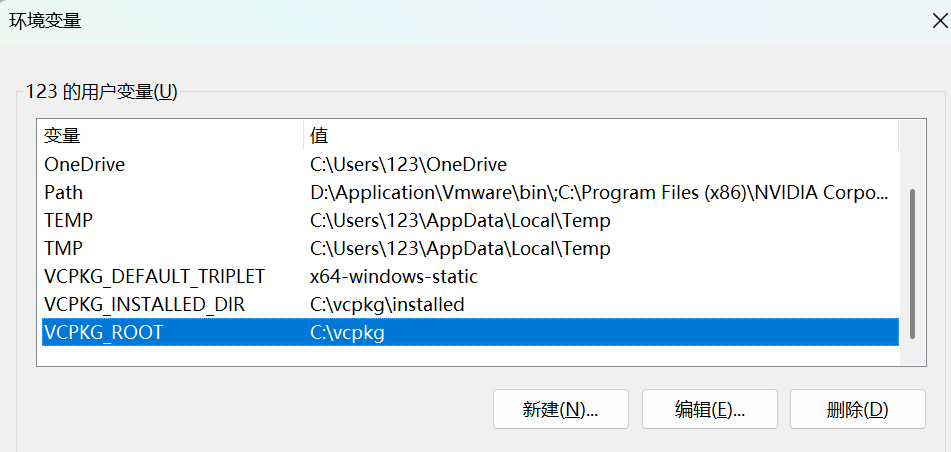
./vcpkg install ffmpeg[amf,avcodec,avdevice,avfilter,avformat,avresample,core,ffmpeg,nvcodec,qsv,swresample,swscale]:x64-windows-static配置vcpkg环境变量,可以在终端中使用代码配置
setx VCPKG_ROOT C:\vcpkg
setx VCPKG_INSTALL_DIR C:\vcpkg\installed
setx VCPKG_DEFAULT_TRIPLET x64-windows-static
或者是手动在系统环境变量配置
5、安装FlutterUI 框架
使用git执行
cd c:\
git clone https://github.com/flutter/flutter.git -b 3.24.5
setx PATH "%PATH%;C:\flutter\bin"
cargo install flutter_rust_bridge_codegen --version 1.80.1 --features uuid --locked
替换flutter引擎
下载https://github.com/rustdesk/engine/releases/download/main/windows-x64-release.zip
解压到C:\flutter\bin\cache\artifacts\engine\windows-x64 替换。
Patch flutter
将"C:\rustdesk\.github\patches\flutter_3.24.4_dropdown_menu_enableFilter.diff"复制到C:\flutter
然后执行代码
cd C:\flutter
git apply flutter_3.24.4_dropdown_menu_enableFilter.diff
6、安装LLVM编译工具
下载 https://github.com/llvm/llvm-project/releases/download/llvmorg-15.0.6/LLVM-15.0.6-win64.exe
打开后选择第二个。
7、安装Python 3.13.5
https://www.python.org/downloads/
勾选 Add python.exe to PATH
8、RustDesk源码
方法1:https://github.com/rustdesk/rustdesk
https://github.com/rustdesk/hbb_common
把hbb_common解压到*:\RustDesk\libs\里
方法2(本人使用):
cd C:\
git clone https://github.com/rustdesk/rustdesk.git -b 1.4.5
cd rustdesk\libs
git clone https://github.com/rustdesk/hbb_common.git
9、安装VCPKG依赖
cd C:\rustdesk
C:\vcpkg\vcpkg install --triplet x64-windows-static --x-install-root=C:\vcpkg\installed
10、在RustDesk目录下以执行命令生成rust代码
cd C:\rustdesk
flutter_rust_bridge_codegen --rust-input ./src/flutter_ffi.rs --dart-output ./flutter/lib/generated_bridge.dart --c-output ./flutter/windows/Runner/bridge_generated.h
11、复制硬件编解码所需要的库和修改rust构建代码
在C盘根目录新建文件夹WindowsKitsLib
将C:\Program Files (x86)\Windows Kits\10\Lib\10.0.19041.0\um\x64文件夹整体复制到新建的文件夹
编辑C:\rustdesk\build.rs ,在fn build_windows()函数中添加以下代码
println!("cargo:rustc-link-search=native=C:/WindowsKitsLib/x64");
println!("cargo:rustc-link-lib=mfplat");
println!("cargo:rustc-link-lib=mf");
println!("cargo:rustc-link-lib=mfuuid");
println!("cargo:rustc-link-lib=mfplay");
println!("cargo:rustc-link-lib=ole32");
println!("cargo:rustc-link-lib=strmiids");
println!("cargo:rustc-link-arg=/NODEFAULTLIB:MSVCRT");
12、在RustDesk目录下执行编译命令
cd C:\rustdesk
python3 .\build.py --portable --hwcodec --flutter --vram
编译完成后会在C:\rustdesk目录生成rustdesk-1.4.5-install.exe文件
13、客户端修改文档
//----------修改文档.txt--------------//

置入中继服务器IP及Key:
    定位文件:RustDesk\libs\hbb_common\src\config.rs
    搜:rs-ny.rustdesk.com
    改成你的服务器IP,下面的RS_PUB_KEY改成服务器的Key


去掉官方的API接口
    定位文件:RustDesk\src\common.rs
    搜:https://admin.rustdesk.com
    改成空


删除地址簿、可访问的设备
    定位文件:RustDesk\flutter\lib\models\peer_tab_model.dart
    删:'Address book',
    删:'Accessible devices',
    删:IconFont.addressBook,
    删:IconFont.deviceGroupFill,
    删:!(bind.isDisableAb() || bind.isDisableAccount()),
    删:!(bind.isDisableGroupPanel() || bind.isDisableAccount()),
    将:static const int maxTabCount = 5;
    改:static const int maxTabCount = 3;


去掉底部“如果需要更快连接速度,你可以选择自建服务器”
    定位文件:RustDesk\flutter\lib\desktop\pages\connection_page.dart
    搜:translate('setup_server_tip'),
    删:
                child: Row(
                  crossAxisAlignment: CrossAxisAlignment.center,
                  children: [
                    Text(', ', style: TextStyle(fontSize: em)),
                    Flexible(
                      child: InkWell(
                        onTap: onUsePublicServerGuide,
                        child: Row(
                          children: [
                            Flexible(
                              child: Text(
                                translate('setup_server_tip'),
                                style: TextStyle(
                                    decoration: TextDecoration.underline,
                                    fontSize: em),
                              ),
                            ),
                          ],
                        ),
                      ),
                    )
                  ],
                ),


删掉设置里的账户
    定位文件:RustDesk\flutter\lib\desktop\pages\desktop_setting_page.dart
    搜:if (!bind.isDisableAccount()) SettingsTabKey.account,
    删:if (!bind.isDisableAccount()) SettingsTabKey.account,


删掉设置里的关于
    定位文件:RustDesk\flutter\lib\desktop\pages\desktop_setting_page.dart
    搜:SettingsTabKey.about,
    删:SettingsTabKey.about,


删除标题栏的设置按钮
    定位文件:RustDesk\flutter\lib\desktop\pages\desktop_tab_page.dart
    搜:Widget build(BuildContext context) {
    删:
                  tail: Offstage(
                    offstage: bind.isIncomingOnly() || bind.isDisableSettings(),
                    child: ActionIcon(
                      message: 'Settings',
                      icon: IconFont.menu,
                      onTap: DesktopTabPage.onAddSetting,
                      isClose: false,
                    ),
                  ),


删除一次性密码中的设置按钮
    定位文件:RustDesk\flutter\lib\desktop\pages\desktop_home_page.dart
    搜:message: translate('Change Password'),
    删:
                          if (!bind.isDisableSettings())
                            InkWell(
                              child: Tooltip(
                                message: translate('Change Password'),
                                child: Obx(
                                  () => Icon(
                                    Icons.edit,
                                    color: editHover.value
                                        ? textColor
                                        : Color(0xFFDDDDDD),
                                    size: 22,
                                  ).marginOnly(right: 8, top: 4),
                                ),
                              ),
                              onTap: () => DesktopSettingPage.switch2page(
                                  SettingsTabKey.safety),
                              onHover: (value) => editHover.value = value,
                            ),


删除你的桌面下面ID旁边的设置
    定位文件:RustDesk\flutter\lib\desktop\pages\desktop_home_page.dart
    搜:Widget buildPopupMenu(BuildContext context) {
    将:
                Widget buildPopupMenu(BuildContext context) {
                  final textColor = Theme.of(context).textTheme.titleLarge?.color;
                  RxBool hover = false.obs;
                  return InkWell(
                    onTap: DesktopTabPage.onAddSetting,
                    child: Tooltip(
                      message: translate('Settings'),
                      child: Obx(
                        () => CircleAvatar(
                          radius: 15,
                          backgroundColor: hover.value
                              ? Theme.of(context).scaffoldBackgroundColor
                              : Theme.of(context).colorScheme.background,
                          child: Icon(
                            Icons.more_vert_outlined,
                            size: 20,
                            color: hover.value ? textColor : textColor?.withOpacity(0.5),
                          ),
                        ),
                      ),
                    ),
                    onHover: (value) => hover.value = value,
                  );
                }
    改为:
    Widget buildPopupMenu(BuildContext context) {
        return Container();
      }


删除主页上的整个含【最近访问过、收藏、已发现、地址簿、可访问的设备】
    定位文件:RustDesk\flutter\lib\desktop\pages\connection_page.dart
    搜:final isOutgoingOnly = bind.isOutgoingOnly();
    删:
        Divider().paddingOnly(right: 12),
        Expanded(child: PeerTabPage()),


删除主页上控制远程桌面
    定位文件:RustDesk\flutter\lib\desktop\pages\connection_page.dart
    搜:final isOutgoingOnly = bind.isOutgoingOnly();
    删:
              children: [
                Row(
                  children: [
                    Flexible(child: _buildRemoteIDTextField(context)),
                  ],
                ).marginOnly(top: 22),
                SizedBox(height: 12),
              ],


加上自定义Logo(必须先删除以上两个方法即:删除最近访问过、收藏、已发现、地址簿、可访问的设备、删除控制远程桌面)
    定位文件:RustDesk\flutter\lib\desktop\pages\connection_page.dart
    搜:final isOutgoingOnly = bind.isOutgoingOnly();
    在”child: Column(“和”).paddingOnly(left: 12.0)),“之中添加以下代码:
                children: [
                Expanded(
                  child: Center(
                    child: Image.asset(
                      'assets/rustdesk.png',
                      width: 399,
                      height: 106,
                      fit: BoxFit.contain,
                    ),
                  ),
                ),
              ],
    图片文件放到RustDesk\flutter\assets中并改名:rustdesk.png


删掉设置里的网络-ID/中继服务器
    定位文件:RustDesk\flutter\lib\desktop\pages\desktop_setting_page.dart
    搜:title: 'ID/Relay Server',
    删:
                  if (!hideServer)
                    listTile(
                      icon: Icons.dns_outlined,
                      title: 'ID/Relay Server',
                      onTap: () => showServerSettings(gFFI.dialogManager),
                    ),
                  if (!hideServer && (!hideProxy || !hideWebSocket))
                    Divider(height: 1, indent: 16, endIndent: 16),


删除主页上的临时连接密码
    定位文件:RustDesk\flutter\lib\desktop\pages\desktop_home_page.dart
    搜:buildPasswordBoard2(BuildContext context, ServerModel model) {
    将:buildPasswordBoard2(BuildContext context, ServerModel model)
    这个函数改为:
    buildPasswordBoard2(BuildContext context, ServerModel model) {
        return Container();
      }


将设置里的 常规-启用UDP打洞 默认打勾
    定位文件:RustDesk\libs\hbb_common\src\config.rs
    搜:Config::load_::<LocalConfig>("_local")
    改:let mut config = Config::load_::<LocalConfig>("_local");
    然后在下一行新增:
    let mut store = false;

    if !config.options.contains_key("enable-udp-punch") {
      config.options.insert("enable-udp-punch".to_string(), "Y".to_string());
      store = true;
    }

    if store {
      onfig.store();
    }
    config


将设置里的 常规-主题 改为默认主题为暗黑
    定位:RustDesk\libs\hbb_common\src\config.rs
    搜:let mut config = Config::load_::<LocalConfig>("_local");
    在下俩行新增:
            if !config.options.contains_key("theme") {
                config.options.insert("theme".to_string(), "dark".to_string());
                store = true;
            }
    注意:默认您已经改了上面的“启用UDP打洞”
    如果没改,自行把 Config::load_::<LocalConfig>("_local") 改 let mut config = Config::load_::<LocalConfig>("_local");
    并在上面的代码末尾加上config
    具体参考“将设置里的 常规-启用UDP打洞 默认打勾”


将设置里的 常规-启动时检查软件更新 默认去勾
    定位:RustDesk\libs\hbb_common\src\config.rs
    搜:let mut config = Config::load_::<LocalConfig>("_local");
    在下俩行新增:
    if !config.options.contains_key("enable-check-update") {
    config.options.insert("enable-check-update".to_string(), "N".to_string());
    store = true;
    }
    注意:默认您已经改了上面的“启用UDP打洞”
    如果没改,自行把 Config::load_::<LocalConfig>("_local") 改 let mut config = Config::load_::<LocalConfig>("_local");
    并在上面的代码末尾加上config
    具体参考“将设置里的 常规-启用UDP打洞 默认打勾”


将设置里的 常规-启用 IPv6 P2P 连接 默认打勾
    定位文件:RustDesk\libs\hbb_common\src\config.rs
    搜:let mut config = Config::load_::<LocalConfig>("_local");
    在下俩行新增:
            if !config.options.contains_key("enable-ipv6-punch") {
                config.options.insert("enable-ipv6-punch".to_string(), "Y".to_string());
                store = true;
            }
    注意:默认您已经改了上面的“启用UDP打洞”
    如果没改,自行把 Config::load_::<LocalConfig>("_local") 改 let mut config = Config::load_::<LocalConfig>("_local");
    并在上面的代码末尾加上config
    具体参考“将设置里的 常规-启用UDP打洞 默认打勾”


将设置里的 安全-拒绝局域网发现 默认打勾
    定位文件:RustDesk\libs\hbb_common\src\config.rs
    搜:let mut config = Config::load_::<Config2>("2");
    在下两行新增:
            if !config.options.contains_key("enable-lan-discovery") {
                config.options.insert("enable-lan-discovery".to_string(), "N".to_string());
                store = true;
            }


将设置里的 安全-允许远程修改配置 默认打勾
    定位文件:RustDesk\libs\hbb_common\src\config.rs
    搜:let mut config = Config::load_::<Config2>("2");
    在下两行新增:
            if !config.options.contains_key("allow-remote-config-modification") {
                config.options.insert("allow-remote-config-modification".to_string(), "Y".to_string());
                store = true;
            }


将设置里的 安全-使用PIN码解锁设置 默认打勾
    定位文件:RustDesk\libs\hbb_common\src\config.rs
    搜:config.unlock_pin = unlock_pin;
    在下两行新增:
    if config.unlock_pin.is_empty() {
                config.unlock_pin = "!!!加密后的PIN码!!!".to_string();
                store = true;
            }
    注:PIN码是经过加密的才能填进去,怎么加密?先在RustDesk软件里设置一个PIN码
    然后打开配置文件C:\Users\当前Windows账户\AppData\Roaming\RustDesk\config\RustDesk2.toml
    把其中的unlock_pin = '1V8AS4/+EWF84A85WD4AW=='(假设) 把加密后的PIN码“1V8AS4/+EWF84A85WD4AW==”复制出来填进去


将设置里的【安全-密码】设置默认的固定密码
    1、定位文件:RustDesk\libs\hbb_common\src\config.rs
        搜:config.unlock_pin = unlock_pin;
        在下两行新增:
                if !config.options.contains_key("trusted_devices") {
                    config.options.insert("trusted_devices".to_string(), "!!!加密后的密码!!!".to_string());
                    config.store();
                }
        注:密码是经过加密的才能填进去,怎么加密?先在RustDesk软件里的设置一个密码
        然后打开配置文件C:\Users\当前Windows账户\AppData\Roaming\RustDesk\config\RustDesk2.toml
        把其中的trusted_devices = '1V8AS4/+EWF84A85WD4AW=='(假设) 把加密后的密码“1V8AS4/+EWF84A85WD4AW==”复制出来填进去

    2、搜:log::error!("Failed to generate new id");
        在3个“}”后新增代码
        if config.password.is_empty() {
                    config.password = "!!!加密后的密码!!!".to_string();
                    store = true;
                }
        注:密码是经过加密的才能填进去,怎么加密?先在RustDesk软件里的设置一个密码
        然后打开配置文件C:\Users\当前Windows账户\AppData\Roaming\RustDesk\config\RustDesk.toml
        把其中的password = '1V8AS4/+EWF84A85WD4AW=='(假设) 把加密后的密码“1V8AS4/+EWF84A85WD4AW==”复制出来填进去


将设置里的【安全-密码】切换成【使用固定密码】方式
    定位文件:RustDesk\libs\hbb_common\src\config.rs
    搜:let mut config = Config::load_::<Config2>("2");
    在下两行新增:
            if !config.options.contains_key("verification-method") {
                config.options.insert("verification-method".to_string(), "use-permanent-password".to_string());
                store = true;
            }


将设置里的【安全-密码】改为成【只允许密码访问】方式
    定位文件:RustDesk\libs\hbb_common\src\config.rs
    搜:let mut config = Config::load_::<Config2>("2");
    在下两行新增:
            if !config.options.contains_key("approve-mode") {
                config.options.insert("approve-mode".to_string(), "password".to_string());
                store = true;
}参考:1、B站UP主就是說啊的视频教程小白也能学会的RustDesk服务端搭建与客户端修改_哔哩哔哩_bilibili
和文档小白也能学会的RustDesk服务端搭建与客户端修改_哔哩哔哩_bilibili
2、rustdesk官方CI https://github.com/rustdesk/rustdesk/blob/master/.github/workflows/flutter-build.yml

开源鸿蒙跨平台开发社区汇聚开发者与厂商,共建“一次开发,多端部署”的开源生态,致力于降低跨端开发门槛,推动万物智联创新。
更多推荐
 18
18 0
0- 0


 已为社区贡献1条内容

所有评论(0)