软件管理与源码编译安装
一、下载、安装应用的三种方式
1、手动下载软件包(Centos—》rpm格式)RPM工具进行安装。
2、yum工具直接下载并安装应用服务。
3、下载tar包,手工编译安装/源码编译安装应用服务。
原始的安装程序—》rpm 工具
rpm 安装和卸载命令–》rpm -ivh *.rpm
选项: -i 表示执行安装动作
-v 显示安装过程
-h 友好显示
-e 表示删除一个软件
WARRNING: rpm 安装一个软件,必须先安装完这个软件所需要的依赖软件/环境,否则会安装失败。
yum:yum 是一个方便易用的安装工具,它可以直接解决应用程序的依赖环境/关系的问题
yum工具的工作原理
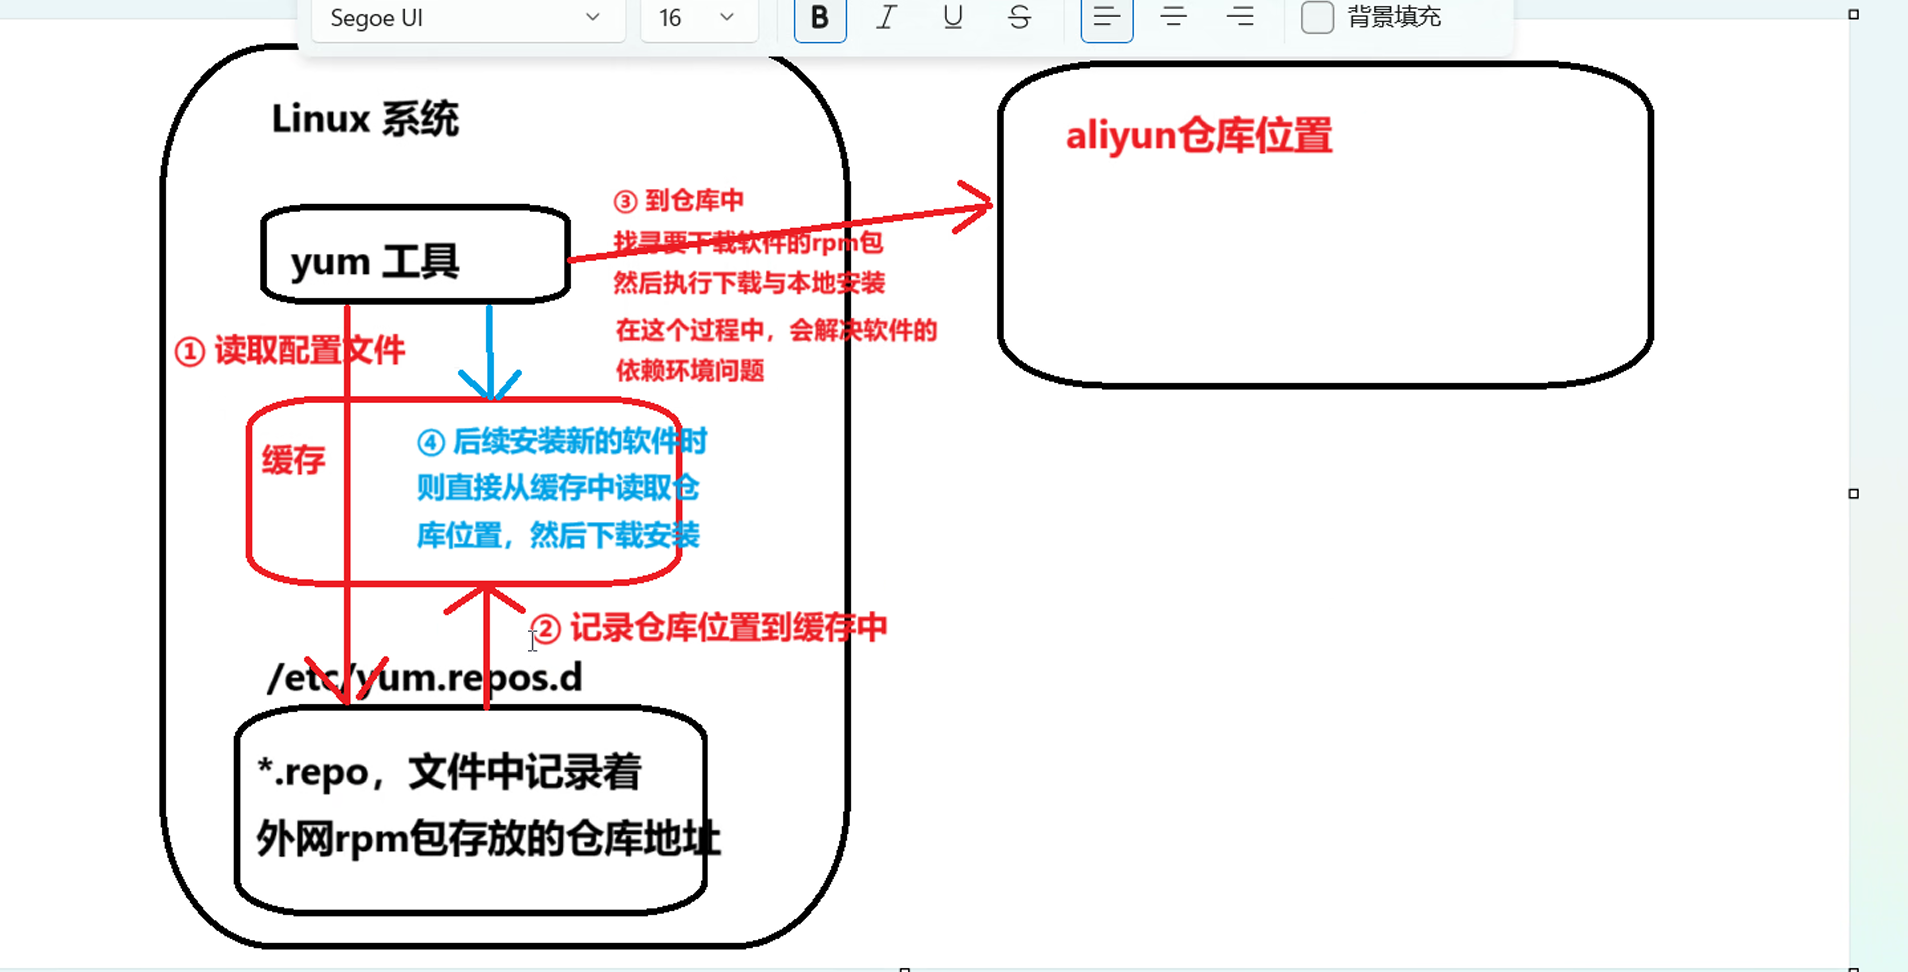
安装示例–docker-ce
① 删除原有的文件
rm -rf /etc/yum.repos.d/*
② 上传我们的文件
③ yum clean all && yum makecache (重新建立新的缓存)
④ 先把DNS 做一下
vi /etc/resolv.conf
nameserver 114.114.114.114
⑤从阿里云下载docke-cer源,拖到/etc/yum.repons.d
⑥执行安装yum install -y yum.repons.d
安装完成后,可以使用rpm工具帮助查询我们系统中是否安装成功
rpm -q docker-ce
-q 查看当前系统中有无安装指定的应用程序
-qc 查看指定服务的所有配置文件路径
-ql 查看指定服务所有的文件路径
yum 用法
yum install -y 软件包名称 ---- 安装 (如果在yum 安装时,未申明服务的版本号,yum则会默认下载仓库种最新的软件包)
yum remove -y 软件包名称 -----卸载
yum update -y [nginx] -------更新本地的软件包
yum remove -y 应用服务名称
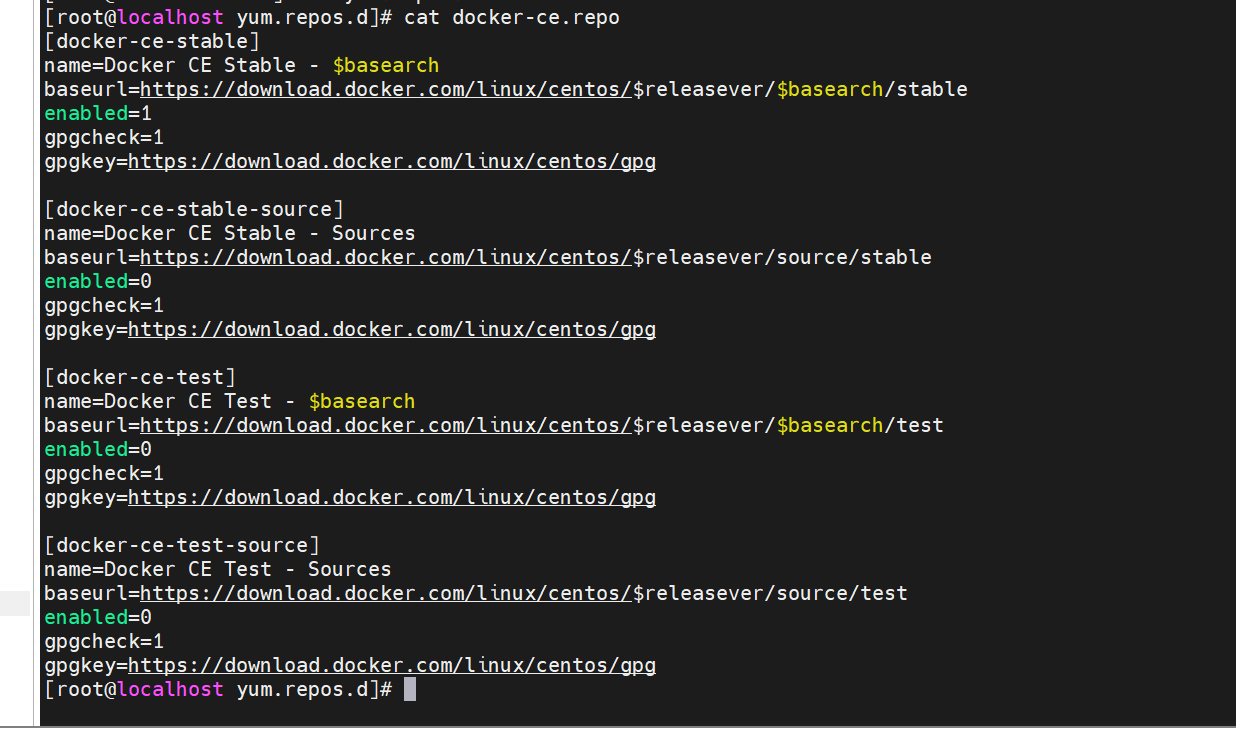
yum仓库
[仓库名字local]
name=仓库的一些简要介绍 local
baseurl=通常,会指向rpm仓库的路径(URL-路径的意思)
路径一般有3种类型:http://(网上) file://(本地) ftp://(内网)
gpgcheck=1 是否需要做健康检查 1 表示开启校验 0 表示不进行校验
gpgkey=URL路径 申明的是健康检查的密钥文件路径
enabeld=0 当前仓库的配置是否生效 1 表示当前仓库是启用的 0 表示当前配置不启用
二、源码编译安装/手工编译安装
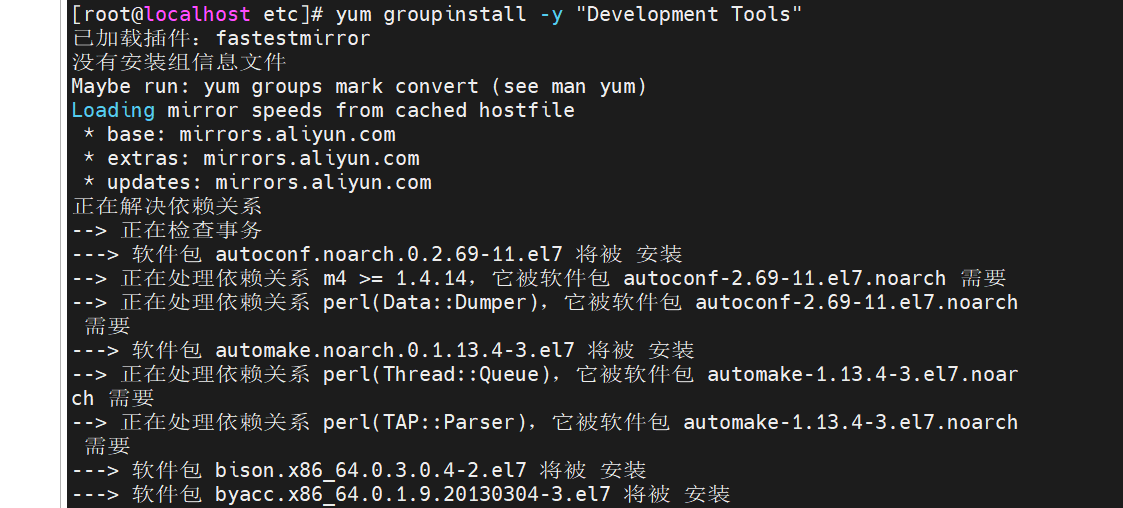
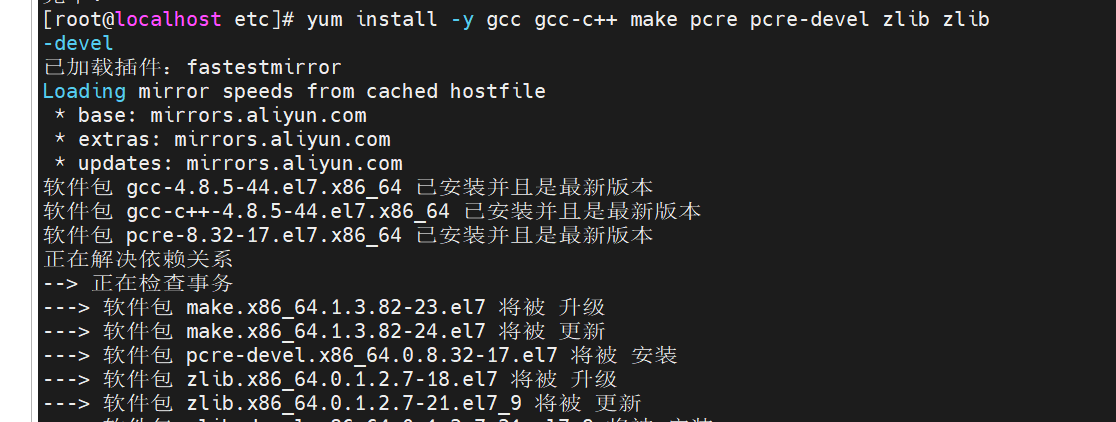
1、安装依赖环境
yum groupinstall -y "Development Tools" 安装开发工具组
yum install -y gcc gcc-c++ make pcre pcre-devel zlib zlib --安装Nginx编译所需的依赖库
2、设置安装服务
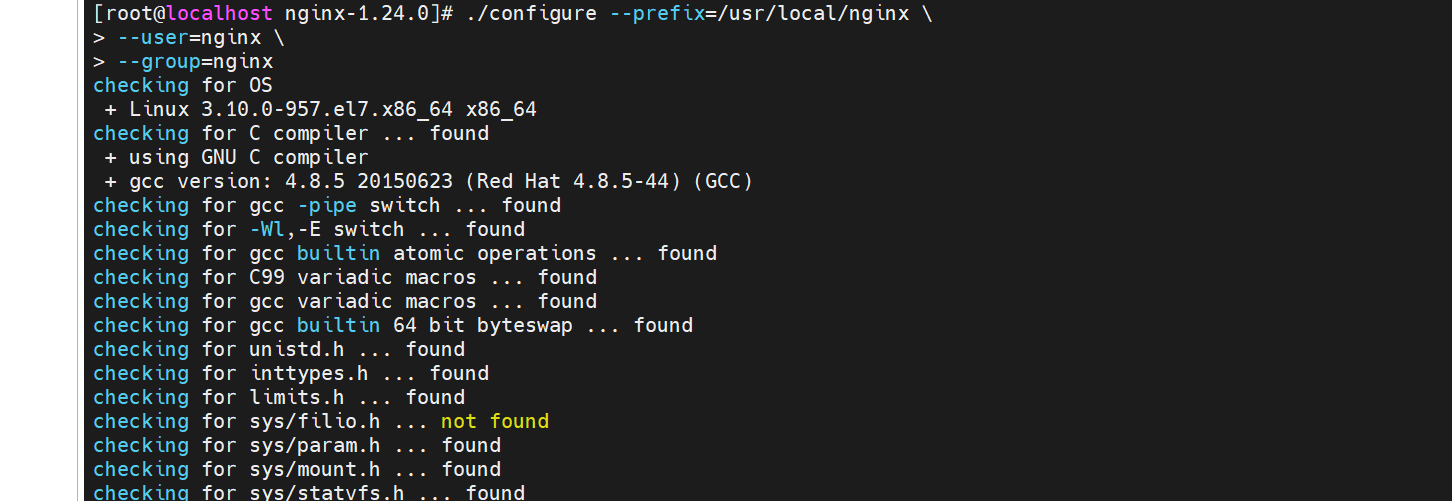
./configure --prefix=/usr/local/nginx \
> --user=nginx \
> --group=nginx     -----常用配置(生产环境推荐)
3、编译和编译安装
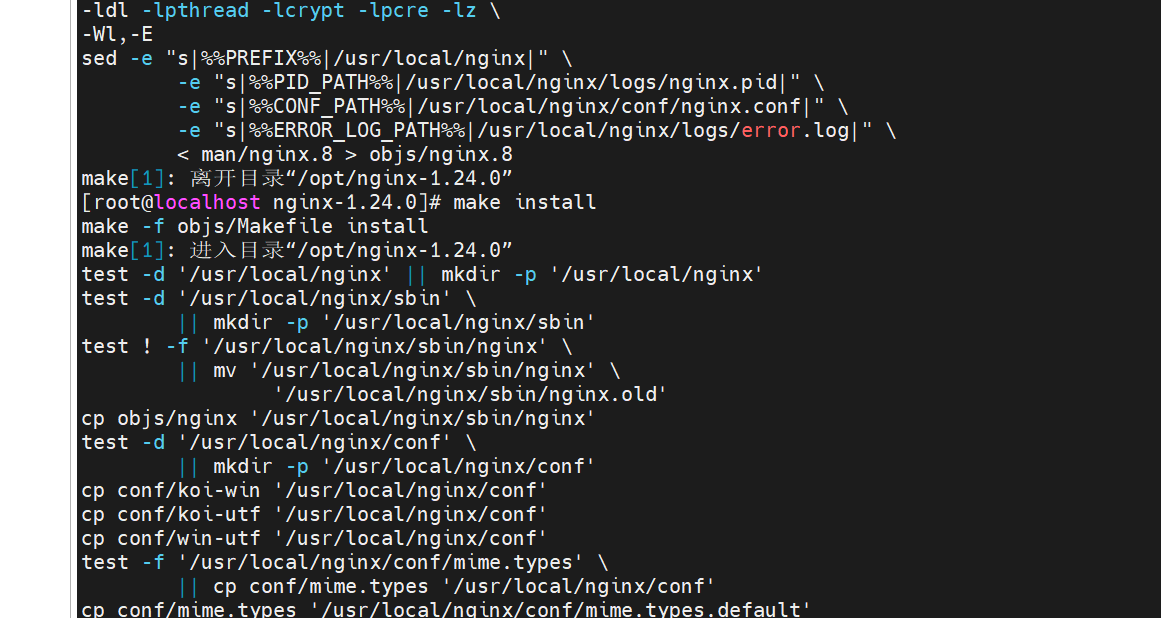
make    -----告诉系统我们安装nginx这个服务的标准配置是什么("翻译")
make install   --让系统执行安装动作
4、创建nginx用户
[root@localhost nginx-1.24.0]# id nginx
id: nginx: no such user
[root@localhost nginx-1.24.0]# useradd -M -s /sbin/nologin nginx
[root@localhost nginx-1.24.0]# id nginx
uid=1000(nginx) gid=1000(nginx) 组=1000(nginx)

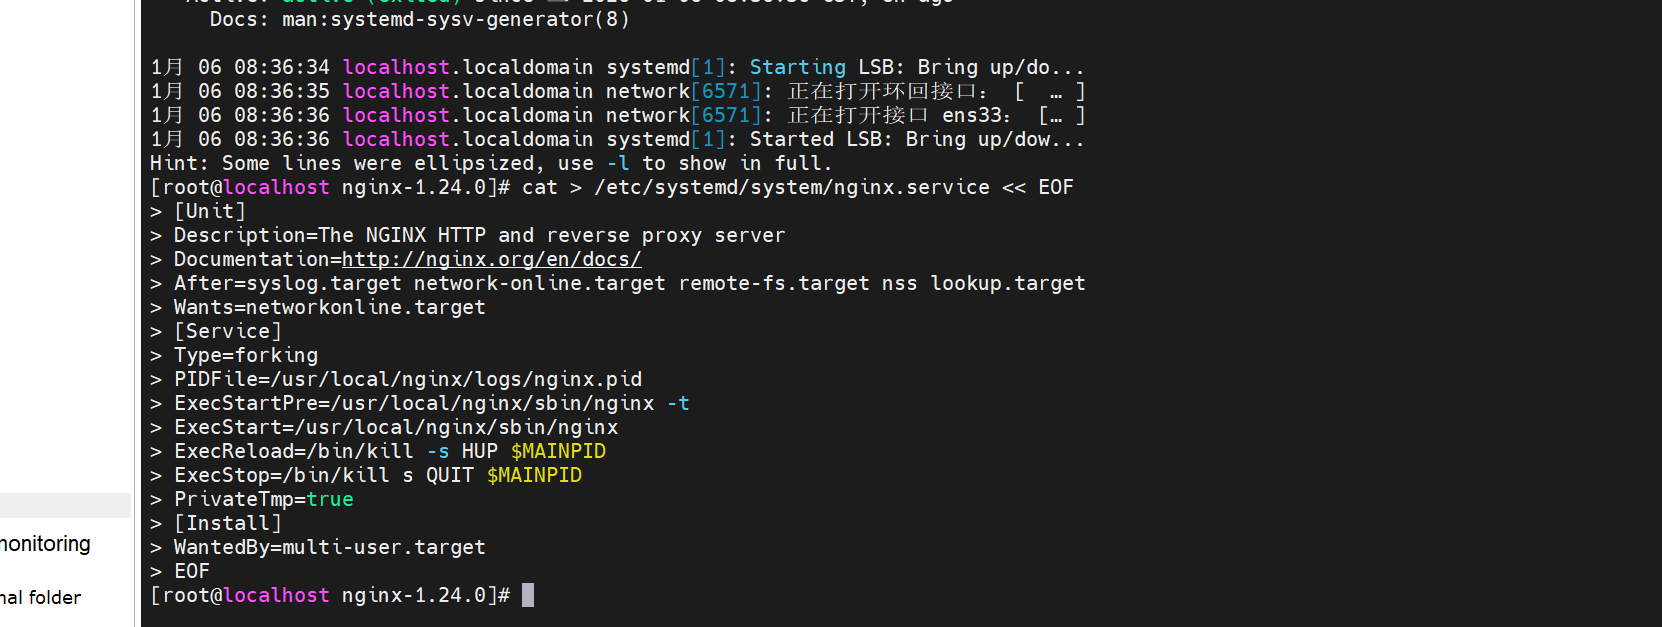
5、让系统可以管理nginx这个服务
cat > /etc/systemd/system/nginx.service << EOF
[Unit]
Description=The NGINX HTTP and reverse proxy server
Documentation=http://nginx.org/en/docs/
After=syslog.target network-online.target remote-fs.target nss lookup.target
Wants=networkonline.target
[Service]
Type=forking
PIDFile=/usr/local/nginx/logs/nginx.pid
ExecStartPre=/usr/local/nginx/sbin/nginx -t
ExecStart=/usr/local/nginx/sbin/nginx
ExecReload=/bin/kill -s HUP $MAINPID
ExecStop=/bin/kill s QUIT $MAINPID
PrivateTmp=true
[Install]
WantedBy=multi-user.target
EOF
6、创建nginx服务命令文件的软连接给系统识别,方便使用
[root@localhost nginx]# ln -s /usr/local/nginx/sbin/nginx /usr/sbin/nginx
[root@localhost nginx]# nginx -t
nginx: the configuration file /usr/local/nginx/conf/nginx.conf syntax is ok
nginx: configuration file /usr/local/nginx/conf/nginx.conf test is successful


7、校验
① 开启nginx 服务
systemctl start nginx
systemctl status nginx
② 关闭系统的防火墙,否则会干扰后续的校验动作
systemctl stop firewalld
#禁止防火墙这个服务开机自启动
systemctl disable firewalld

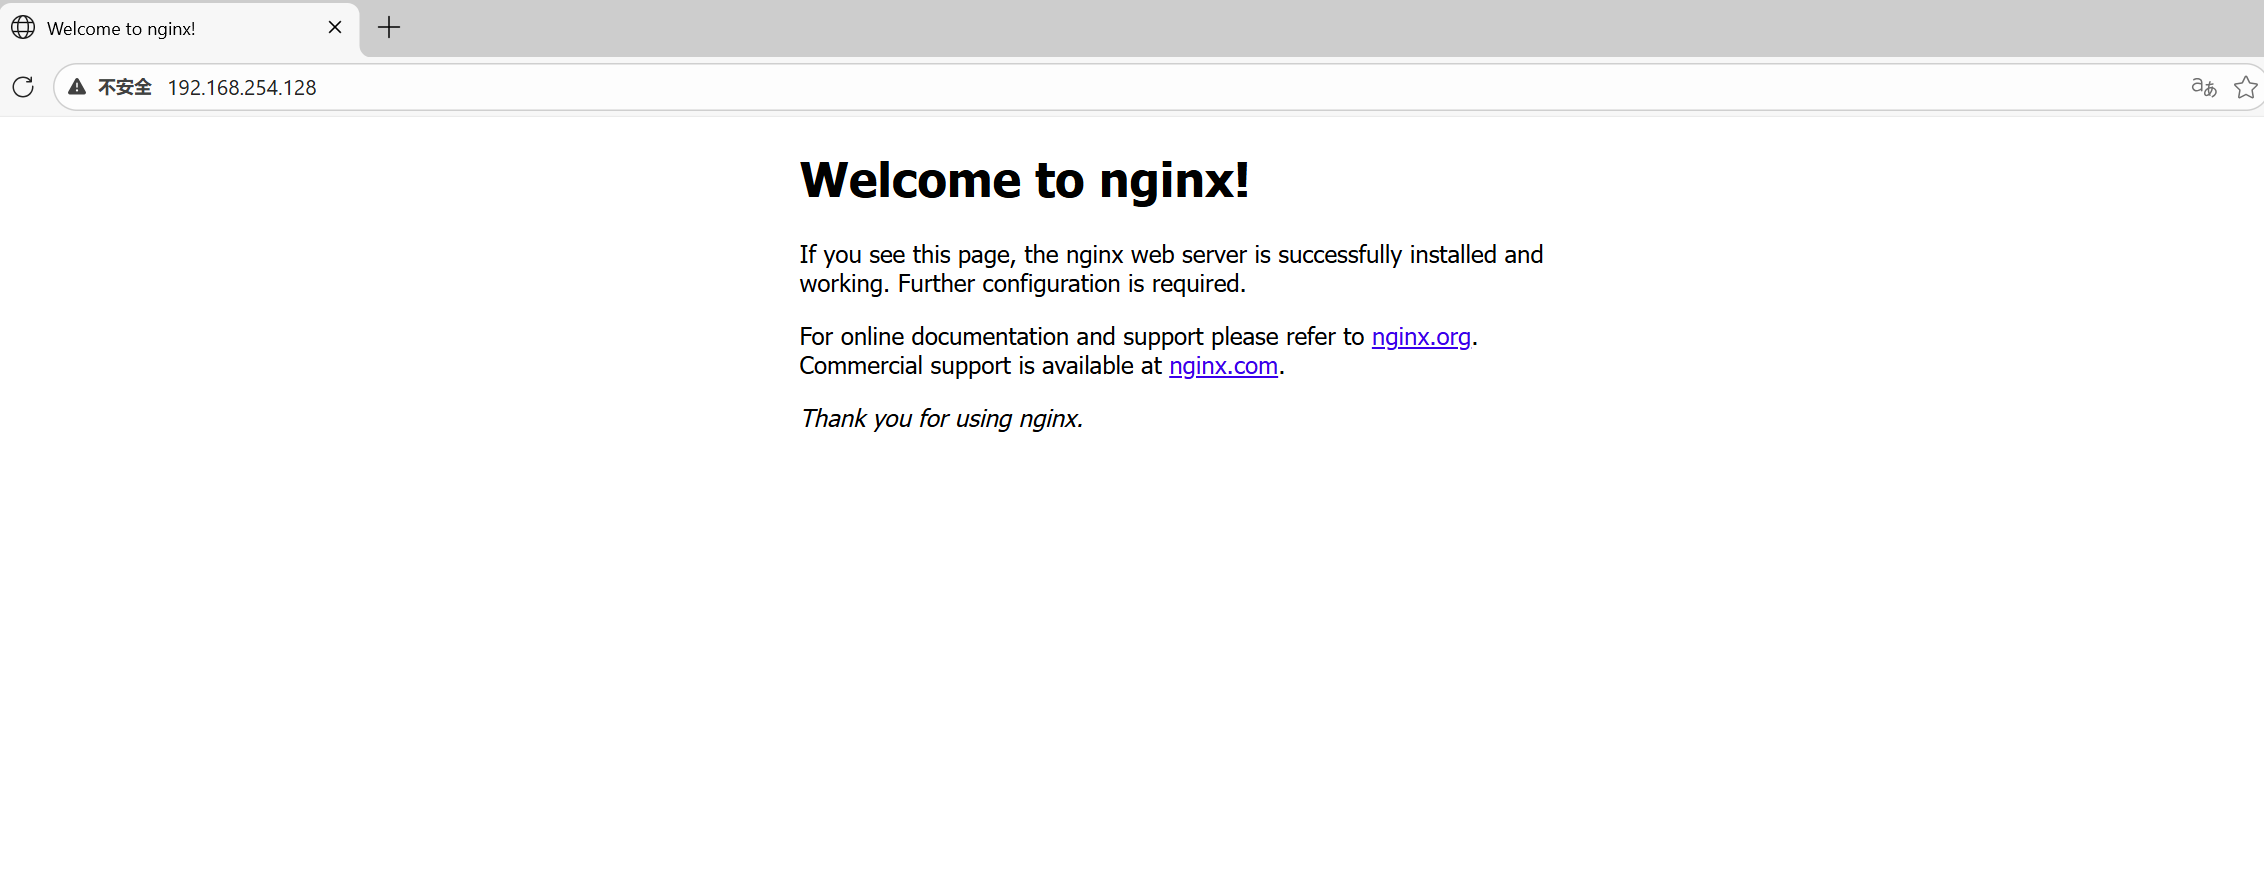
打开浏览器,访问虚拟机ip地址,出现页面说明nginx搭建成功

开源鸿蒙跨平台开发社区汇聚开发者与厂商,共建“一次开发,多端部署”的开源生态,致力于降低跨端开发门槛,推动万物智联创新。
更多推荐



 23
23 0
0- 0


 已为社区贡献1条内容

所有评论(0)