Flutter for OpenHarmony 家具购买记录App实战:购买详情实现
购买详情页面设计摘要 该购买详情页面采用模块化布局设计,包含商品信息、订单详情、支付信息和进度时间线四个主要模块。顶部商品卡片采用渐变背景突出显示商品名称和价格,订单信息卡片展示编号、商家等基本信息,支付信息卡片包含支付方式和金额明细,底部时间线直观展示订单状态流转。页面使用白色卡片配合圆角设计提升视觉层次,通过合理的间距和信息分组确保可读性。整体设计借鉴电商订单详情页的成熟模式,同时针对非电商场
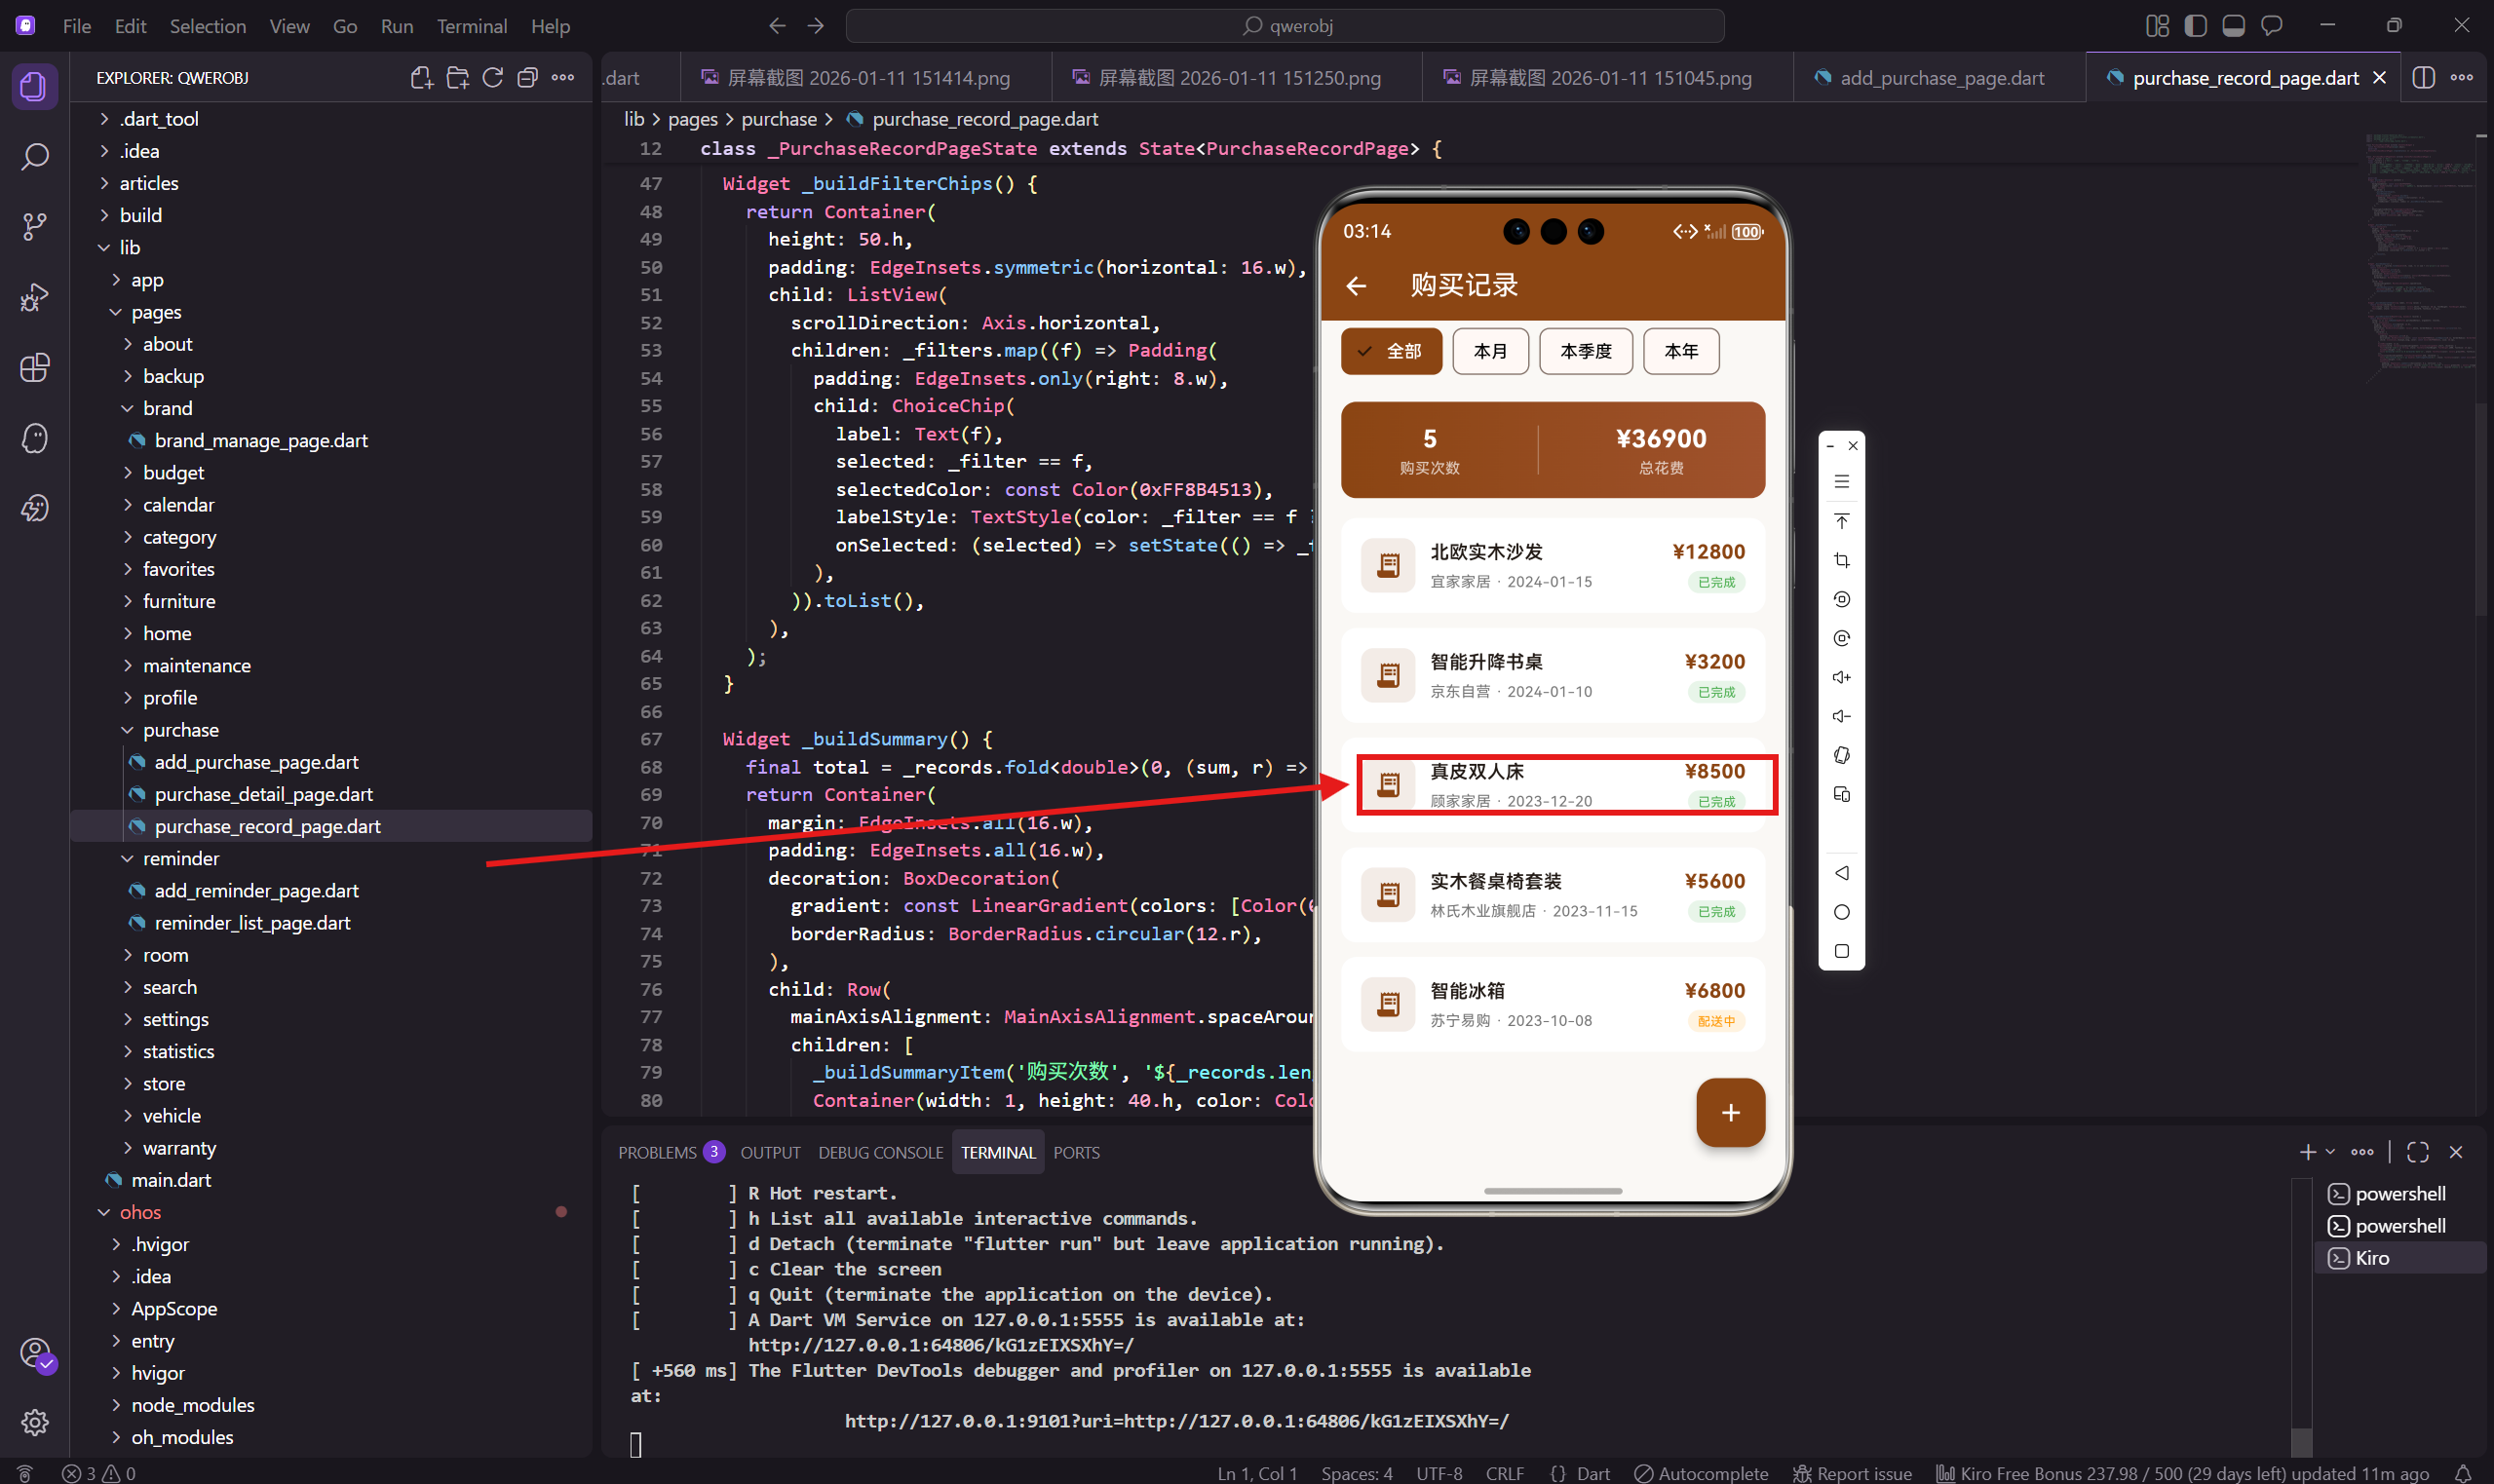
购买详情页面展示一条购买记录的完整信息,包括商品信息、订单信息、支付信息和订单进度。这个页面信息量比较大,需要合理组织布局。
设计这个页面的时候,我参考了电商 App 的订单详情页。虽然我们不是电商 App,但订单详情的信息结构是类似的,可以借鉴。
页面设计思路
购买详情页面的设计要点:
- 顶部是商品信息卡片,用渐变背景突出显示
- 订单信息卡片,显示订单编号、商家、日期、状态
- 支付信息卡片,显示支付方式、金额明细
- 订单进度时间线,显示订单的各个状态节点
时间线是这个页面的亮点,用户可以清楚地看到订单从下单到完成的整个过程。
页面基础结构
购买详情页面用 StatelessWidget:
class PurchaseDetailPage extends StatelessWidget {
  const PurchaseDetailPage({super.key});
在 build 方法里获取路由参数:
Widget build(BuildContext context) {
final record = Get.arguments as Map<String, dynamic>? ?? {
'name': '北欧实木沙发',
'store': '宜家家居',
'date': '2024-01-15',
'price': 12800.0,
'status': '已完成'
};
如果没有传参数,就用默认数据,方便开发调试。
Scaffold 结构
页面结构:
    return Scaffold(
      backgroundColor: const Color(0xFFFAF8F5),
      appBar: AppBar(
        title: const Text('购买详情'),
        backgroundColor: const Color(0xFF8B4513),
        foregroundColor: Colors.white,
        actions: [
          IconButton(
            icon: const Icon(Icons.share),
            onPressed: () => Get.snackbar('分享', '分享功能')
          )
        ],
      ),
      body: SingleChildScrollView(
        padding: EdgeInsets.all(16.w),
        child: Column(
          children: [
            _buildHeader(record),
            SizedBox(height: 16.h),
            _buildInfoCard(record),
            SizedBox(height: 16.h),
            _buildPaymentInfo(),
            SizedBox(height: 16.h),
            _buildTimeline(),
          ],
        ),
      ),
    );
  }
AppBar 右边有个分享按钮,用户可以把购买记录分享出去。页面主体用 SingleChildScrollView 包裹,内容多了可以滚动。
头部商品信息
头部用渐变背景卡片展示商品名称和价格:
  Widget _buildHeader(Map<String, dynamic> record) {
    return Container(
      padding: EdgeInsets.all(20.w),
      decoration: BoxDecoration(
        gradient: const LinearGradient(
          colors: [Color(0xFF8B4513), Color(0xFFA0522D)]
        ),
        borderRadius: BorderRadius.circular(16.r),
      ),
      child: Column(
        children: [
          Icon(Icons.receipt_long, color: Colors.white, size: 48.sp),
          SizedBox(height: 12.h),
          Text(
            record['name'] as String,
            style: TextStyle(
              color: Colors.white,
              fontSize: 20.sp,
              fontWeight: FontWeight.bold
            )
          ),
顶部是一个大的收据图标,下面是商品名称。用白色文字在渐变背景上显示,视觉效果很突出。
价格标签
价格用一个半透明背景的标签显示:
          SizedBox(height: 8.h),
          Container(
            padding: EdgeInsets.symmetric(horizontal: 16.w, vertical: 6.h),
            decoration: BoxDecoration(
              color: Colors.white24,
              borderRadius: BorderRadius.circular(20.r)
            ),
            child: Text(
              '¥${(record['price'] as double).toStringAsFixed(0)}',
              style: TextStyle(
                color: Colors.white,
                fontSize: 22.sp,
                fontWeight: FontWeight.bold
              )
            ),
          ),
        ],
      ),
    );
  }
价格标签用 Colors.white24(24% 透明度的白色)作为背景,在渐变背景上形成一个柔和的对比。圆角 20 让标签看起来像个胶囊。
订单信息卡片
订单信息卡片显示订单的基本信息:
  Widget _buildInfoCard(Map<String, dynamic> record) {
    return Container(
      padding: EdgeInsets.all(16.w),
      decoration: BoxDecoration(
        color: Colors.white,
        borderRadius: BorderRadius.circular(16.r)
      ),
      child: Column(
        crossAxisAlignment: CrossAxisAlignment.start,
        children: [
          Text('订单信息', style: TextStyle(
            fontSize: 16.sp,
            fontWeight: FontWeight.bold,
            color: const Color(0xFF5D4037)
          )),
          SizedBox(height: 12.h),
          _buildRow('订单编号', 'FN20240115001568'),
          _buildRow('购买商家', record['store'] as String),
          _buildRow('购买日期', record['date'] as String),
          _buildRow('订单状态', record['status'] as String),
        ],
      ),
    );
  }
用 _buildRow 方法构建每一行信息,左边是标签,右边是值。
信息行组件
单行信息的实现:
  Widget _buildRow(String label, String value) {
    return Padding(
      padding: EdgeInsets.symmetric(vertical: 8.h),
      child: Row(
        mainAxisAlignment: MainAxisAlignment.spaceBetween,
        children: [
          Text(label, style: TextStyle(color: Colors.grey[600])),
          Text(value, style: const TextStyle(fontWeight: FontWeight.w500)),
        ]
      ),
    );
  }
标签用灰色,值用黑色加粗,形成主次对比。spaceBetween 让标签和值分别靠左和靠右。
支付信息卡片
支付信息卡片显示支付方式和金额明细:
  Widget _buildPaymentInfo() {
    return Container(
      padding: EdgeInsets.all(16.w),
      decoration: BoxDecoration(
        color: Colors.white,
        borderRadius: BorderRadius.circular(16.r)
      ),
      child: Column(
        crossAxisAlignment: CrossAxisAlignment.start,
        children: [
          Text('支付信息', style: TextStyle(
            fontSize: 16.sp,
            fontWeight: FontWeight.bold,
            color: const Color(0xFF5D4037)
          )),
          SizedBox(height: 12.h),
          _buildRow('支付方式', '支付宝'),
          _buildRow('商品金额', '¥12,800'),
          _buildRow('运费', '¥0'),
          _buildRow('优惠', '-¥500'),
          Divider(height: 20.h),
          Row(
            mainAxisAlignment: MainAxisAlignment.spaceBetween,
            children: [
              Text('实付金额', style: TextStyle(fontWeight: FontWeight.bold)),
              Text('¥12,300', style: TextStyle(
                color: const Color(0xFF8B4513),
                fontWeight: FontWeight.bold,
                fontSize: 18.sp
              )),
            ]
          ),
        ],
      ),
    );
  }
金额明细包括商品金额、运费、优惠,最后是实付金额。用分隔线把明细和实付金额分开。
实付金额用主题棕色和大字号突出显示,这是用户最关心的信息。
订单进度时间线
时间线展示订单的各个状态节点:
  Widget _buildTimeline() {
    final steps = [
      {'title': '订单完成', 'time': '2024-01-18 14:30', 'done': true},
      {'title': '确认收货', 'time': '2024-01-18 14:30', 'done': true},
      {'title': '商品配送', 'time': '2024-01-16 09:00', 'done': true},
      {'title': '商家发货', 'time': '2024-01-15 16:00', 'done': true},
      {'title': '订单支付', 'time': '2024-01-15 10:30', 'done': true},
    ];
时间线数据是一个数组,每个节点有标题、时间、是否完成三个属性。按时间倒序排列,最新的在最上面。
时间线渲染
时间线的渲染逻辑:
    return Container(
      padding: EdgeInsets.all(16.w),
      decoration: BoxDecoration(
        color: Colors.white,
        borderRadius: BorderRadius.circular(16.r)
      ),
      child: Column(
        crossAxisAlignment: CrossAxisAlignment.start,
        children: [
          Text('订单进度', style: TextStyle(
            fontSize: 16.sp,
            fontWeight: FontWeight.bold,
            color: const Color(0xFF5D4037)
          )),
          SizedBox(height: 12.h),
          ...steps.asMap().entries.map((e) => Row(
            crossAxisAlignment: CrossAxisAlignment.start,
            children: [
              Column(
                children: [
                  Icon(Icons.check_circle, color: const Color(0xFF4CAF50), size: 20.sp),
                  if (e.key < steps.length - 1)
                    Container(width: 2, height: 30.h, color: Colors.grey[300]),
                ]
              ),
              SizedBox(width: 12.w),
              Expanded(
                child: Padding(
                  padding: EdgeInsets.only(bottom: 12.h),
                  child: Column(
                    crossAxisAlignment: CrossAxisAlignment.start,
                    children: [
                      Text(e.value['title'] as String,
                        style: TextStyle(fontWeight: FontWeight.w500)),
                      Text(e.value['time'] as String,
                        style: TextStyle(color: Colors.grey[500], fontSize: 12.sp)),
                    ]
                  ),
                )
              ),
            ],
          )).toList(),
        ],
      ),
    );
  }
每个节点左边是一个绿色对勾图标,下面连着一条灰色竖线(最后一个节点没有竖线)。右边是节点标题和时间。
asMap().entries 把列表转成带索引的 Map,这样可以判断是不是最后一个节点。
时间线的状态处理
如果订单还没完成,未完成的节点应该用不同的样式:
Icon(
  e.value['done'] as bool ? Icons.check_circle : Icons.radio_button_unchecked,
  color: e.value['done'] as bool ? const Color(0xFF4CAF50) : Colors.grey[400],
  size: 20.sp
),
已完成的节点用绿色对勾,未完成的用灰色空心圆。这样用户一眼就能看出订单进行到哪一步了。
操作按钮
如果订单还没完成,可以在底部加一些操作按钮:
if (record['status'] != '已完成') {
  return Column(
    children: [
      // 其他内容
      SizedBox(height: 16.h),
      Row(
        children: [
          Expanded(
            child: OutlinedButton(
              onPressed: () {},
              child: Text('联系商家'),
            ),
          ),
          SizedBox(width: 12.w),
          Expanded(
            child: ElevatedButton(
              onPressed: () {},
              child: Text('确认收货'),
            ),
          ),
        ],
      ),
    ],
  );
}
"联系商家"用描边按钮,"确认收货"用实心按钮,突出主要操作。
复制订单编号
订单编号可以加一个复制功能:
GestureDetector(
  onTap: () {
    Clipboard.setData(ClipboardData(text: 'FN20240115001568'));
    Get.snackbar('已复制', '订单编号已复制到剪贴板');
  },
  child: Row(
    children: [
      Text('FN20240115001568'),
      SizedBox(width: 4.w),
      Icon(Icons.copy, size: 14.sp, color: Colors.grey),
    ],
  ),
)
点击订单编号复制到剪贴板,方便用户查询物流或联系客服。
小结
购买详情页面展示了完整的购买信息,包括商品信息、订单信息、支付信息和订单进度。头部用渐变背景突出商品名称和价格,时间线清晰展示订单状态。
信息组织上,用卡片分组,每个卡片有标题,信息层次清晰。时间线用图标和竖线连接,视觉效果直观。
下一篇会讲统计分析页面的实现,用图表展示消费数据。
欢迎加入开源鸿蒙跨平台社区:https://openharmonycrossplatform.csdn.net

开源鸿蒙跨平台开发社区汇聚开发者与厂商,共建“一次开发,多端部署”的开源生态,致力于降低跨端开发门槛,推动万物智联创新。
更多推荐


 15
15 0
0- 0


 已为社区贡献26条内容

所有评论(0)