Flutter for OpenHarmony手势处理与交互设计完全指南
Flutter for OpenHarmony手势交互指南摘要 本文深入探讨了Flutter在OpenHarmony平台上的手势处理机制,主要内容包括: 手势竞技场原理:解析了Flutter如何处理多个手势识别器的竞争关系,只有获胜者才能响应事件 GestureDetector详解: 提供点击、双击、长按等基础手势识别 支持滑动(Pan)和缩放(Scale)等复杂手势 包含完整的API示例和状态管
Flutter for OpenHarmony手势处理与交互设计完全指南
前言
欢迎加入开源鸿蒙跨平台社区:开源鸿蒙跨平台开发者社区
在移动互联网时代,手势交互已经成为用户与应用沟通的核心方式。一个精心设计的手势系统,能够让应用体验从"能用"提升到"好用"。
Flutter for OpenHarmony 提供了强大而灵活的手势识别系统,但在实际开发中,很多开发者会遇到以下困惑:
GestureDetector、InkWell、Listener到底该用哪个?- 手势冲突(如同时响应点击和滑动)如何优雅解决?
- 如何实现自定义手势识别器?
- 怎样设计符合用户直觉的交互反馈?
作为一名在Flutter开发中踩过无数坑的开发者,我想通过这篇文章,系统性地讲解Flutter for OpenHarmony中的手势处理机制,并分享大量实战案例和最佳实践。
本文亮点:
- 深入解析手势竞技场(Gesture Arena)机制
- 10+ 实战案例,涵盖常用手势场景
- 自定义手势识别器完整实现
- 性能优化与防误触设计技巧
- OpenHarmony平台适配注意事项
一、手势基础原理深度解析
1.1 手势竞技场(Gesture Arena)机制
Flutter使用手势竞技场来优雅地处理多个手势竞争的场景。当用户触摸屏幕时,可能有多个手势识别器(如点击、双击、长按)同时竞争"获胜",只有竞技场的"赢家"才能响应事件。
/// 手势竞技场示例:点击、双击、长按的竞争
class GestureArenaExample extends StatelessWidget {
Widget build(BuildContext context) {
return GestureDetector(
// 单击手势
onTap: () => debugPrint('用户单击了'),
// 双击手势 - 竞技场会等待一段时间判断是否为双击
onDoubleTap: () => debugPrint('用户双击了'),
// 长按手势
onLongPress: () => debugPrint('用户长按了'),
child: Container(
width: 200,
height: 200,
color: Colors.blue,
alignment: Alignment.center,
child: Text(
'手势竞技场区域',
style: TextStyle(color: Colors.white, fontSize: 16),
),
),
);
}
}
竞技场决策流程:
用户按下屏幕 → 多个手势识别器加入竞技场
              ↓
         手势识别器竞争
              ↓
         竞技场宣布获胜者
              ↓
         只有获胜者响应事件
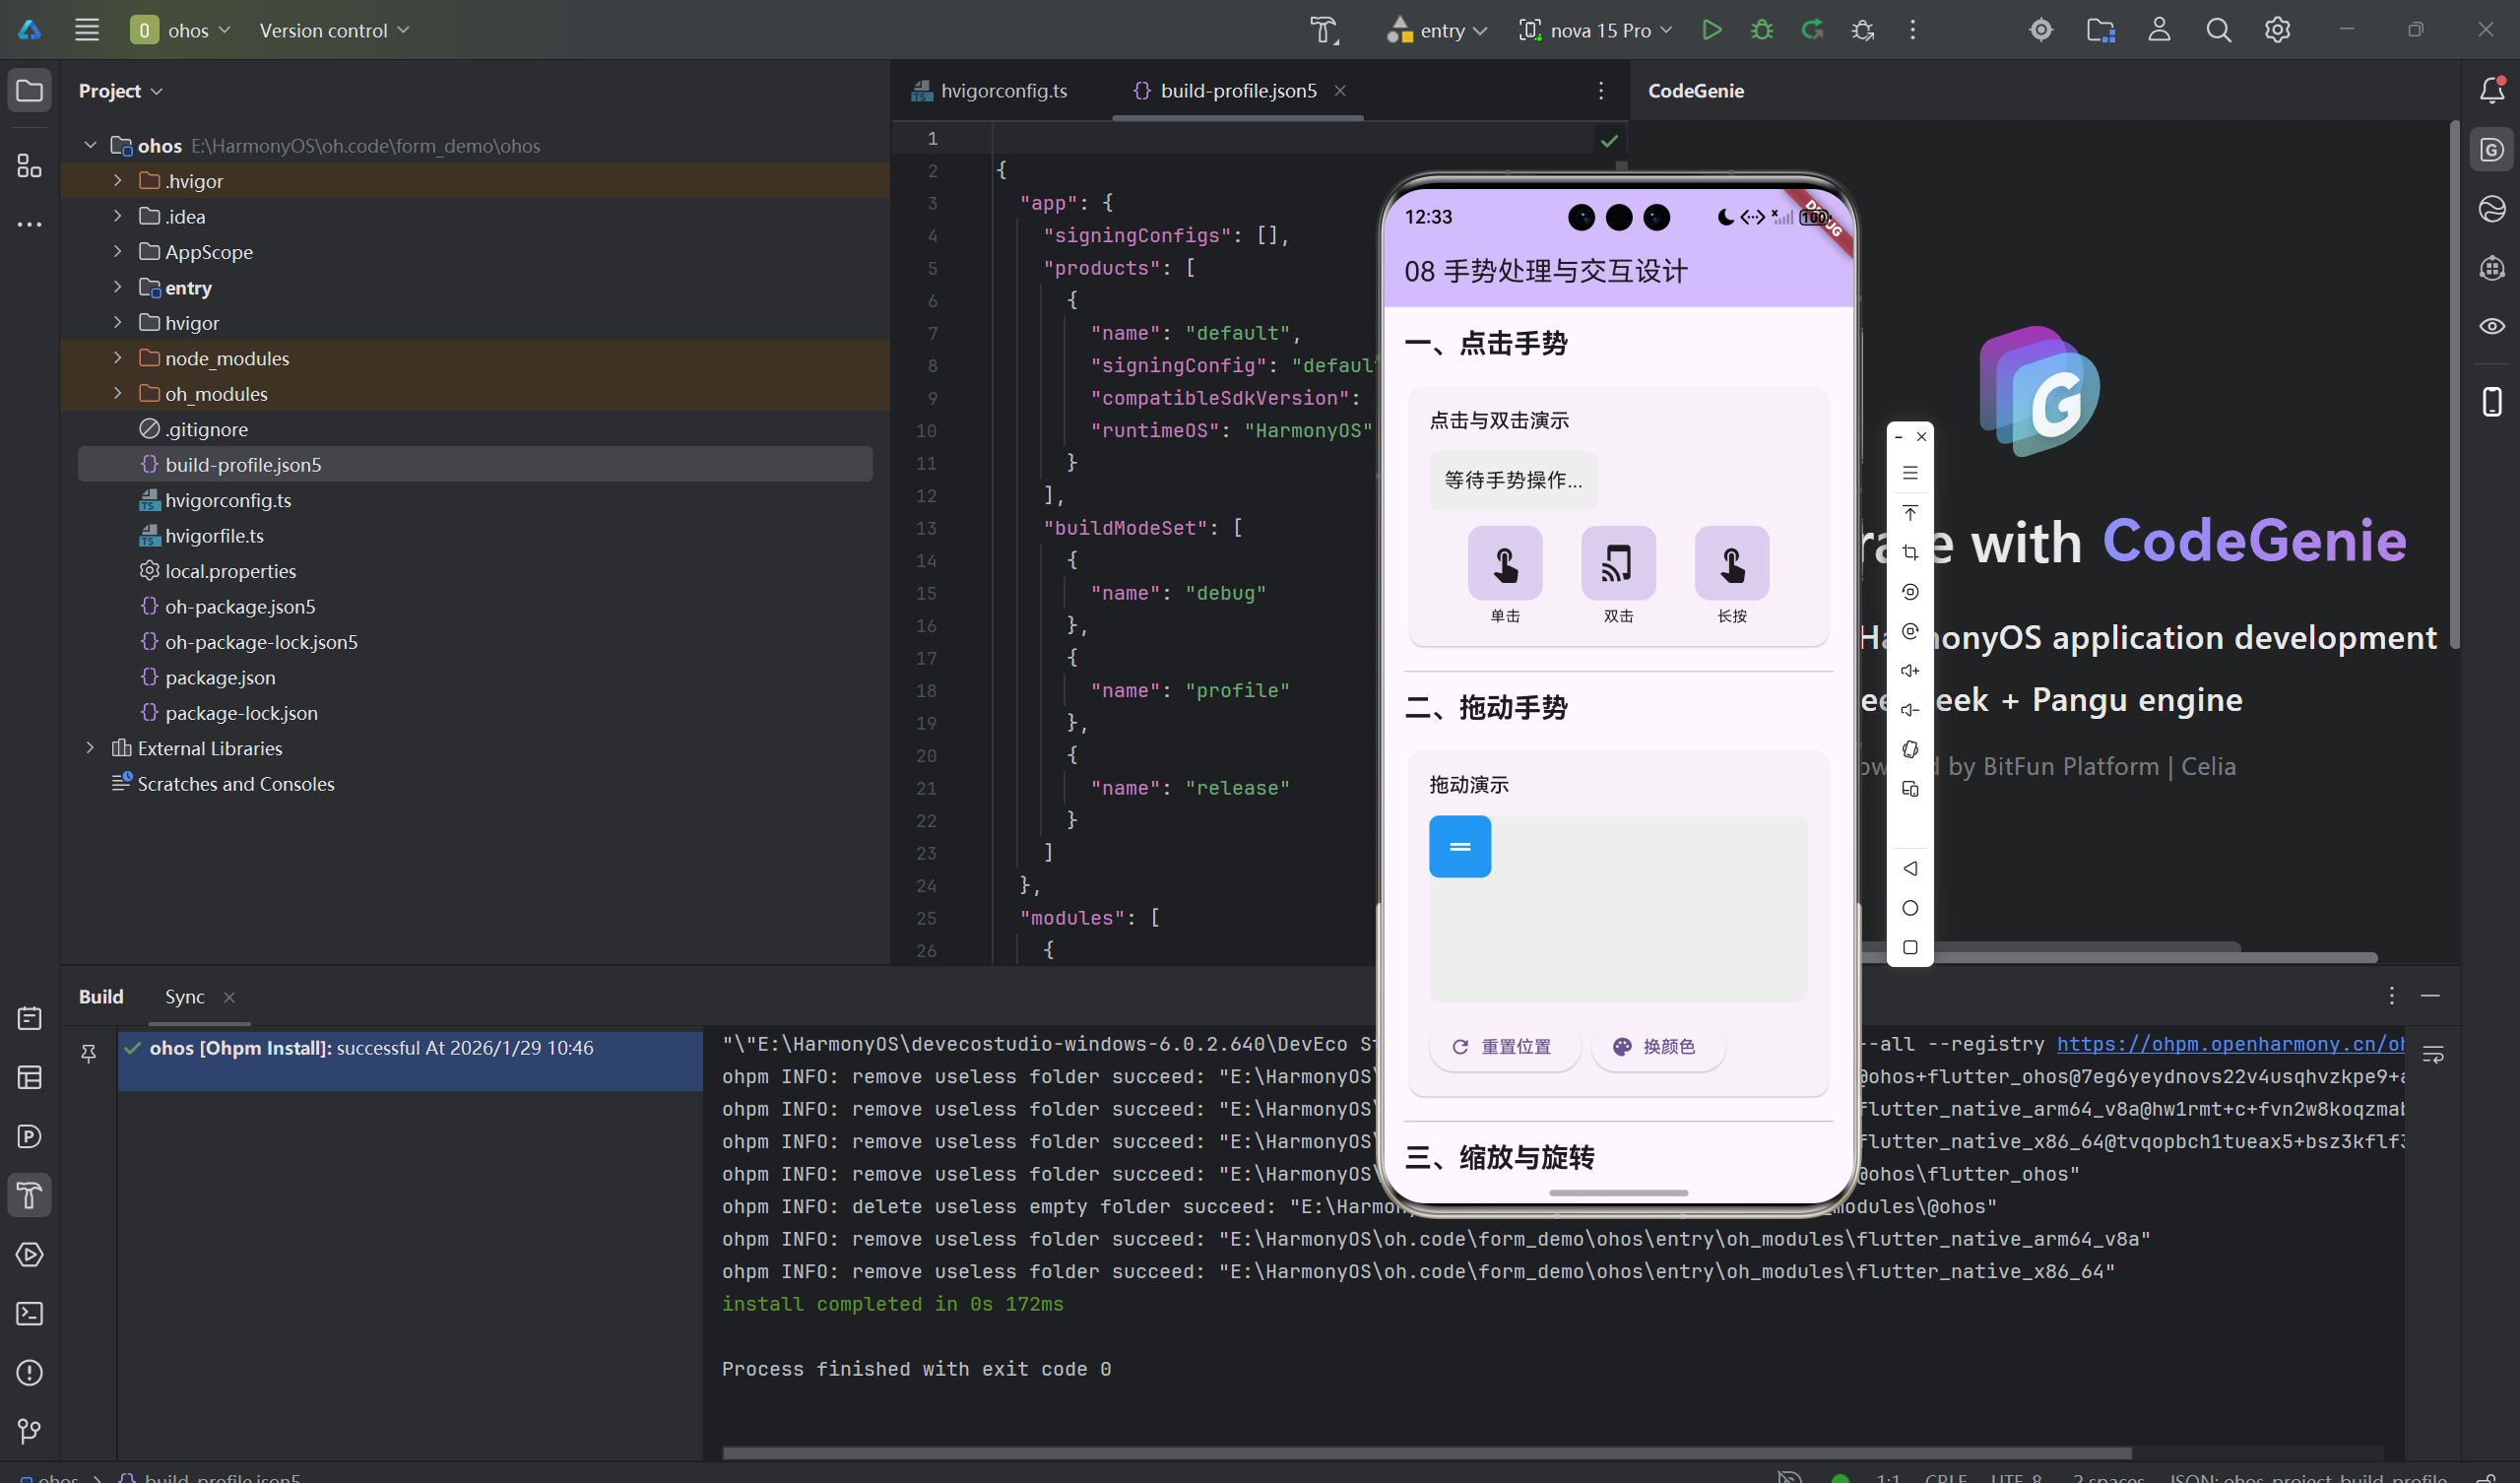
1.2 GestureDetector 核心API详解
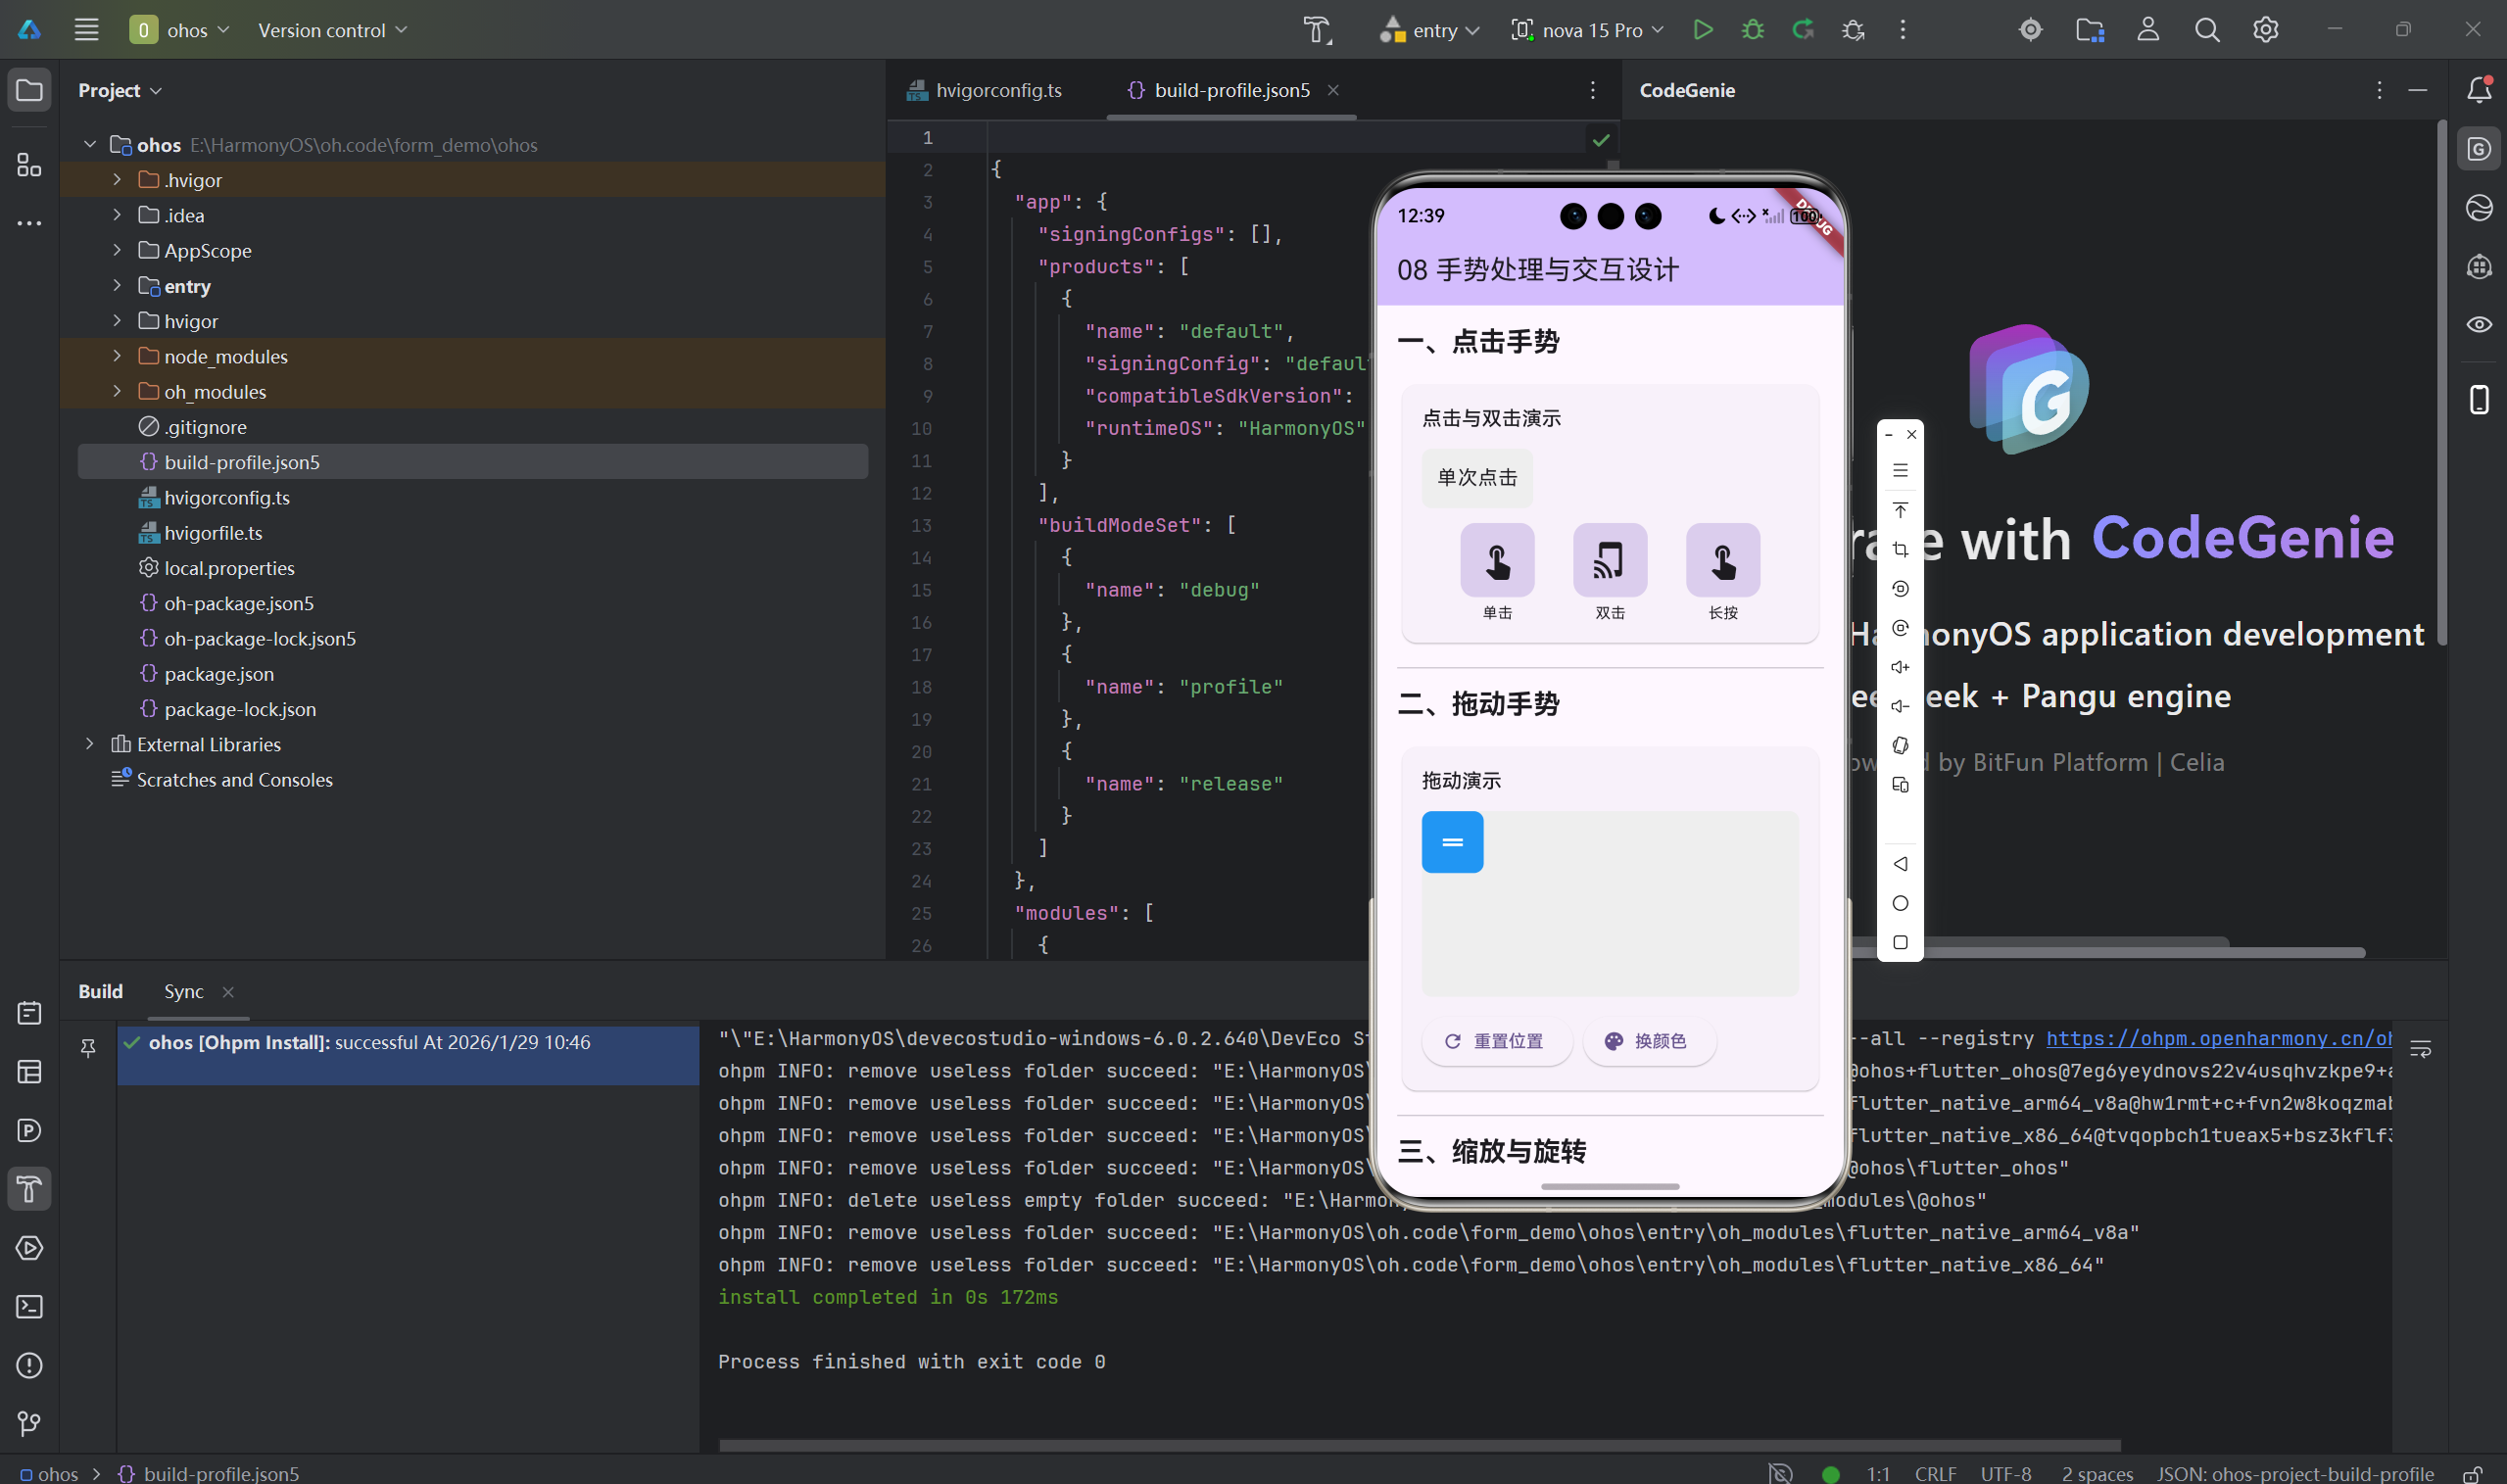
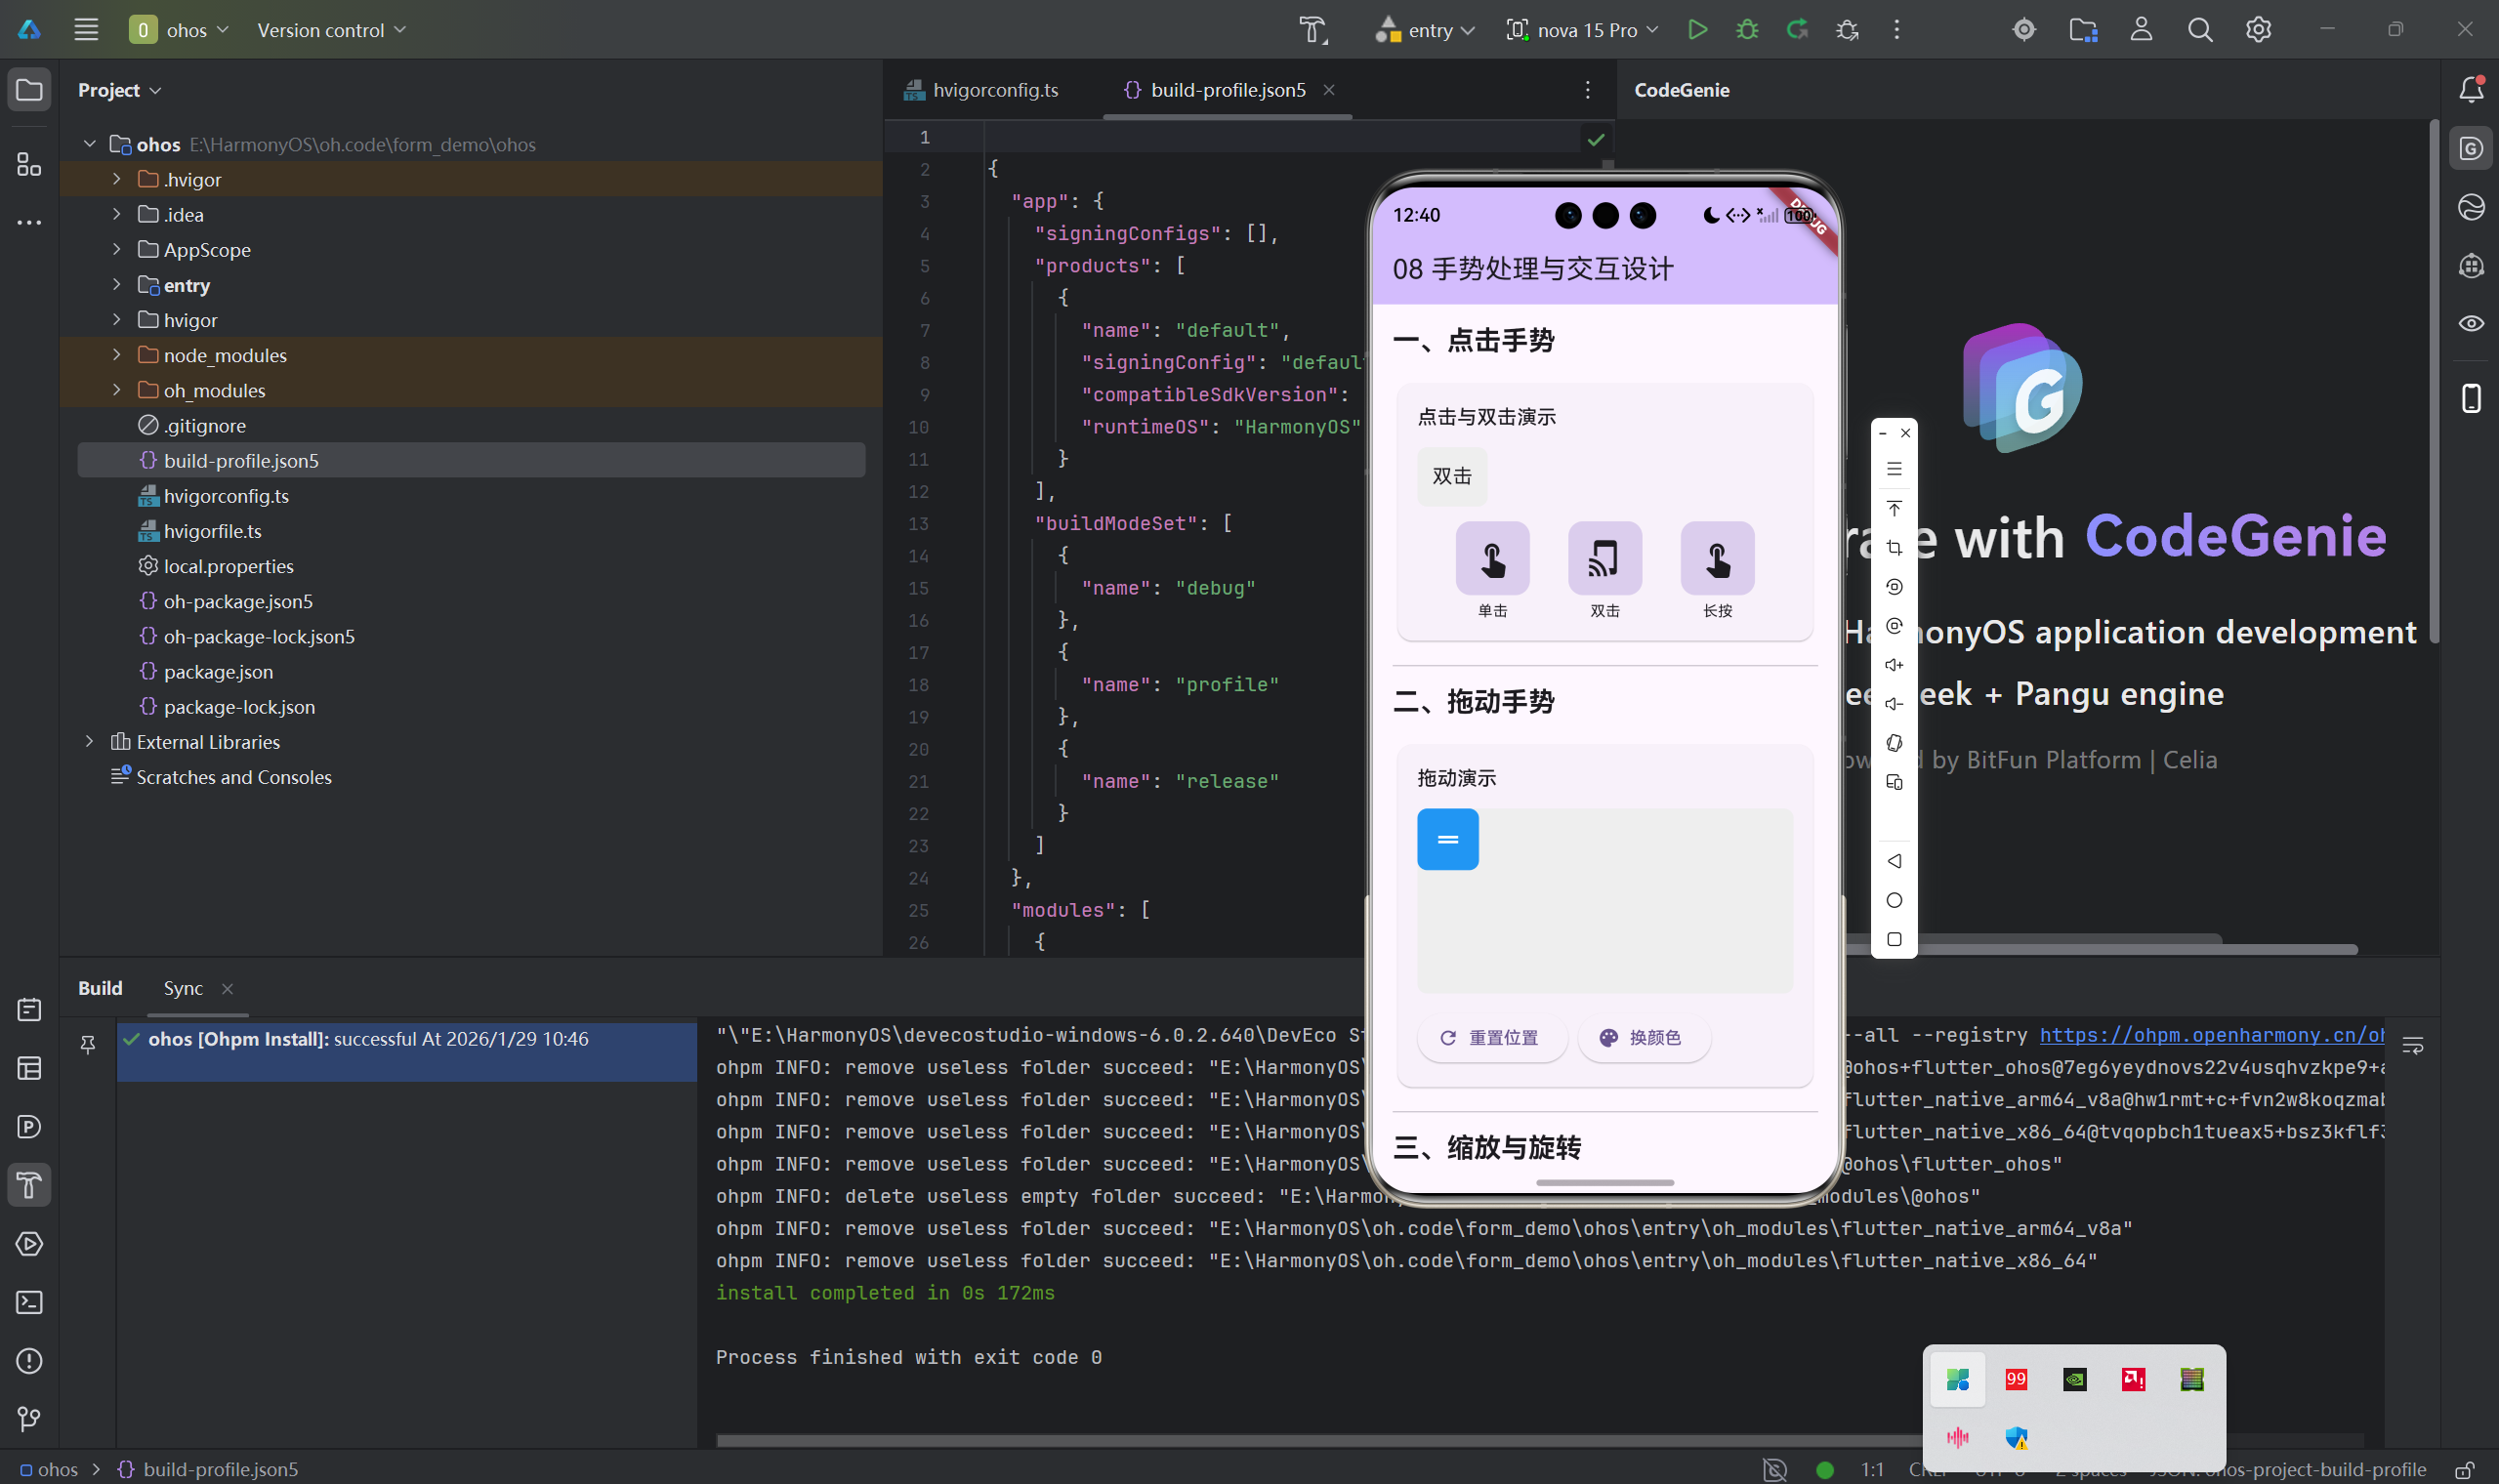
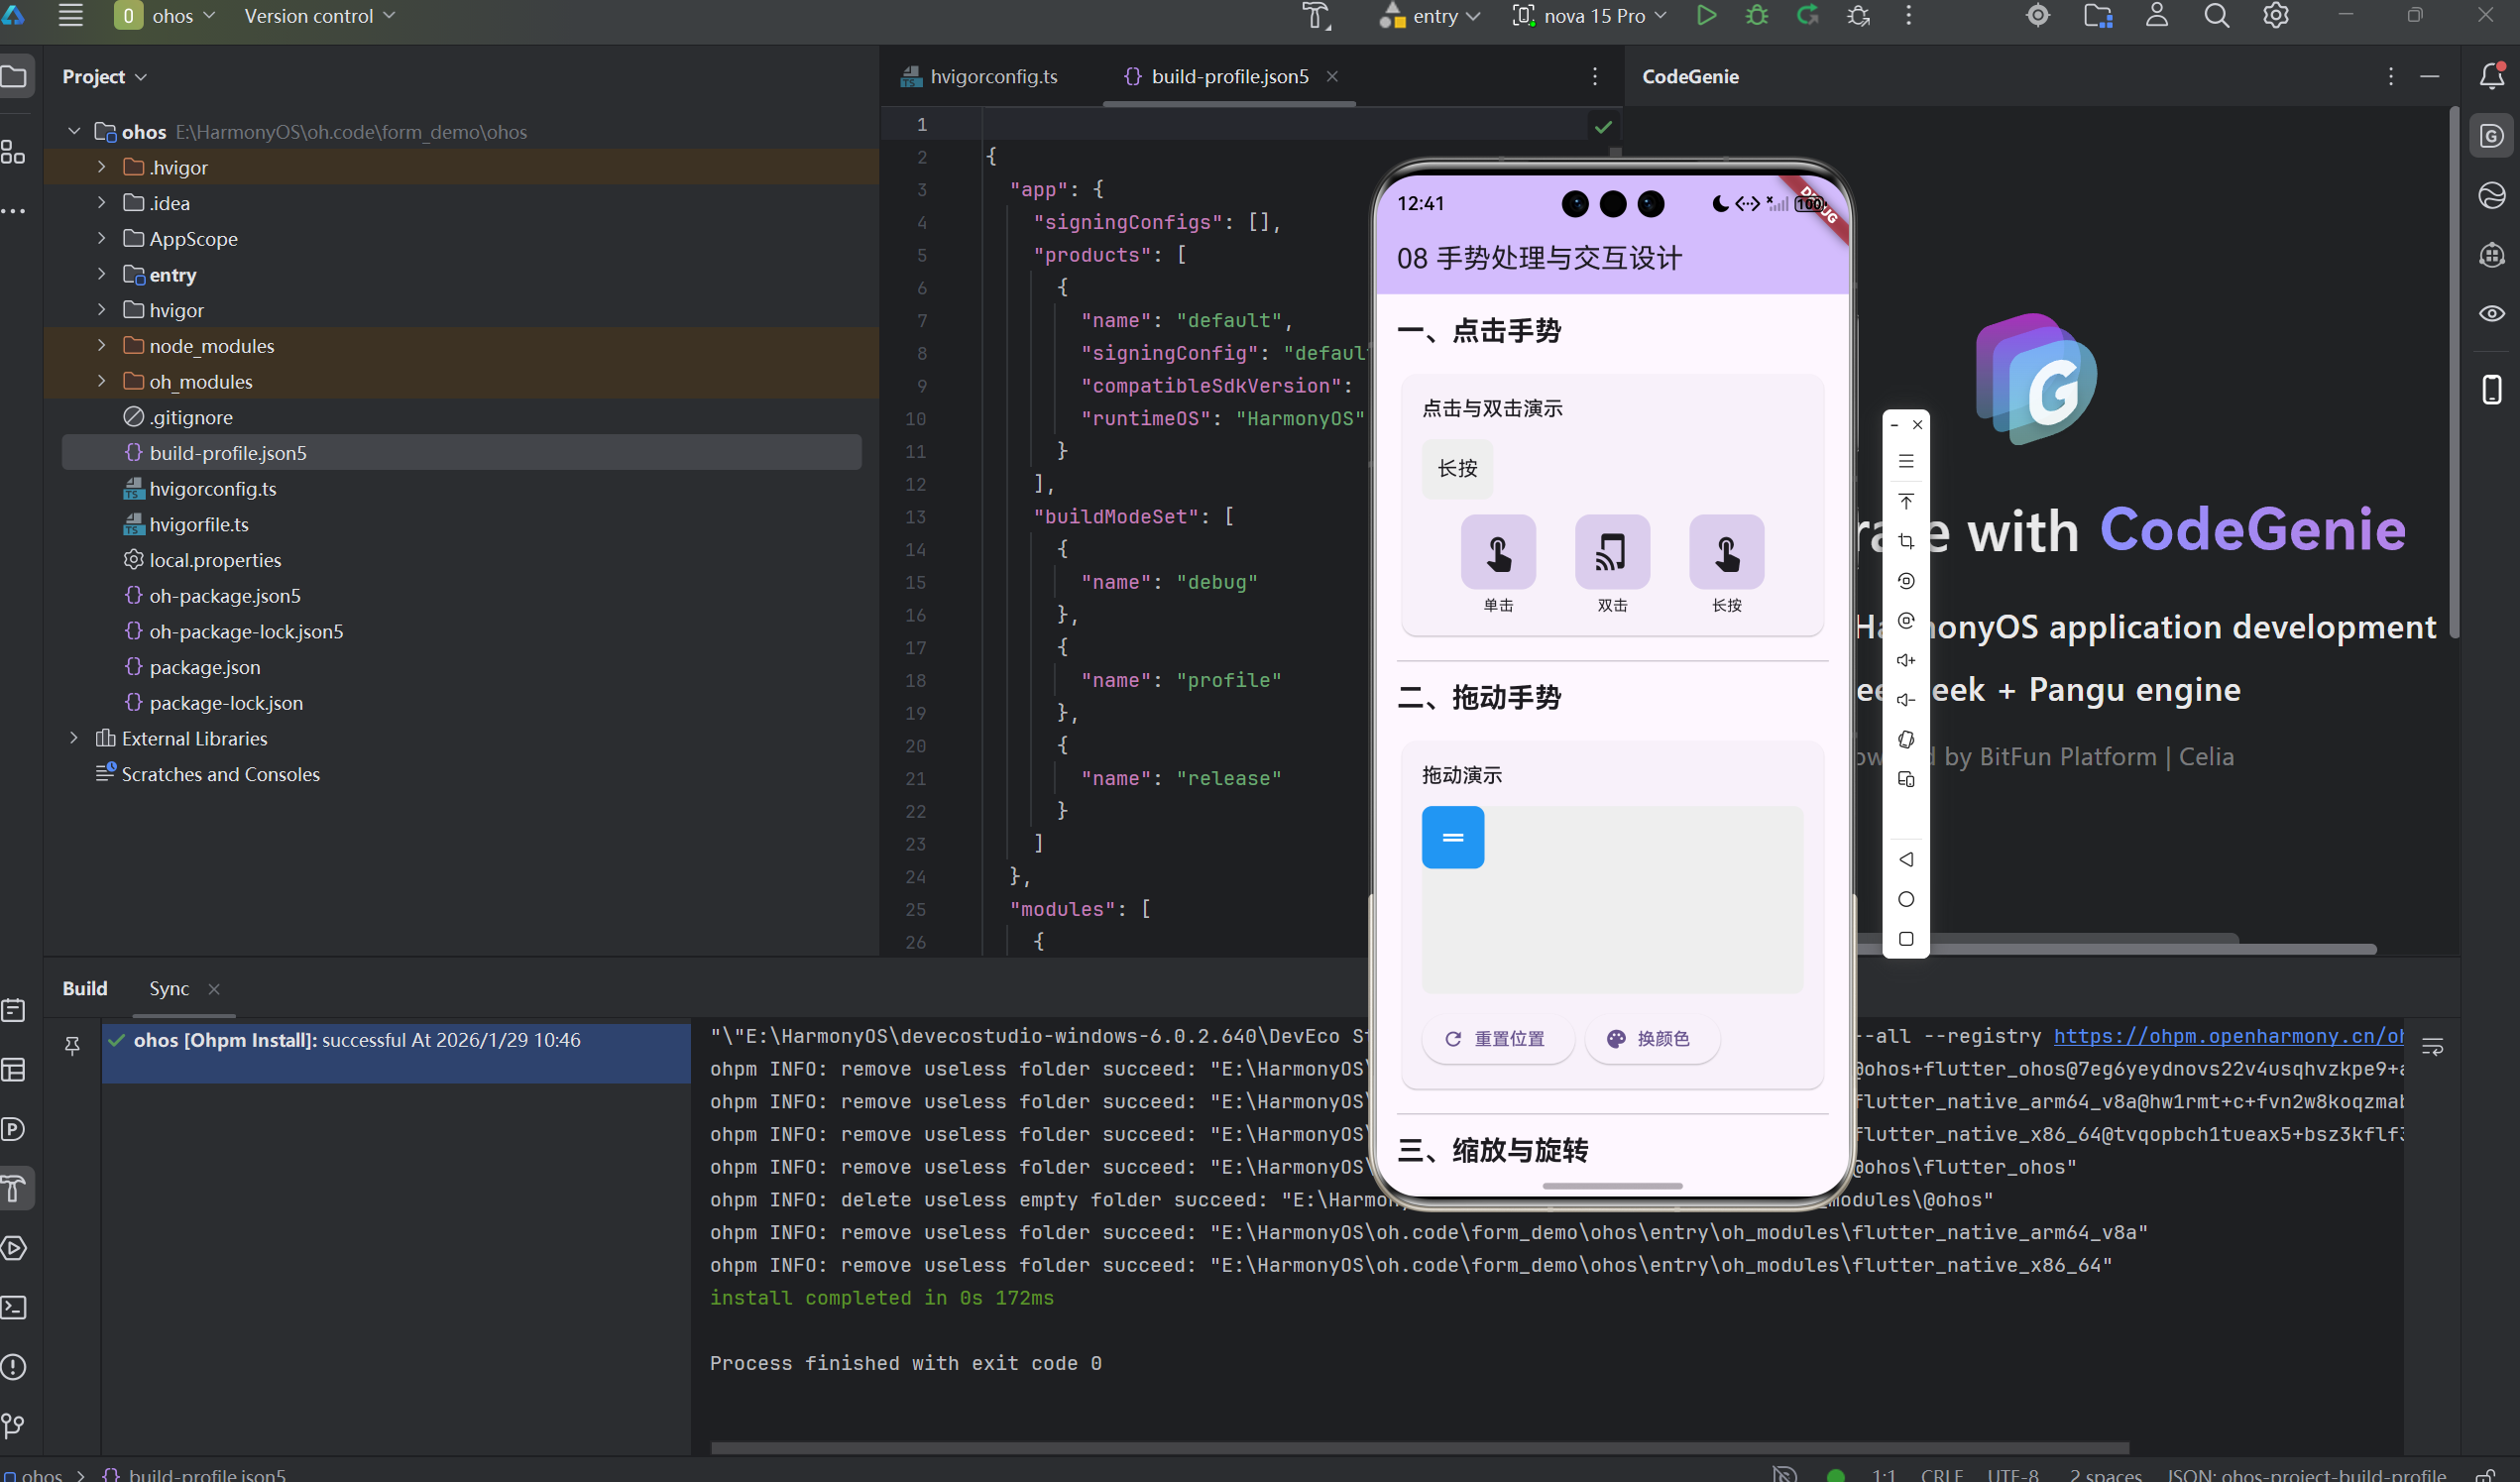
GestureDetector 是最常用的手势组件,让我们通过一个完整的示例来学习所有常用回调:
class GestureDetectorFullExample extends StatefulWidget {
State<GestureDetectorFullExample> createState() => _GestureDetectorFullExampleState();
}
class _GestureDetectorFullExampleState extends State<GestureDetectorFullExample> {
String _gestureLog = '请在下方区域进行手势操作';
Widget build(BuildContext context) {
return Column(
children: [
// 手势日志显示区域
Container(
padding: EdgeInsets.all(16),
margin: EdgeInsets.all(16),
decoration: BoxDecoration(
color: Colors.grey[100],
borderRadius: BorderRadius.circular(8),
),
child: Text(
_gestureLog,
style: TextStyle(fontSize: 14),
),
),
// 手势识别区域
GestureDetector(
// ========== 点击相关 ==========
/// 手指按下时立即触发(不论最终是否抬起)
onTapDown: (details) {
setState(() {
_gestureLog = '按下位置:${details.globalPosition}';
});
},
/// 手指抬起且未移动时触发(单击事件)
onTap: () {
setState(() {
_gestureLog = '检测到单击';
});
},
/// 单击完成后触发(可用于触发动画等)
onTapCancel: () {
setState(() {
_gestureLog = '点击被取消';
});
},
// ========== 双击 ==========
onDoubleTap: () {
setState(() {
_gestureLog = '检测到双击';
});
},
// ========== 长按 ==========
onLongPress: () {
setState(() {
_gestureLog = '检测到长按';
});
},
onLongPressStart: (details) {
setState(() {
_gestureLog = '长按开始:${details.globalPosition}';
});
},
onLongPressEnd: (details) {
setState(() {
_gestureLog = '长按结束';
});
},
// ========== 滑动(Pan) ==========
/// 开始拖动时触发
onPanStart: (details) {
setState(() {
_gestureLog = '开始拖动';
});
},
/// 拖动过程中持续触发,delta表示移动距离
onPanUpdate: (details) {
setState(() {
_gestureLog = '拖动中:delta=${details.delta}';
});
},
/// 拖动结束时触发,velocity表示拖动速度
onPanEnd: (details) {
setState(() {
_gestureLog = '拖动结束:velocity=${details.velocity.pixelsPerSecond}';
});
},
// ========== 缩放(Scale) ==========
onScaleStart: (details) {
setState(() {
_gestureLog = '缩放开始:focalPoint=${details.focalPoint}';
});
},
onScaleUpdate: (details) {
setState(() {
_gestureLog = '缩放更新:scale=${details.scale}';
});
},
onScaleEnd: (details) {
setState(() {
_gestureLog = '缩放结束';
});
},
// 行为设置
behavior: HitTestBehavior.opaque,
child: Container(
width: double.infinity,
height: 300,
color: Colors.blue.withOpacity(0.3),
alignment: Alignment.center,
child: Column(
mainAxisAlignment: MainAxisAlignment.center,
children: [
Icon(Icons.touch_app, size: 48, color: Colors.blue),
SizedBox(height: 16),
Text(
'手势测试区域',
style: TextStyle(fontSize: 18, fontWeight: FontWeight.bold),
),
Text('支持:点击、双击、长按、拖动、缩放'),
],
),
),
),
],
);
}
}
1.3 手势事件传播机制
了解手势事件的传播顺序,有助于解决复杂的手势冲突问题:
PointerDownEvent (手指按下)
    ↓
GestureRecognizer (手势识别器开始竞争)
    ↓
PointerMoveEvent (手指移动)
    ↓
竞技场裁决获胜者
    ↓
PointerUpEvent (手指抬起)
    ↓
获胜者触发回调
二、常用手势识别实战案例
2.1 左右滑动手势(翻页效果)
应用场景: 图片轮播、卡片切换、页面导航
/// 翻页手势示例 - 支持左右滑动切换页面
class SwipePageView extends StatefulWidget {
State<SwipePageView> createState() => _SwipePageViewState();
}
class _SwipePageViewState extends State<SwipePageView> {
// 当前页面索引
int _currentIndex = 0;
// 页面数据列表
final List<Map<String, dynamic>> _pages = [
{
'title': '页面 1',
'color': Colors.red,
'icon': Icons.home,
},
{
'title': '页面 2',
'color': Colors.green,
'icon': Icons.favorite,
},
{
'title': '页面 3',
'color': Colors.blue,
'icon': Icons.star,
},
];
Widget build(BuildContext context) {
return Scaffold(
appBar: AppBar(
title: Text('滑动手势示例'),
centerTitle: true,
),
body: GestureDetector(
// 监听水平拖动结束事件
onHorizontalDragEnd: (details) {
// primaryVelocity > 0 表示向右滑,< 0 表示向左滑
if (details.primaryVelocity == null) return;
// 设置滑动速度阈值,避免误触
const velocityThreshold = 300.0;
if (details.primaryVelocity! > velocityThreshold) {
// 向右滑动 -> 显示上一页
_changePage(-1);
} else if (details.primaryVelocity! < -velocityThreshold) {
// 向左滑动 -> 显示下一页
_changePage(1);
}
},
child: Container(
color: _pages[_currentIndex]['color'],
child: Center(
child: Column(
mainAxisAlignment: MainAxisAlignment.center,
children: [
Icon(
_pages[_currentIndex]['icon'],
size: 100,
color: Colors.white,
),
SizedBox(height: 24),
Text(
_pages[_currentIndex]['title'],
style: TextStyle(
fontSize: 32,
color: Colors.white,
fontWeight: FontWeight.bold,
),
),
SizedBox(height: 48),
// 页面指示器
Row(
mainAxisAlignment: MainAxisAlignment.center,
children: List.generate(
_pages.length,
(index) => AnimatedContainer(
duration: Duration(milliseconds: 300),
margin: EdgeInsets.symmetric(horizontal: 4),
width: _currentIndex == index ? 24 : 8,
height: 8,
decoration: BoxDecoration(
color: _currentIndex == index
? Colors.white
: Colors.white.withOpacity(0.5),
borderRadius: BorderRadius.circular(4),
),
),
),
),
SizedBox(height: 16),
Text(
'← 向右滑 向左滑 →',
style: TextStyle(color: Colors.white.withOpacity(0.8)),
),
],
),
),
),
),
);
}
/// 切换页面
void _changePage(int direction) {
setState(() {
// 计算新的页面索引,使用 clamp 确保不越界
_currentIndex = (_currentIndex + direction).clamp(0, _pages.length - 1);
});
}
}
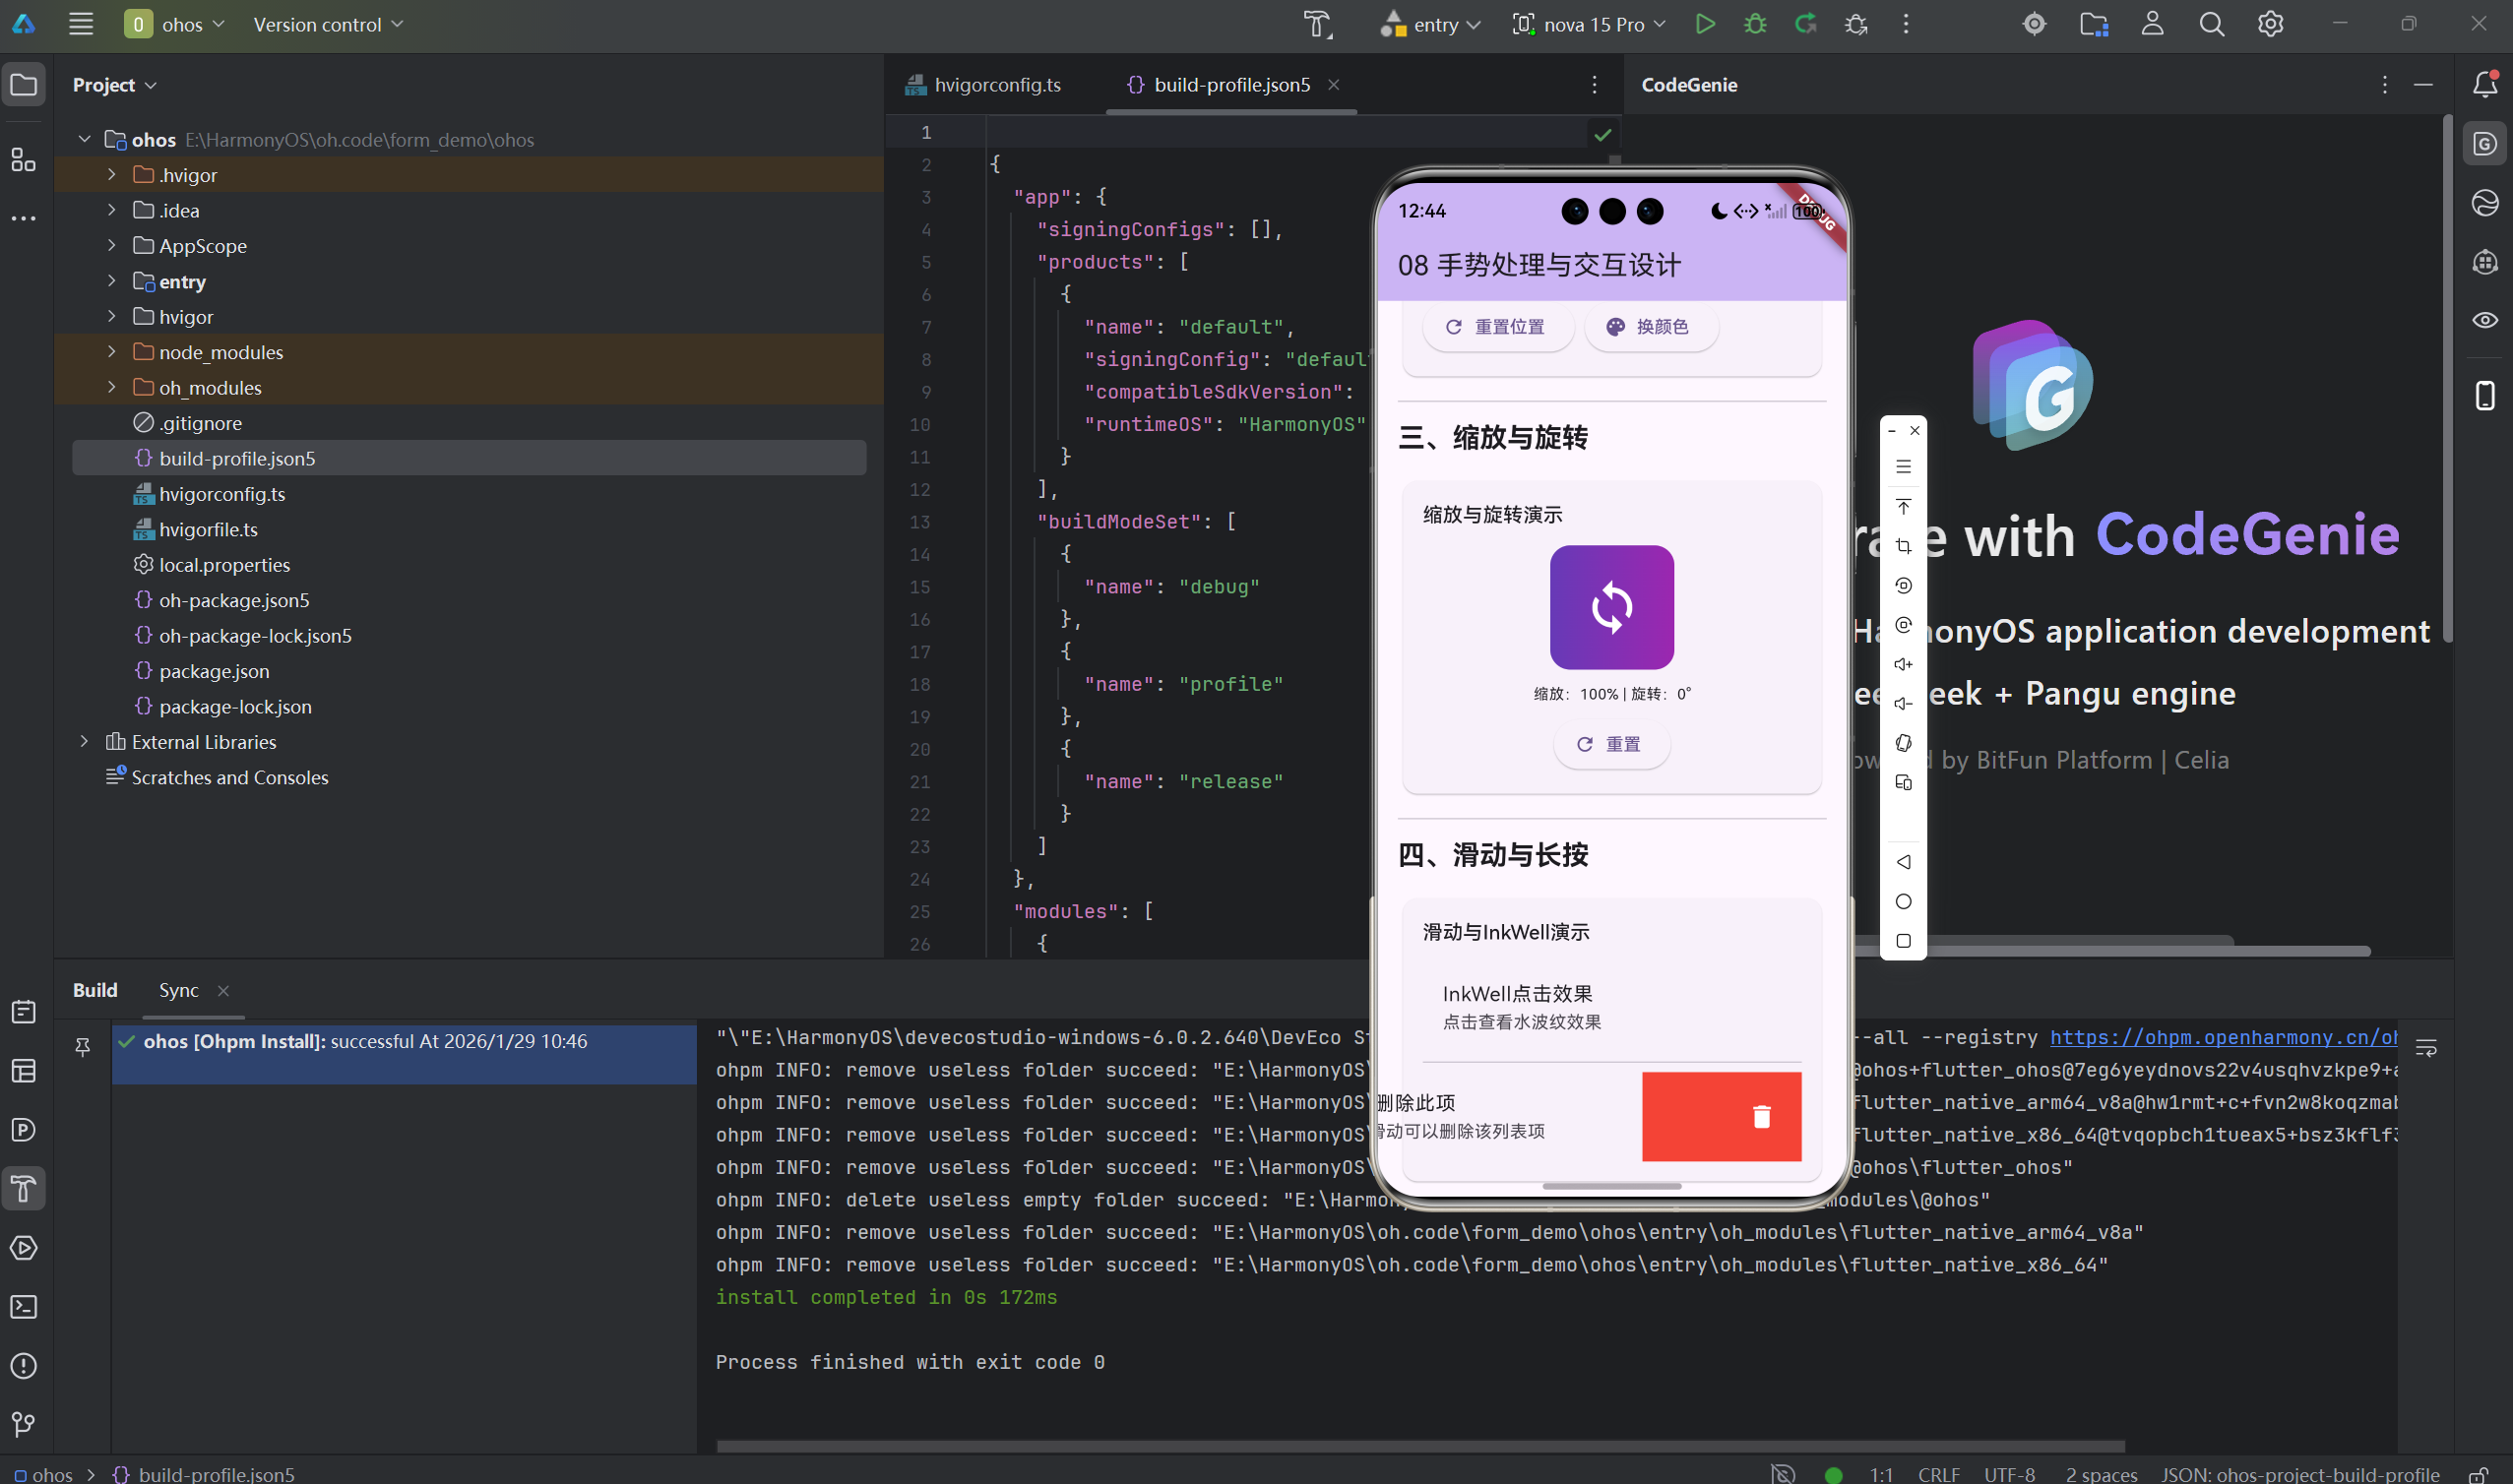
2.2 双指缩放手势(图片查看器)

应用场景: 图片浏览、地图缩放、Canvas编辑器
/// 图片缩放查看器 - 支持双指缩放和拖动
class ImageZoomViewer extends StatefulWidget {
final String imageUrl;
const ImageZoomViewer({
Key? key,
required this.imageUrl,
}) : super(key: key);
State<ImageZoomViewer> createState() => _ImageZoomViewerState();
}
class _ImageZoomViewerState extends State<ImageZoomViewer> {
// 矩阵信息,用于实现缩放和平移
final Matrix4 _matrix = Matrix4.identity();
// 缩放比例
double _scale = 1.0;
// 上一次缩放比例
double _prevScale = 1.0;
Widget build(BuildContext context) {
return Scaffold(
backgroundColor: Colors.black,
appBar: AppBar(
title: Text('图片查看器'),
backgroundColor: Colors.black,
),
body: Center(
child: GestureDetector(
// 双指缩放手势
onScaleStart: (details) {
// 记录开始缩放时的比例
_prevScale = _scale;
},
onScaleUpdate: (details) {
// 更新缩放比例
setState(() {
_scale = _prevScale * details.scale;
// 限制缩放范围在 0.5 倍到 3 倍之间
_scale = _scale.clamp(0.5, 3.0);
// 应用矩阵变换
_matrix.setIdentity();
_matrix.scale(_scale);
});
},
onScaleEnd: (details) {
// 缩放结束
},
child: Transform(
transform: _matrix,
alignment: Alignment.center,
child: Image.network(
widget.imageUrl,
fit: BoxFit.contain,
loadingBuilder: (context, child, loadingProgress) {
if (loadingProgress == null) return child;
return CircularProgressIndicator(
value: loadingProgress.expectedTotalBytes != null
? loadingProgress.cumulativeBytesLoaded /
loadingProgress.expectedTotalBytes!
: null,
color: Colors.white,
);
},
errorBuilder: (context, error, stackTrace) {
return Icon(
Icons.error_outline,
size: 64,
color: Colors.white,
);
},
),
),
),
),
floatingActionButton: FloatingActionButton(
onPressed: () {
// 重置缩放
setState(() {
_scale = 1.0;
_matrix.setIdentity();
});
},
child: Icon(Icons.refresh),
backgroundColor: Colors.white,
),
);
}
}
2.3 拖拽排序(可拖动列表项)
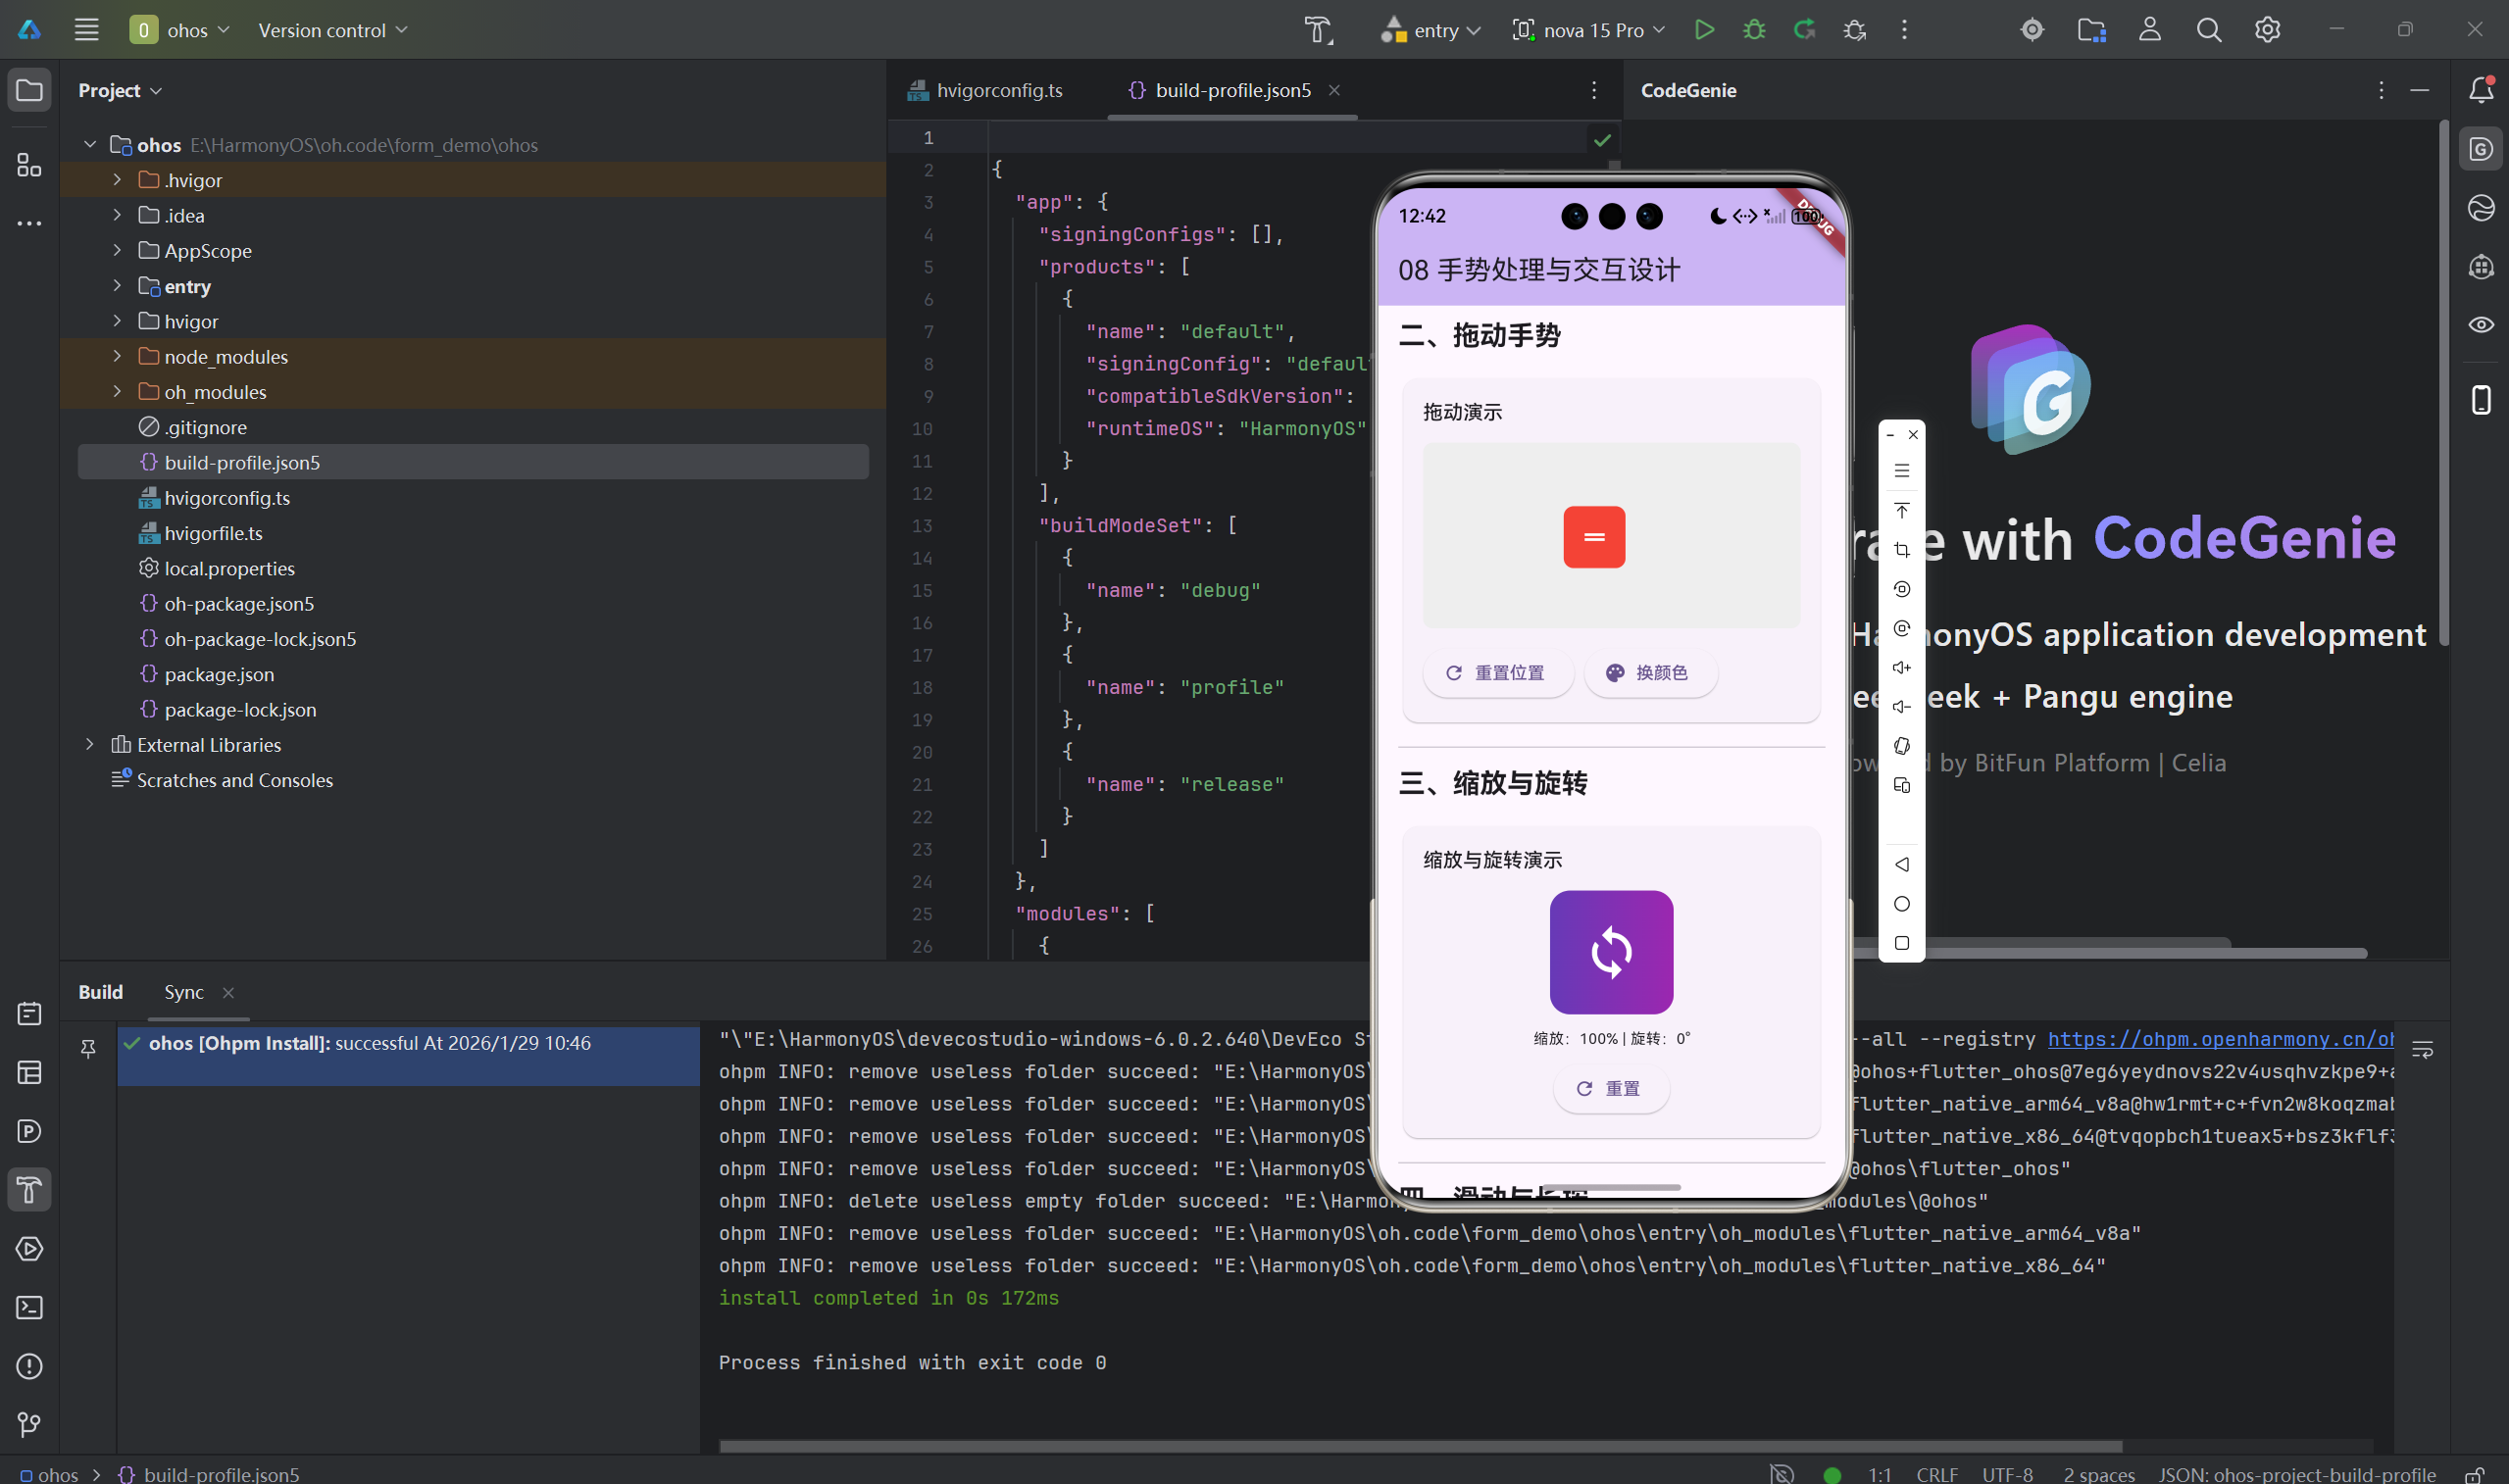
应用场景: 待办事项排序、歌单调整、流程编辑
/// 可拖动的列表项示例
class DraggableListItem extends StatefulWidget {
final String title;
final int index;
final Function(int, int) onReorder;
const DraggableListItem({
Key? key,
required this.title,
required this.index,
required this.onReorder,
}) : super(key: key);
State<DraggableListItem> createState() => _DraggableListItemState();
}
class _DraggableListItemState extends State<DraggableListItem> {
// 记录拖动起始位置
double _startY = 0;
// 当前垂直偏移量
double _offsetY = 0;
Widget build(BuildContext context) {
return GestureDetector(
onPanStart: (details) {
// 记录起始位置
_startY = details.globalPosition.dy;
},
onPanUpdate: (details) {
// 计算垂直方向的偏移量
setState(() {
_offsetY = details.globalPosition.dy - _startY;
});
},
onPanEnd: (details) {
// 根据拖动距离判断是否需要交换位置
const threshold = 50.0; // 拖动阈值
if (_offsetY > threshold) {
// 向下拖动,与下一项交换
widget.onReorder(widget.index, widget.index + 1);
} else if (_offsetY < -threshold) {
// 向上拖动,与上一项交换
widget.onReorder(widget.index, widget.index - 1);
}
// 重置偏移量
setState(() {
_offsetY = 0;
});
},
child: Transform.translate(
offset: Offset(0, _offsetY),
child: Container(
margin: EdgeInsets.symmetric(horizontal: 16, vertical: 4),
padding: EdgeInsets.all(16),
decoration: BoxDecoration(
color: Colors.white,
borderRadius: BorderRadius.circular(8),
boxShadow: [
BoxShadow(
color: Colors.black.withOpacity(0.1),
blurRadius: 4,
offset: Offset(0, 2),
),
],
),
child: Row(
children: [
Icon(Icons.drag_handle, color: Colors.grey),
SizedBox(width: 16),
Expanded(child: Text(widget.title)),
],
),
),
),
);
}
}
2.4 InkWell 水波纹效果按钮
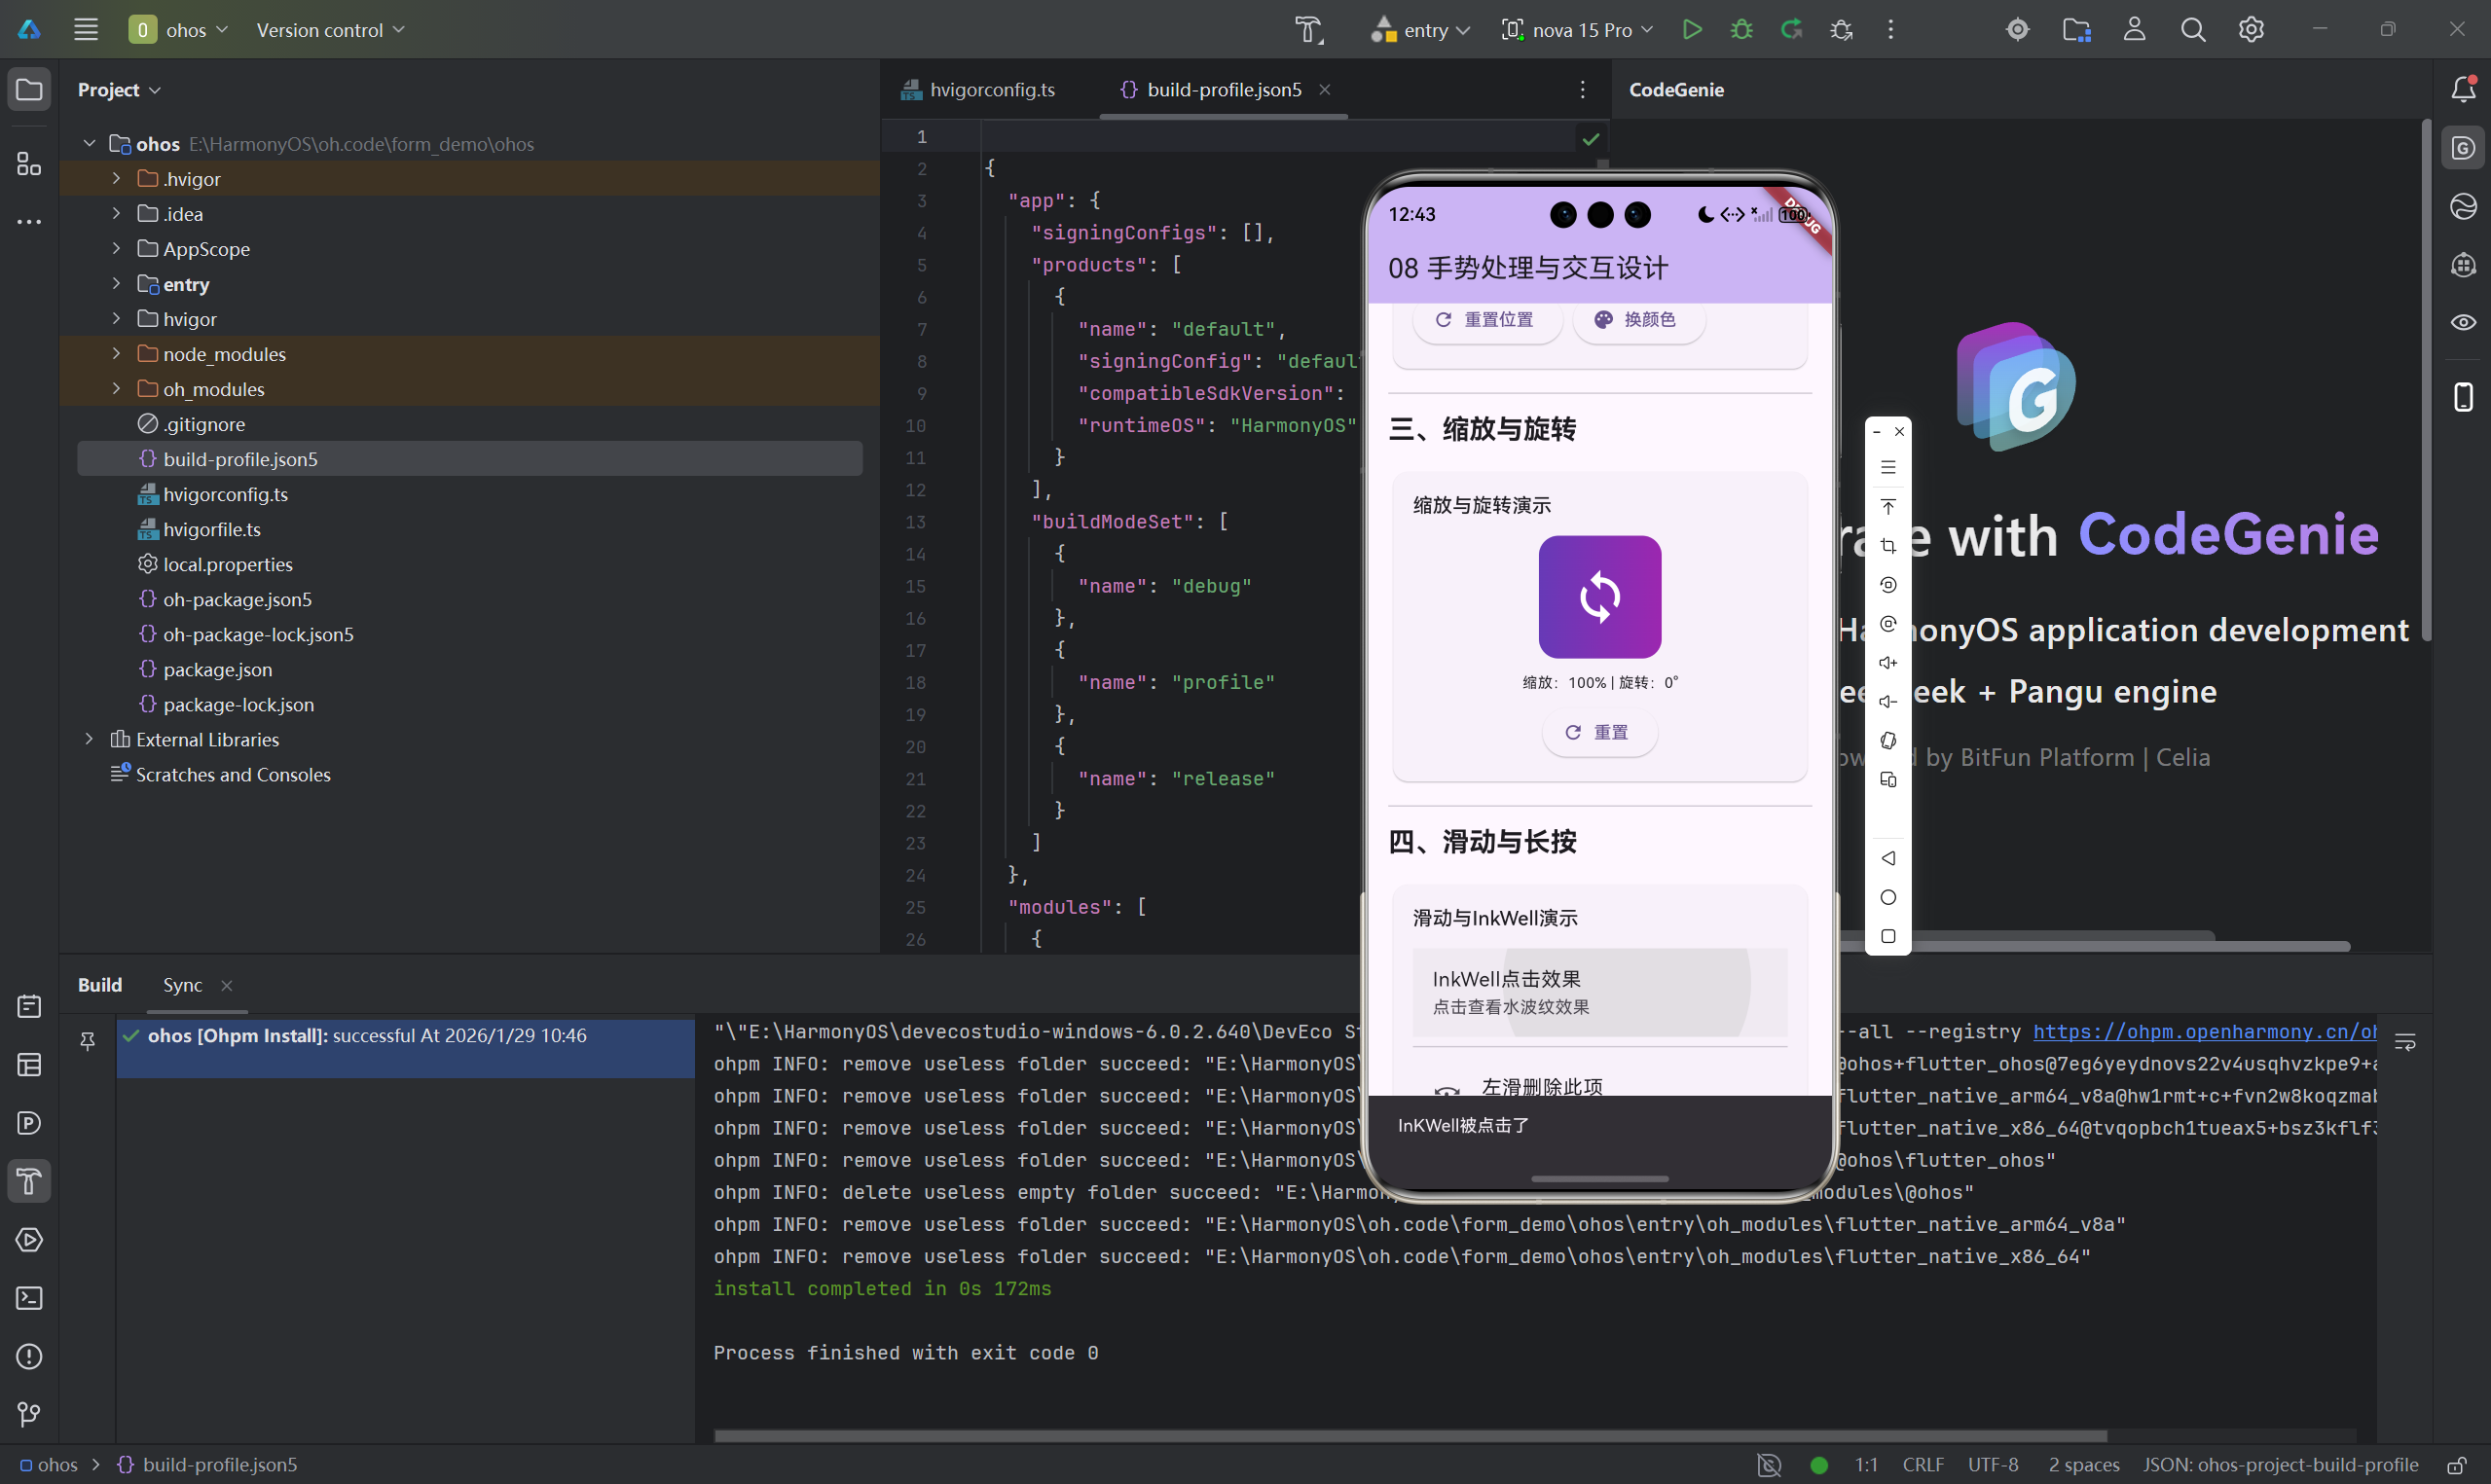
InkWell 提供了 Material Design 风格的点击反馈效果:
/// InkWell 水波纹效果示例
class InkwellButtonsExample extends StatelessWidget {
Widget build(BuildContext context) {
return Scaffold(
appBar: AppBar(title: Text('InkWell 水波纹效果')),
body: Padding(
padding: EdgeInsets.all(16),
child: Column(
crossAxisAlignment: CrossAxisAlignment.stretch,
children: [
// 基础水波纹按钮
InkWell(
onTap: () {
debugPrint('点击了基础按钮');
},
child: Container(
padding: EdgeInsets.symmetric(vertical: 16),
decoration: BoxDecoration(
color: Colors.blue,
borderRadius: BorderRadius.circular(8),
),
child: Text(
'基础水波纹按钮',
textAlign: TextAlign.center,
style: TextStyle(color: Colors.white, fontSize: 16),
),
),
),
SizedBox(height: 16),
// 圆角水波纹按钮
InkWell(
onTap: () {},
borderRadius: BorderRadius.circular(24),
child: Container(
padding: EdgeInsets.symmetric(vertical: 16),
decoration: BoxDecoration(
border: Border.all(color: Colors.blue, width: 2),
borderRadius: BorderRadius.circular(24),
),
child: Text(
'边框水波纹按钮',
textAlign: TextAlign.center,
style: TextStyle(color: Colors.blue, fontSize: 16),
),
),
),
SizedBox(height: 16),
// 带图标的水波纹卡片
InkWell(
onTap: () {},
borderRadius: BorderRadius.circular(12),
splashColor: Colors.blue.withOpacity(0.3),
highlightColor: Colors.blue.withOpacity(0.1),
child: Container(
padding: EdgeInsets.all(16),
decoration: BoxDecoration(
color: Colors.grey[100],
borderRadius: BorderRadius.circular(12),
),
child: Row(
children: [
Icon(Icons.favorite, color: Colors.red, size: 32),
SizedBox(width: 16),
Expanded(
child: Column(
crossAxisAlignment: CrossAxisAlignment.start,
children: [
Text(
'水波纹卡片',
style: TextStyle(
fontSize: 16,
fontWeight: FontWeight.bold,
),
),
Text('点击体验水波纹效果'),
],
),
),
Icon(Icons.arrow_forward_ios, size: 16),
],
),
),
),
],
),
),
);
}
}
三、高级手势技巧
3.1 自定义手势识别器
当内置手势识别器无法满足需求时,可以创建自定义手势识别器:
/// 自定义双指点击手势识别器
class DoubleTapGestureRecognizer extends TapGestureRecognizer {
void resolve(GestureDisposition disposition) {
super.resolve(disposition);
debugPrint('手势裁决:$disposition');
}
}
/// 使用自定义手势识别器
class CustomGestureDetector extends StatelessWidget {
final Widget child;
final VoidCallback? onDoubleTap;
const CustomGestureDetector({
Key? key,
required this.child,
this.onDoubleTap,
}) : super(key: key);
Widget build(BuildContext context) {
return RawGestureDetector(
gestures: {
DoubleTapGestureRecognizer:
GestureRecognizerFactoryWithHandlers<DoubleTapGestureRecognizer>(
() => DoubleTapGestureRecognizer(),
(DoubleTapGestureRecognizer instance) {
instance.onTapDown = (details) {};
if (onDoubleTap != null) {
instance.onTap = onDoubleTap;
}
},
),
},
child: child,
);
}
}
3.2 Listener - 底层指针事件
Listener 可以直接监听底层的指针事件,实现更精细的控制:
/// Listener 底层指针事件示例
class ListenerExample extends StatefulWidget {
State<ListenerExample> createState() => _ListenerExampleState();
}
class _ListenerExampleState extends State<ListenerExample> {
String _eventLog = '在下方区域移动鼠标或触摸';
Widget build(BuildContext context) {
return Column(
children: [
Container(
padding: EdgeInsets.all(16),
child: Text(_eventLog),
),
Listener(
// 指针按下事件
onPointerDown: (event) {
setState(() {
_eventLog = '按下:位置=${event.position}, 按钮=${event.buttons}';
});
},
// 指针移动事件
onPointerMove: (event) {
setState(() {
_eventLog = '移动:位置=${event.position}, delta=${event.delta}';
});
},
// 指针抬起事件
onPointerUp: (event) {
setState(() {
_eventLog = '抬起:位置=${event.position}';
});
},
// 指针取消事件
onPointerCancel: () {
setState(() {
_eventLog = '手势被取消';
});
},
// 指针进入区域
onPointerEnter: (event) {
setState(() {
_eventLog = '进入区域';
});
},
// 指针离开区域
onPointerExit: (event) {
setState(() {
_eventLog = '离开区域';
});
},
behavior: HitTestBehavior.opaque,
child: Container(
width: double.infinity,
height: 300,
color: Colors.orange.withOpacity(0.3),
alignment: Alignment.center,
child: Text('Listener 监听区域'),
),
),
],
);
}
}
3.3 手势冲突解决方案
处理多个手势组件的冲突:
/// 解决手势冲突示例
class GestureConflictExample extends StatefulWidget {
State<GestureConflictExample> createState() => _GestureConflictExampleState();
}
class _GestureConflictExampleState extends State<GestureConflictExample> {
double _scale = 1.0;
Offset _offset = Offset.zero;
Widget build(BuildContext context) {
return Scaffold(
appBar: AppBar(title: Text('手势冲突处理')),
body: Center(
child: GestureDetector(
// 处理缩放手势
onScaleStart: (details) {},
onScaleUpdate: (details) {
setState(() {
_scale = details.scale.clamp(0.5, 3.0);
});
},
onScaleEnd: (details) {},
// 处理拖动手势
onPanUpdate: (details) {
setState(() {
_offset += details.delta;
});
},
child: Transform(
transform: Matrix4.identity()
..scale(_scale)
..translate(_offset.dx, _offset.dy),
child: Container(
width: 200,
height: 200,
color: Colors.blue,
alignment: Alignment.center,
child: Text(
'支持缩放和拖动',
style: TextStyle(color: Colors.white),
),
),
),
),
),
);
}
}
四、交互设计最佳实践
4.1 手势反馈设计
良好的反馈能提升用户体验:
/// 手势反馈示例
class GestureFeedbackExample extends StatefulWidget {
State<GestureFeedbackExample> createState() => _GestureFeedbackExampleState();
}
class _GestureFeedbackExampleState extends State<GestureFeedbackExample> {
bool _isPressed = false;
bool _isLoading = false;
Widget build(BuildContext context) {
return Center(
child: GestureDetector(
// 按下时改变状态
onTapDown: (_) => setState(() => _isPressed = true),
// 抬起时恢复状态
onTapUp: (_) => setState(() => _isPressed = false),
// 取消时恢复状态
onTapCancel: () => setState(() => _isPressed = false),
// 点击事件
onTap: () async {
setState(() => _isLoading = true);
// 模拟异步操作
await Future.delayed(Duration(seconds: 1));
setState(() => _isLoading = false);
// 显示成功提示
ScaffoldMessenger.of(context).showSnackBar(
SnackBar(content: Text('操作成功')),
);
},
child: AnimatedContainer(
duration: Duration(milliseconds: 100),
width: 200,
height: 60,
decoration: BoxDecoration(
// 按下时颜色加深
color: _isPressed
? Colors.blue.shade700
: (_isLoading ? Colors.grey : Colors.blue),
borderRadius: BorderRadius.circular(8),
boxShadow: [
if (!_isPressed)
BoxShadow(
color: Colors.blue.withOpacity(0.3),
blurRadius: 8,
offset: Offset(0, 4),
),
],
),
child: Center(
child: _isLoading
? SizedBox(
width: 20,
height: 20,
child: CircularProgressIndicator(
strokeWidth: 2,
valueColor: AlwaysStoppedAnimation<Color>(Colors.white),
),
)
: Text(
'点击体验反馈',
style: TextStyle(color: Colors.white, fontSize: 16),
),
),
),
),
);
}
}
4.2 防误触设计
避免用户误操作导致的问题:
/// 防误触示例
class PreventAccidentalTapExample extends StatefulWidget {
State<PreventAccidentalTapExample> createState() =>
_PreventAccidentalTapExampleState();
}
class _PreventAccidentalTapExampleState
extends State<PreventAccidentalTapExample> {
DateTime? _lastTapTime;
void _handleTap() {
final now = DateTime.now();
// 检查点击间隔是否过短
if (_lastTapTime != null &&
now.difference(_lastTapTime!).inMilliseconds < 300) {
ScaffoldMessenger.of(context).showSnackBar(
SnackBar(content: Text('点击太快,请稍后再试')),
);
return;
}
_lastTapTime = now;
// 执行实际操作
ScaffoldMessenger.of(context).showSnackBar(
SnackBar(content: Text('操作执行成功')),
);
}
Widget build(BuildContext context) {
return Center(
child: ElevatedButton(
onPressed: _handleTap,
child: Text('防误触按钮'),
),
);
}
}
五、性能优化与OpenHarmony适配
5.1 性能优化技巧
/// 手势性能优化示例
class OptimizedGestureDetector extends StatefulWidget {
State<OptimizedGestureDetector> createState() =>
_OptimizedGestureDetectorState();
}
class _OptimizedGestureDetectorState
extends State<OptimizedGestureDetector> {
int _counter = 0;
Widget build(BuildContext context) {
return GestureDetector(
// 使用 RepaintBoundary 减少重绘范围
child: RepaintBoundary(
child: Container(
color: Colors.blue,
child: Center(
child: Text('计数:$_counter'),
),
),
),
// 限制回调频率
onPanUpdate: (details) {
// 使用防抖减少更新频率
_incrementCounter();
},
);
}
void _incrementCounter() {
// 使用节流减少 setState 调用
setState(() {
_counter++;
});
}
}
5.2 OpenHarmony 平台适配注意事项
/// OpenHarmony 平台适配示例
class OpenHarmonyGestureAdapter extends StatelessWidget {
Widget build(BuildContext context) {
return GestureDetector(
// OpenHarmony 上某些手势行为可能需要特殊处理
onPanStart: (details) {
// 鸿蒙系统的坐标系统可能与标准 Flutter 不同
debugPrint('鸿蒙系统坐标:${details.globalPosition}');
},
child: Container(
color: Colors.green,
child: Center(child: Text('OpenHarmony 适配')),
),
);
}
}
总结
本文系统性地讲解了Flutter for OpenHarmony中的手势处理机制,从基础原理到实战案例,再到高级技巧和最佳实践。
核心要点回顾
| 技术点 | 关键内容 |
|---|---|
| 手势竞技场 | 理解多个手势竞争的决策机制 |
| GestureDetector | 掌握所有常用回调的使用场景 |
| 常用手势 | 点击、双击、长按、滑动、缩放 |
| 自定义手势 | 使用 RawGestureDetector 创建自定义识别器 |
| Listener | 监听底层指针事件实现精细控制 |
| InkWell | 提供Material Design风格的水波纹效果 |
| 交互设计 | 提供即时反馈、防止误触、优化性能 |
| OpenHarmony | 注意平台差异和适配问题 |
实战建议
- 手势设计要符合用户直觉 - 不要让用户学习复杂的手势
- 提供清晰的视觉反馈 - 让用户知道操作被识别
- 处理边界情况 - 网络延迟、权限问题等
- 性能优化 - 减少不必要的重绘和计算
- 测试多种场景 - 不同屏幕尺寸、不同用户习惯
下一步学习
- 深入学习 Flutter 动画系统
- 了解 OpenHarmony 平台特性
- 探索更多手势交互模式
- 研究无障碍设计(Accessibility)
手势交互是移动应用的核心,希望这篇文章能帮助你更好地理解和使用Flutter的手势系统,创造出更优秀的应用体验!
相关资源
欢迎加入开源鸿蒙跨平台社区: 开源鸿蒙跨平台开发者社区
如果这篇文章对你有帮助,请点赞、收藏、分享,让更多开发者看到!
写于2025年 | Flutter for OpenHarmony系列教程

开源鸿蒙跨平台开发社区汇聚开发者与厂商,共建“一次开发,多端部署”的开源生态,致力于降低跨端开发门槛,推动万物智联创新。
更多推荐
 26
26 0
0- 0


 已为社区贡献84条内容

所有评论(0)