Flutter for OpenHarmony 实战 网络请求与数据持久化完全指南
Flutter网络请求与数据持久化指南摘要 本文全面介绍了Flutter开发中的网络请求与数据持久化解决方案。在网络请求方面,详细讲解了http包的使用方法,包括GET/POST请求、超时设置和错误处理机制。在数据序列化方面,对比了手动序列化与json_serializable自动生成的优劣。本地存储部分重点介绍了SharedPreferences的基础操作和封装技巧,并提出了实用的三层缓存策略(
·
【Flutter实战】Flutter网络请求与数据持久化完全指南
前言
记得刚开始做Flutter开发的时候,网络请求和本地存储让我头疼不已。
网络方面,一开始我直接用Dart的HttpClient,代码写起来很繁琐。后来发现了http包,简洁多了。但又有新问题:怎么处理JSON序列化?怎么设计缓存策略?
本地存储也是,SharedPreferences很简单,但复杂一点的数据结构怎么存?要不要用数据库?
这些问题我踩了不少坑,现在想把经验分享出来,帮助大家少走弯路。
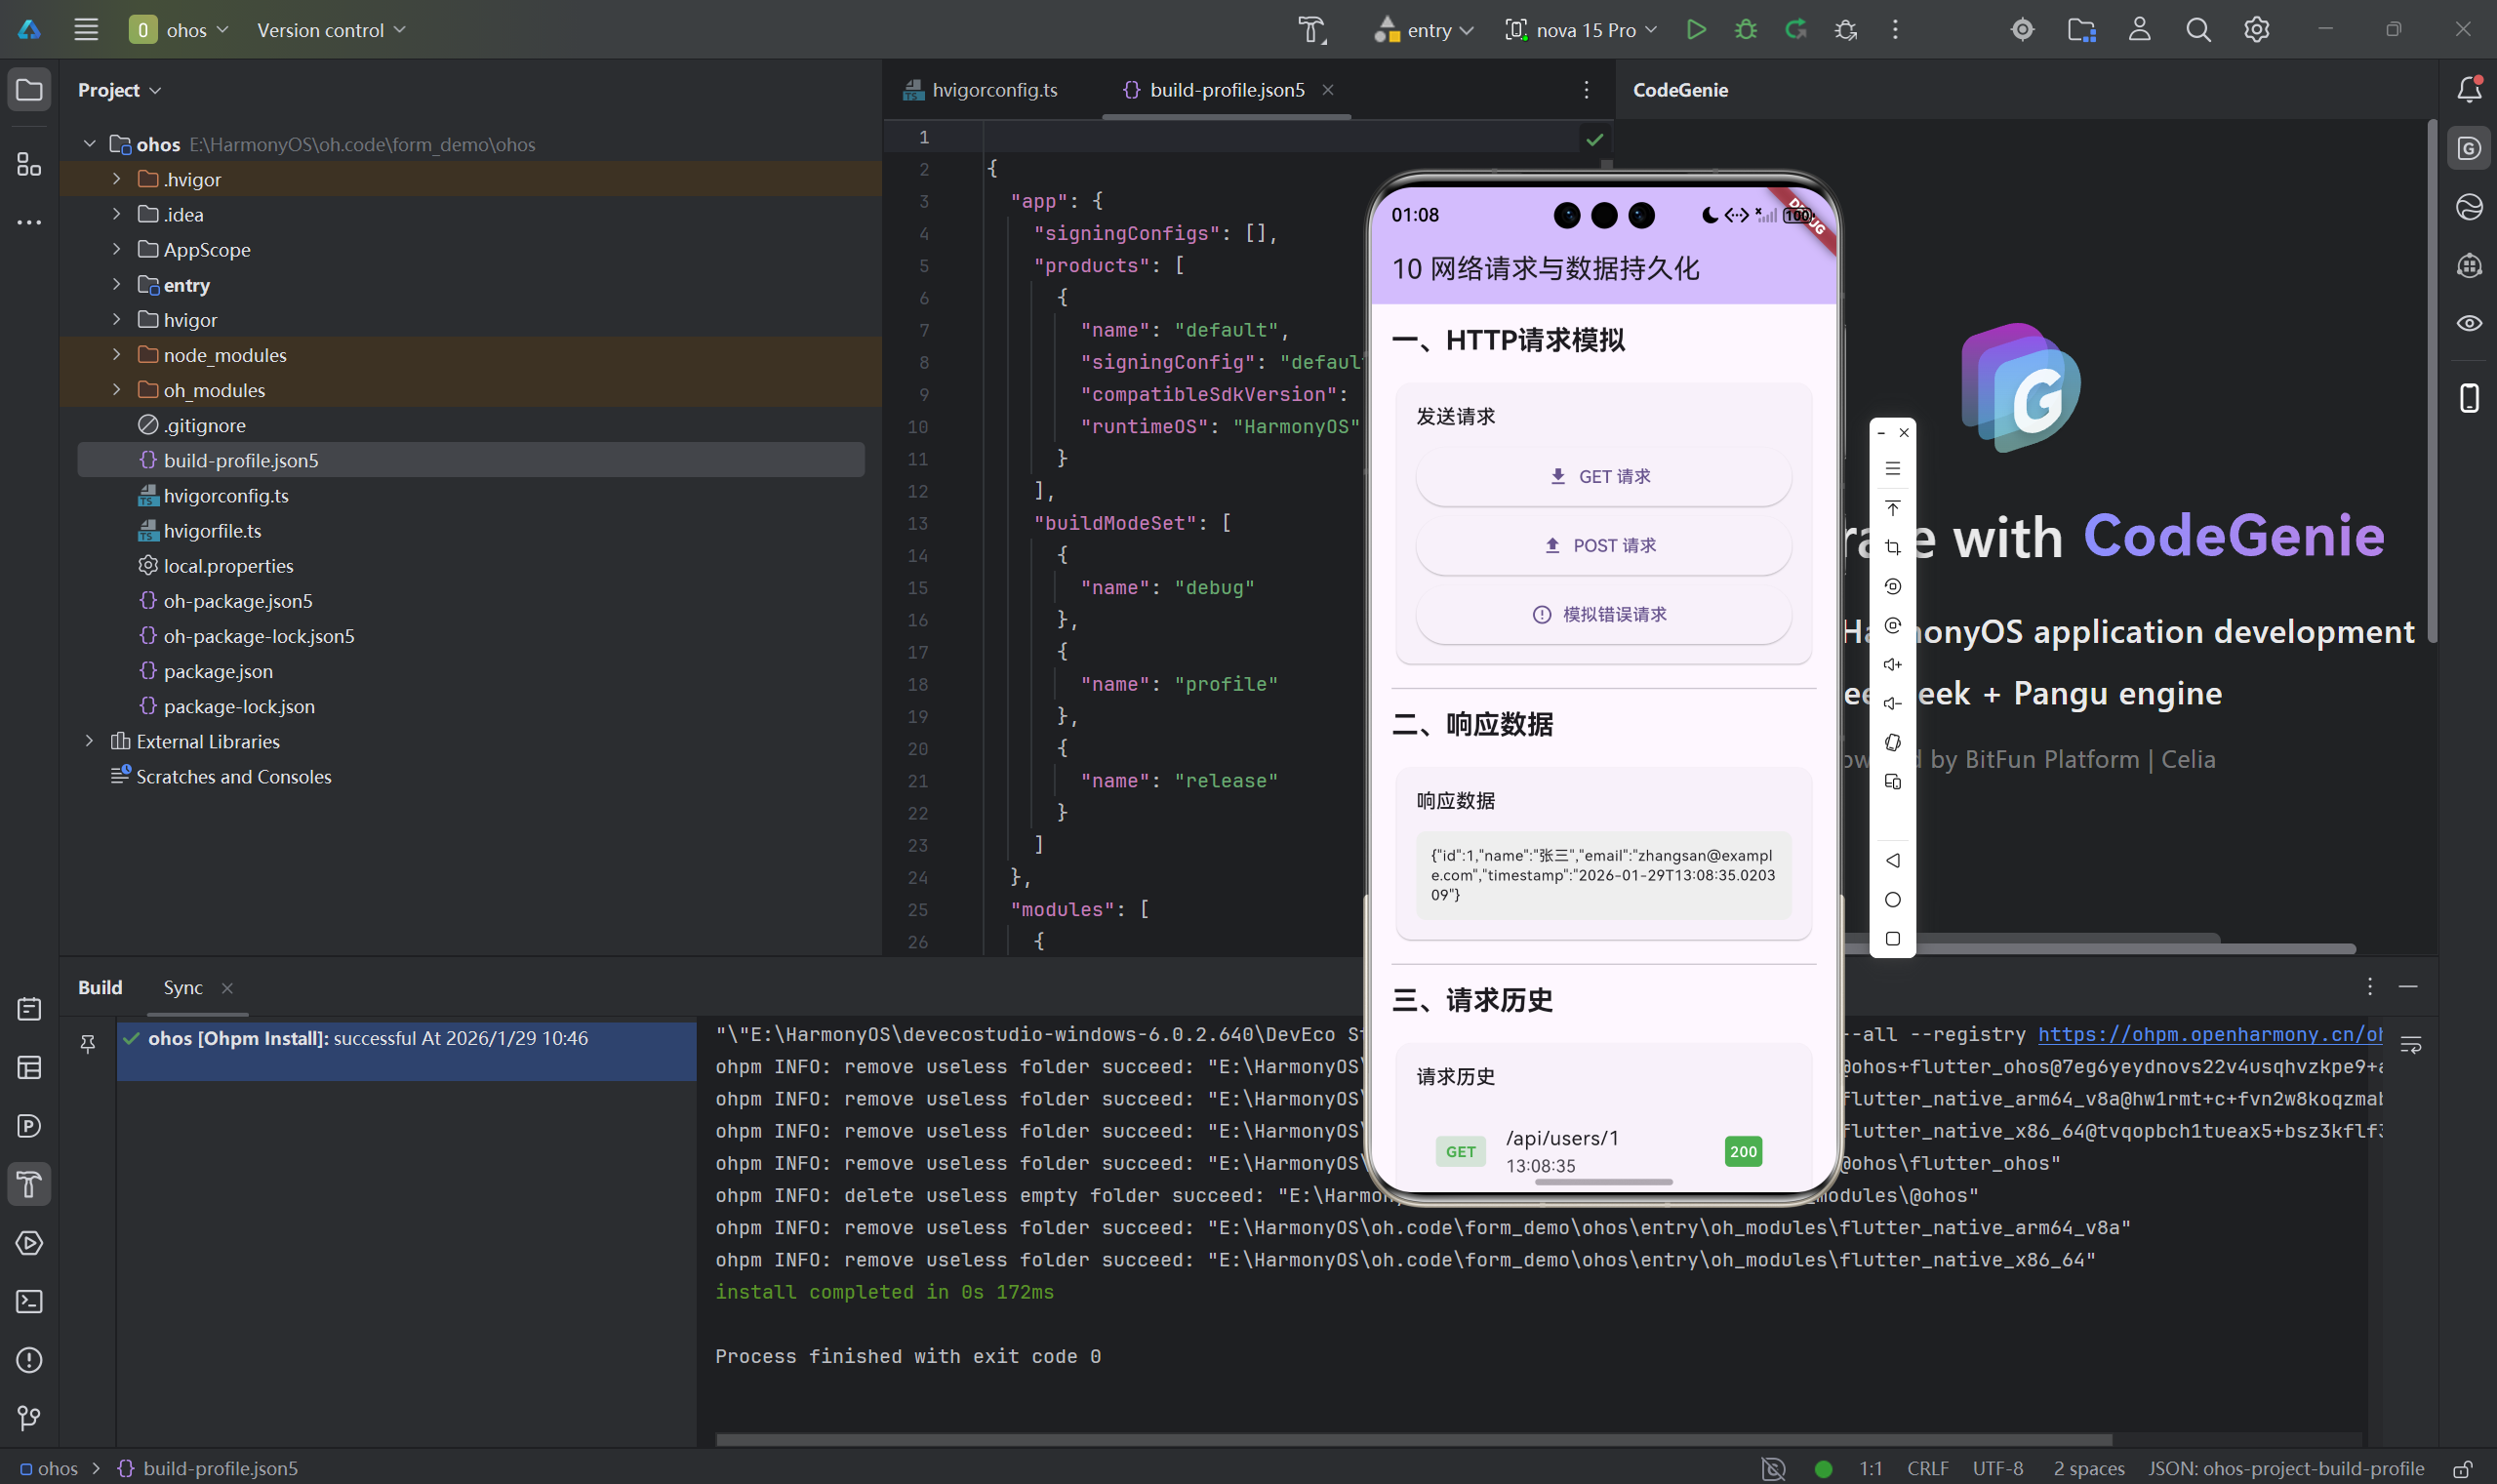
一、HTTP网络请求
1.1 使用http包

dependencies:
  http: ^1.2.0
import 'package:http/http.dart' as http;

// GET请求
Future<void> fetchData() async {
  final response = await http.get(
    Uri.parse('https://api.example.com/data'),
  );

  if (response.statusCode == 200) {
    final data = jsonDecode(response.body);
    print(data);
  }
}

// POST请求
Future<void> postData() async {
  final response = await http.post(
    Uri.parse('https://api.example.com/data'),
    headers: {'Content-Type': 'application/json'},
    body: jsonEncode({
      'name': '张三',
      'email': 'zhangsan@example.com',
    }),
  );
}
1.2 设置超时时间
final response = await http.get(
  Uri.parse('https://api.example.com/data'),
).timeout(const Duration(seconds: 10));
1.3 错误处理
Future<void> fetchData() async {
  try {
    final response = await http.get(
      Uri.parse('https://api.example.com/data'),
    ).timeout(const Duration(seconds: 10));

    if (response.statusCode == 200) {
      final data = jsonDecode(response.body);
    }
  } on SocketException catch (e) {
    print('网络错误: $e');
  } on TimeoutException catch (e) {
    print('请求超时: $e');
  } catch (e) {
    print('未知错误: $e');
  }
}
二、数据序列化方案
2.1 手动序列化
class User {
  final int id;
  final String name;
  final String email;

  User({required this.id, required this.name, required this.email});

  factory User.fromJson(Map<String, dynamic> json) {
    return User(
      id: json['id'] as int,
      name: json['name'] as String,
      email: json['email'] as String,
    );
  }

  Map<String, dynamic> toJson() {
    return {
      'id': id,
      'name': name,
      'email': email,
    };
  }
}
2.2 使用json_serializable
dependencies:
  json_annotation: ^4.8.1

dev_dependencies:
  json_serializable: ^6.7.1
  build_runner: ^2.4.7
import 'package:json_annotation/json_annotation.dart';
part 'user.g.dart';
()
class User {
final int id;
final String name;
final String email;
User({required this.id, required this.name, required this.email});
factory User.fromJson(Map<String, dynamic> json) => _$UserFromJson(json);
Map<String, dynamic> toJson() => _$UserToJson(this);
}
三、SharedPreferences本地存储

3.1 基础操作
dependencies:
  shared_preferences: ^2.2.2
import 'package:shared_preferences/shared_preferences.dart';

// 获取实例
final prefs = await SharedPreferences.getInstance();

// 保存数据
await prefs.setString('username', '张三');
await prefs.setInt('age', 25);
await prefs.setBool('isLoggedIn', true);

// 读取数据
final username = prefs.getString('username') ?? '';
final age = prefs.getInt('age') ?? 0;

// 删除数据
await prefs.remove('username');
3.2 封装存储服务
class StorageService {
  static StorageService? _instance;
  static SharedPreferences? _prefs;

  static Future<StorageService> init() async {
    if (_instance == null) {
      _instance = StorageService._();
      _prefs = await SharedPreferences.getInstance();
    }
    return _instance!;
  }

  StorageService._();

  Future<void> setToken(String token) async {
    await _prefs!.setString('auth_token', token);
  }

  String? getToken() => _prefs!.getString('auth_token');
}
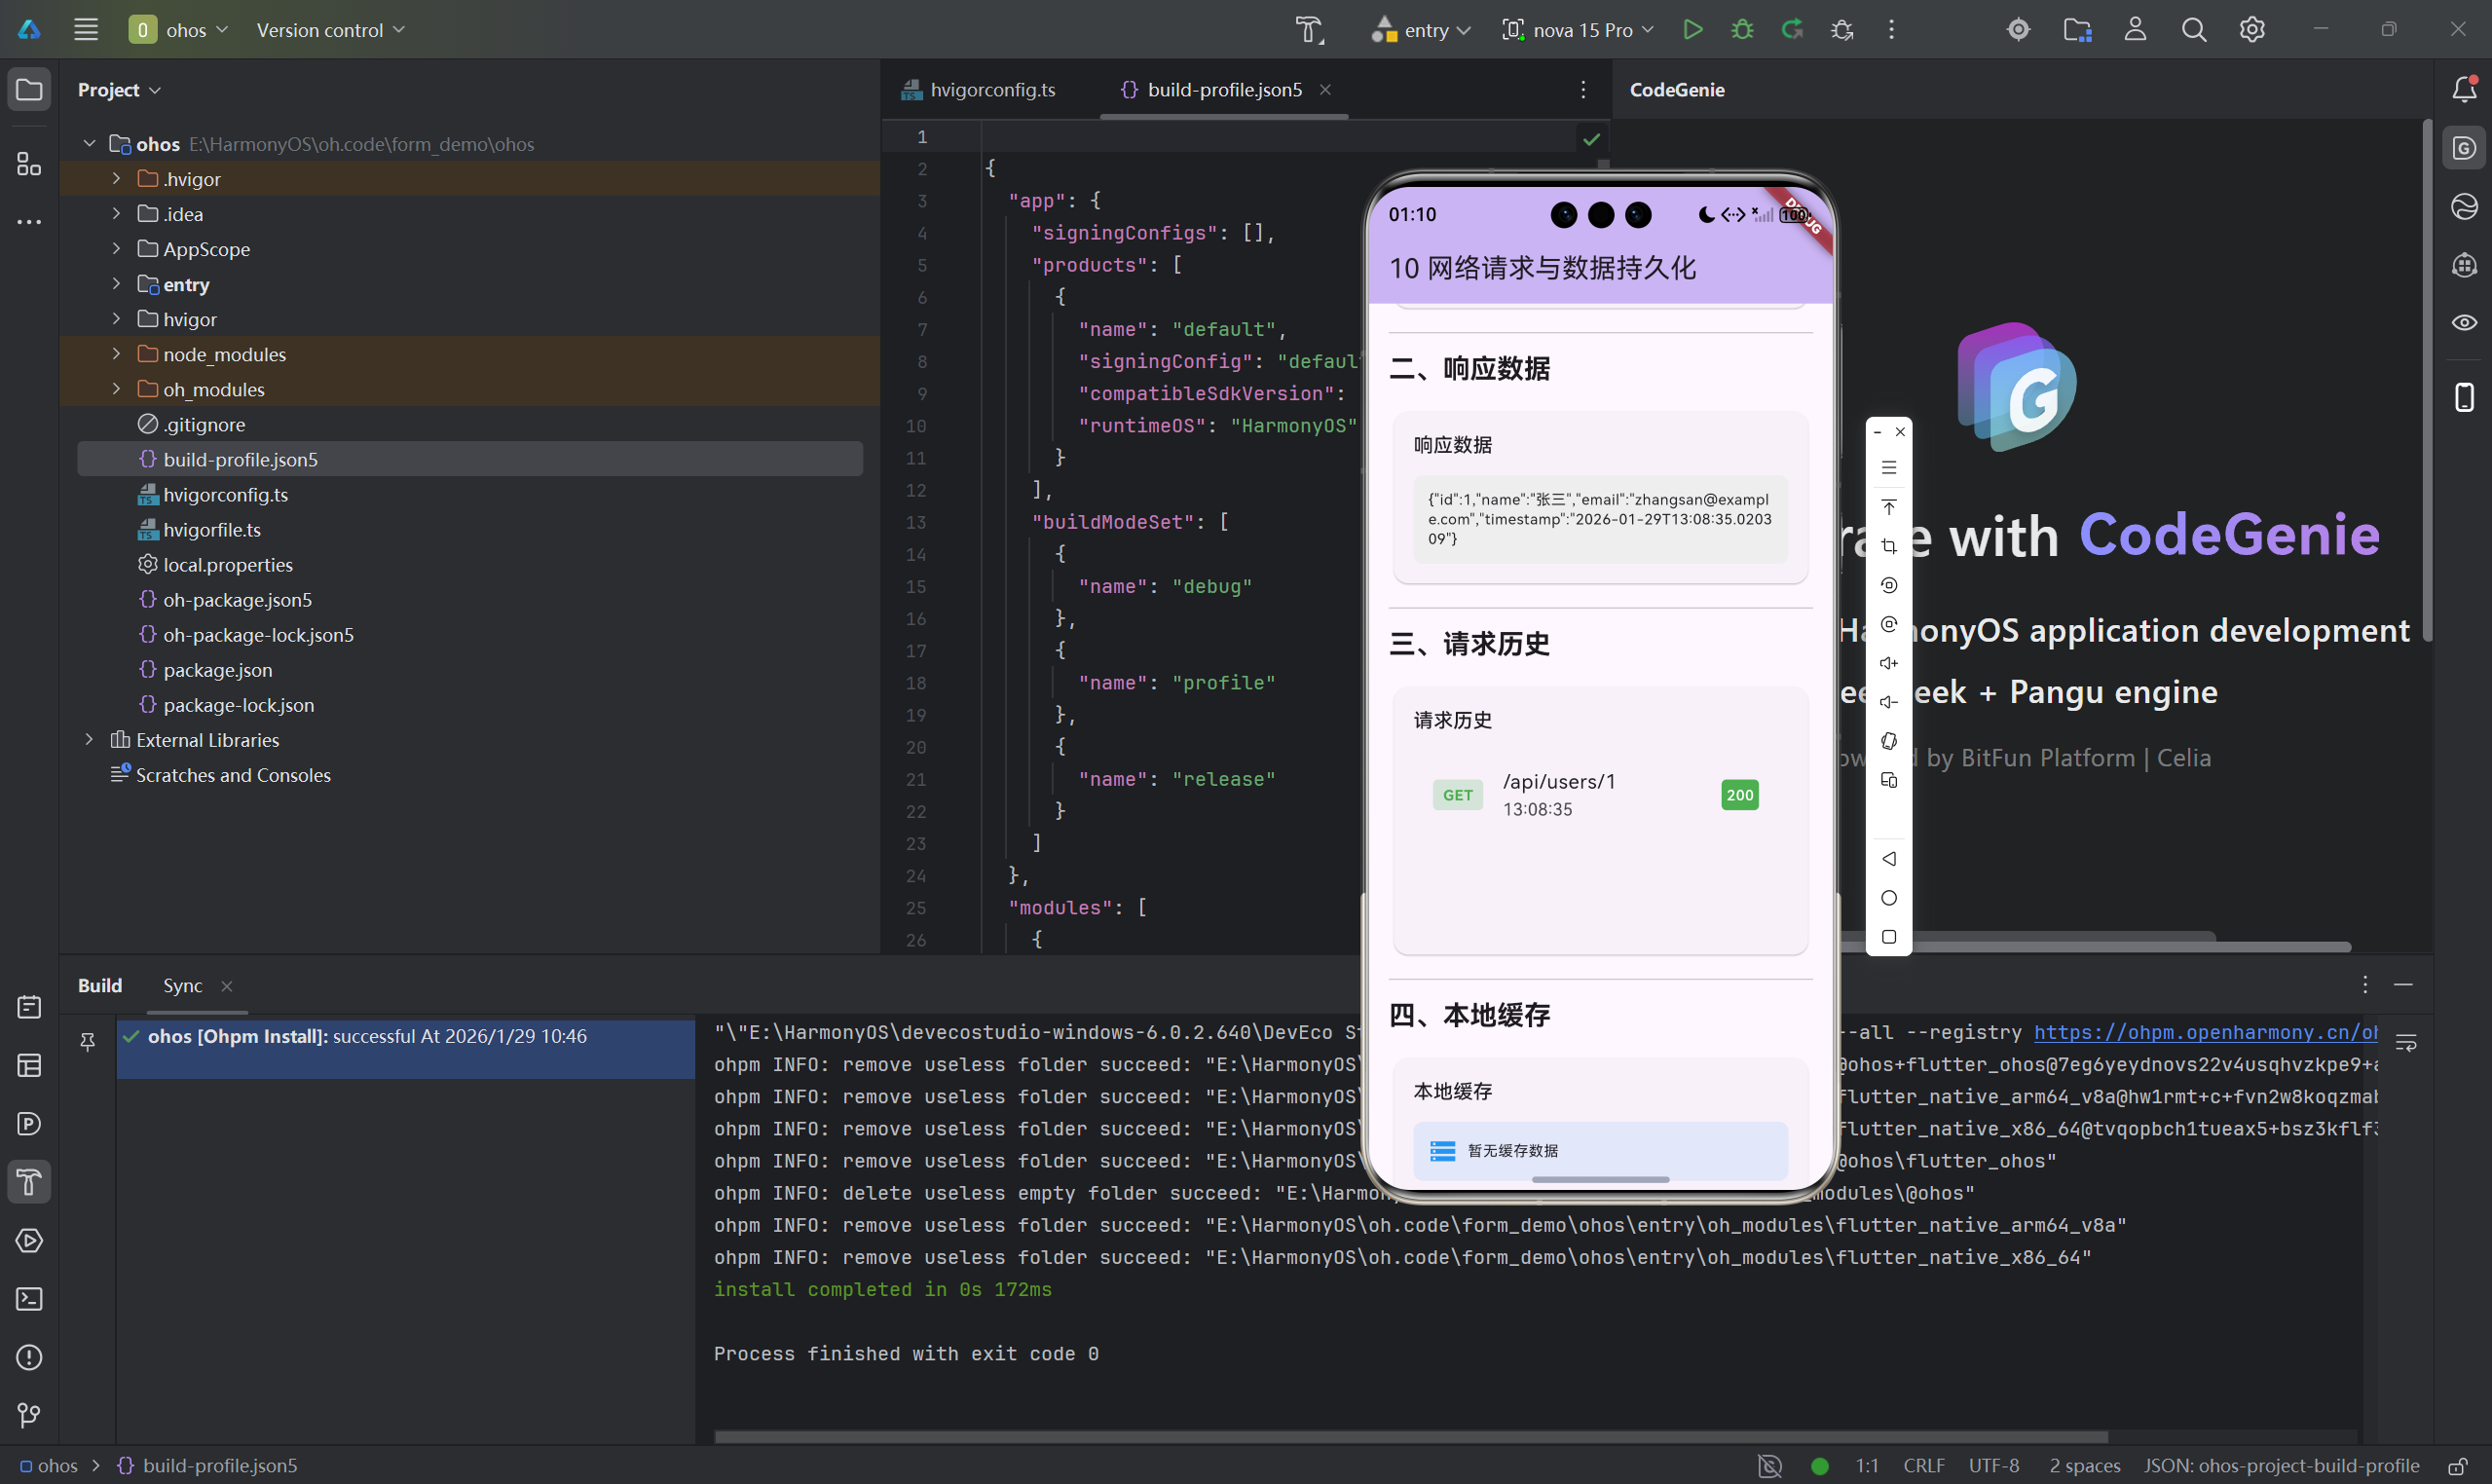
四、缓存策略设计
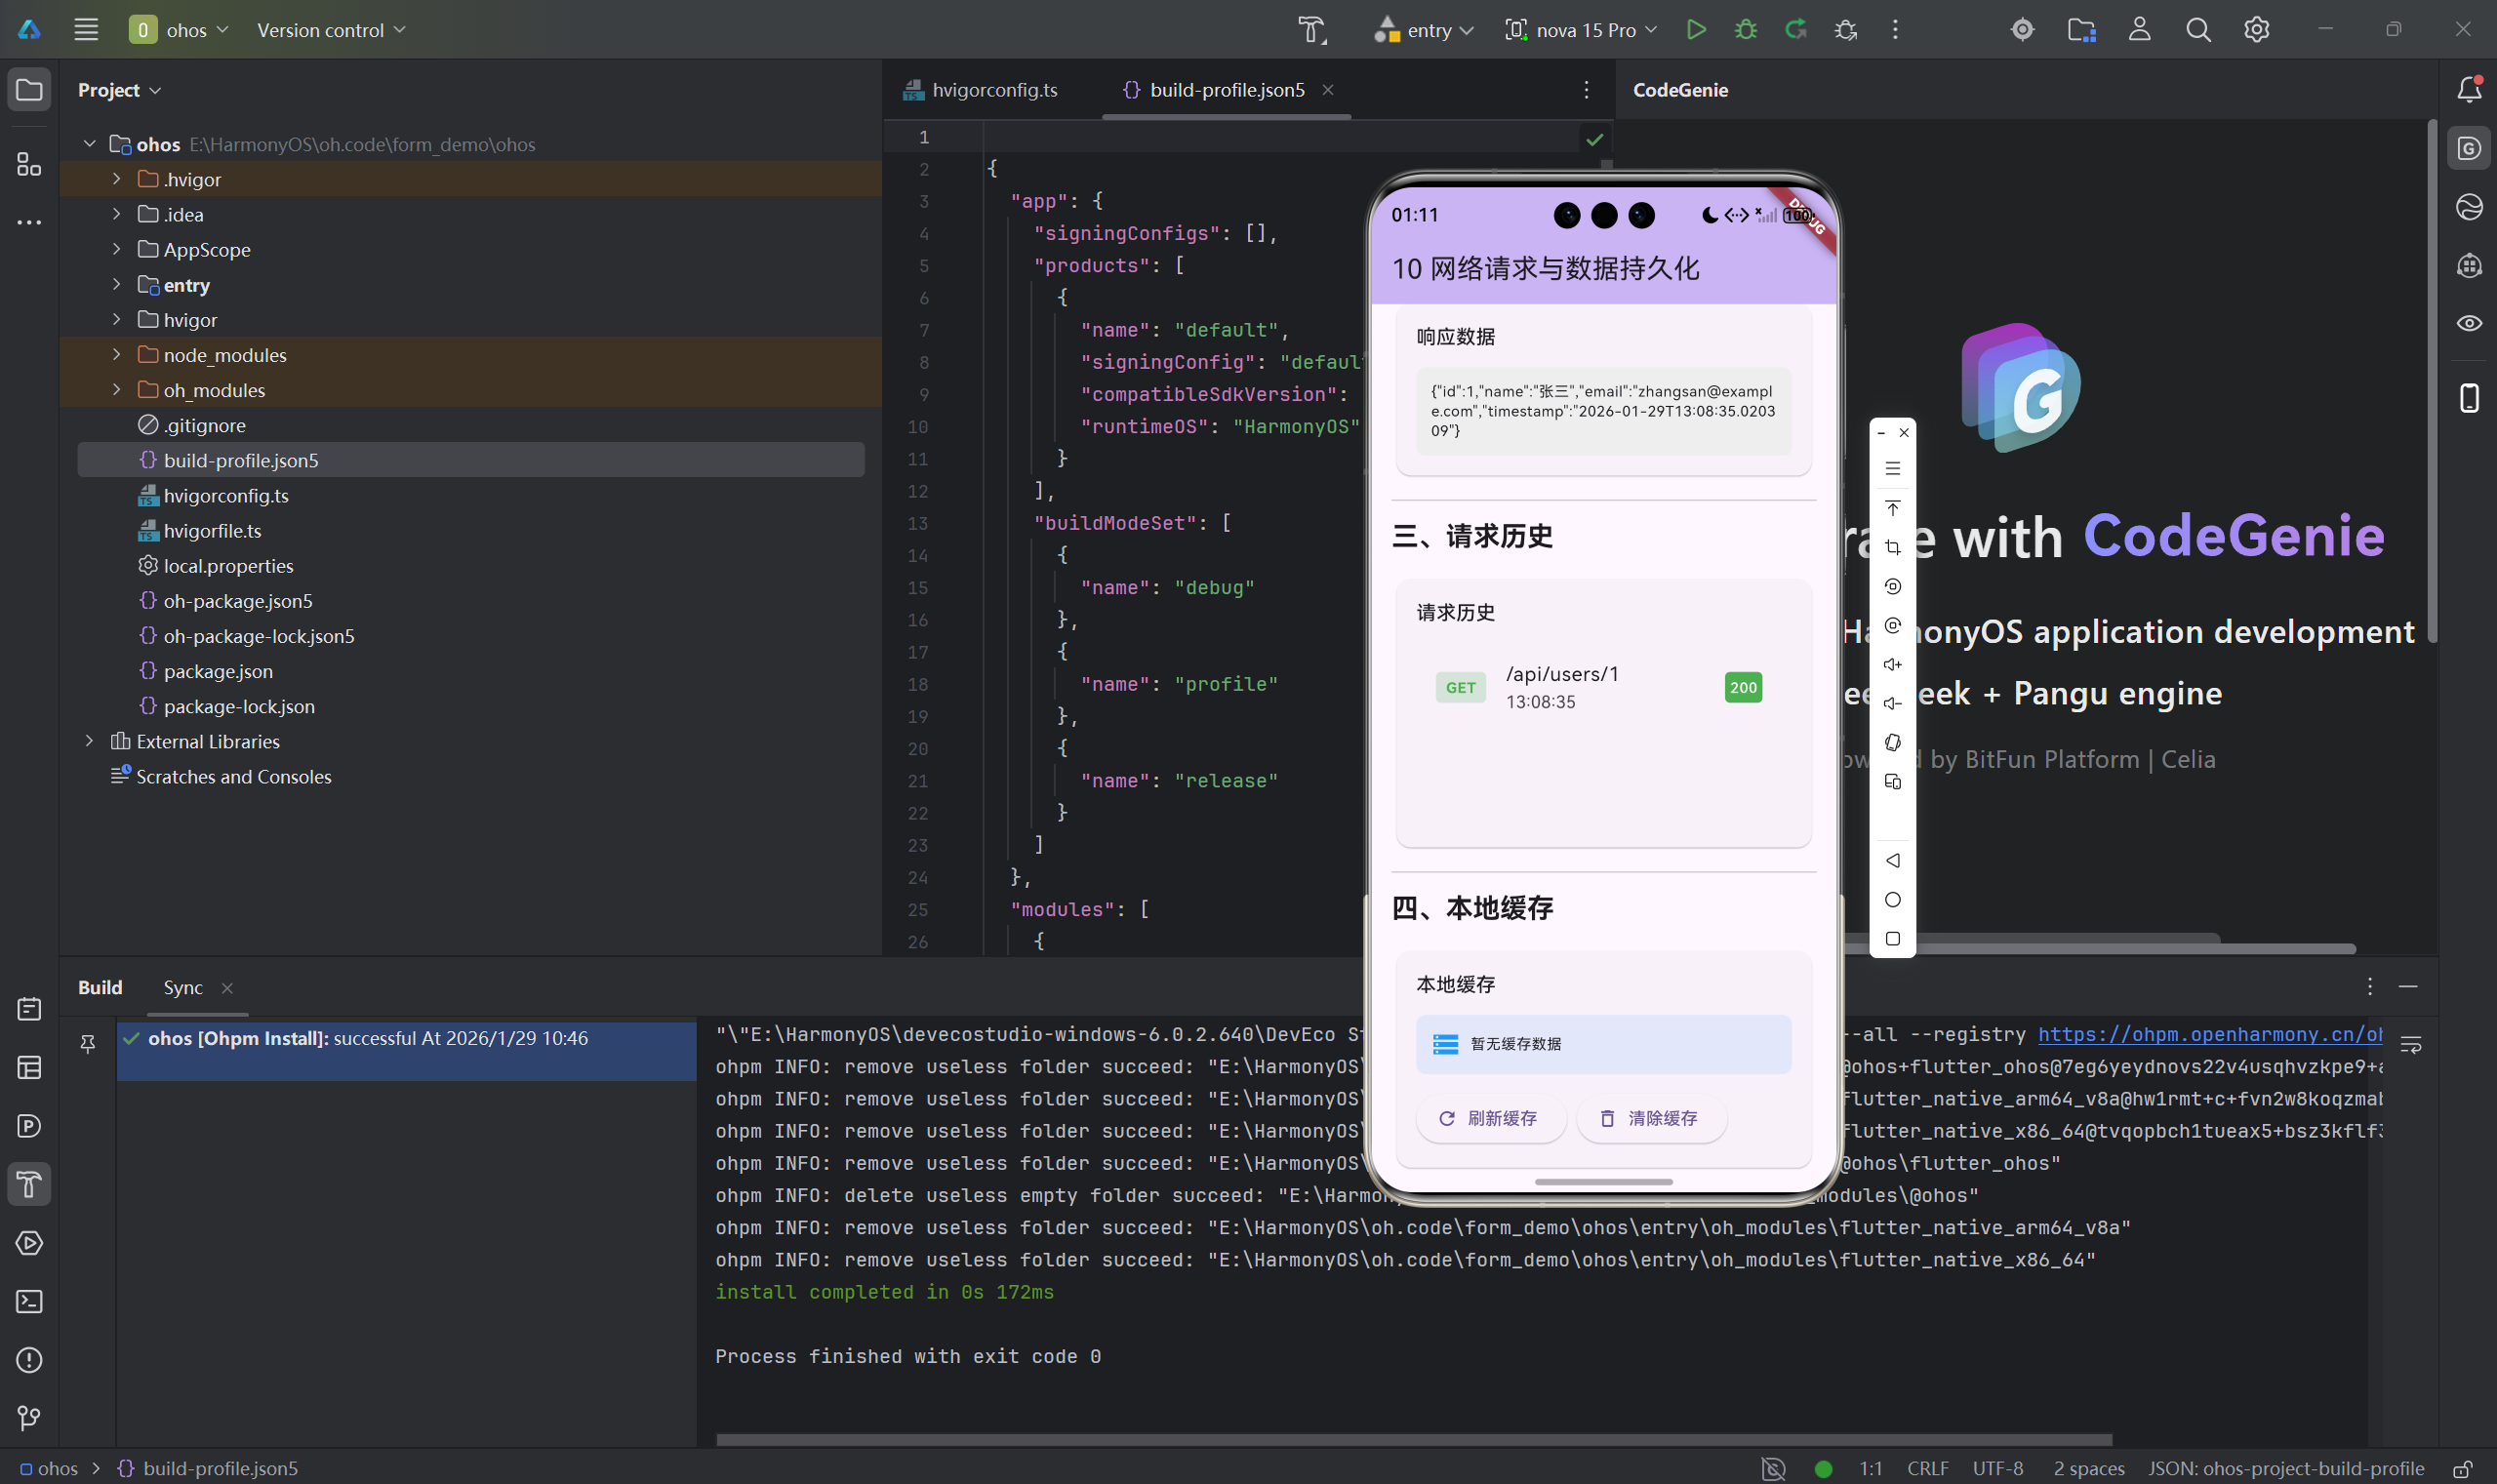
4.1 三层缓存策略
请求流程:
内存缓存 -> SharedPreferences -> 网络请求
class DataManager {
  final Map<String, dynamic> _memoryCache = {};
  final SharedPreferences _prefs;

  Future<User> getUser(int userId) async {
    final cacheKey = 'user_$userId';

    // 1. 检查内存缓存
    if (_memoryCache.containsKey(cacheKey)) {
      return _memoryCache[cacheKey] as User;
    }

    // 2. 检查本地缓存
    final userJson = _prefs.getString(cacheKey);
    if (userJson != null) {
      final user = User.fromJson(jsonDecode(userJson));
      _memoryCache[cacheKey] = user;
      return user;
    }

    // 3. 发起网络请求
    final user = await _fetchUserFromApi(userId);

    // 更新缓存
    _memoryCache[cacheKey] = user;
    await _prefs.setString(cacheKey, jsonEncode(user.toJson()));

    return user;
  }
}
4.2 缓存失效策略
| 策略 | 说明 | 使用场景 |
|---|---|---|
| 时间失效 | 缓存设置过期时间 | 新闻、动态等时效性数据 |
| 版本失效 | 数据更新时清除缓存 | 用户资料、配置等 |
| 手动清除 | 用户主动清除 | 登出、刷新操作 |
五、最佳实践
5.1 使用Repository模式
abstract class UserRepository {
Future<User> getUser(int id);
Future<void> saveUser(User user);
}
class CachedUserRepository implements UserRepository {
final ApiUserRepository _remote;
final LocalUserRepository _local;
CachedUserRepository(this._remote, this._local);
Future<User> getUser(int id) async {
try {
return await _local.getUser(id);
} catch (e) {
final user = await _remote.getUser(id);
await _local.saveUser(user);
return user;
}
}
}
5.2 敏感数据存储
dependencies:
  flutter_secure_storage: ^9.0.0
final storage = const FlutterSecureStorage();

// 保存
await storage.write(key: 'token', value: 'your-token');

// 读取
final token = await storage.read(key: 'token');
总结
网络请求和数据持久化是移动应用的基础功能。
核心要点:
- 使用http或dio进行网络请求,设置合理的超时时间
- 完善错误处理,给用户友好的提示
- 使用json_serializable自动生成序列化代码
- SharedPreferences用于简单数据,复杂对象序列化后存储
- 设计合理的缓存策略,提升用户体验
- 敏感数据使用安全的存储方案
- 使用Repository模式隔离数据源
下一步学习:
- 学习Dio的高级功能(拦截器、文件上传下载)
- 了解SQLite数据库(sqflite)
- 掌握数据建模和API设计
网络请求和数据持久化是开发技能的基础,值得深入学习。
欢迎加入开源鸿蒙跨平台社区:开源鸿蒙跨平台开发者社区

开源鸿蒙跨平台开发社区汇聚开发者与厂商,共建“一次开发,多端部署”的开源生态,致力于降低跨端开发门槛,推动万物智联创新。
更多推荐

 2
2 0
0- 0


 已为社区贡献27条内容

所有评论(0)