Flutter for OpenHarmony 实战 手势处理与交互设计实战指南
Flutter手势处理与交互设计实战指南介绍了Flutter中常用的手势处理方式。文章首先讲解了手势竞技场原理和GestureDetector基础用法,包括点击、双击、长按等基本手势识别。然后通过具体代码示例展示了滑动手势实现页面切换、缩放手势控制组件大小、拖拽手势移动组件位置等实战场景。最后介绍了InkWell组件的点击效果实现。全文以实战代码为主,配合效果图示,帮助开发者快速掌握Flutter
·
【Flutter for OpenHarmony 实战】Flutter手势处理与交互设计实战指南
前言

用户通过手势与应用交互,好的手势设计让应用更易用。
Flutter的手势系统一开始让我有点困惑,GestureDetector、InkWell、Listener…各种手势组件怎么选择?
后来慢慢理解了,每个都有适用的场景。这篇文章我想分享手势处理的实践经验。
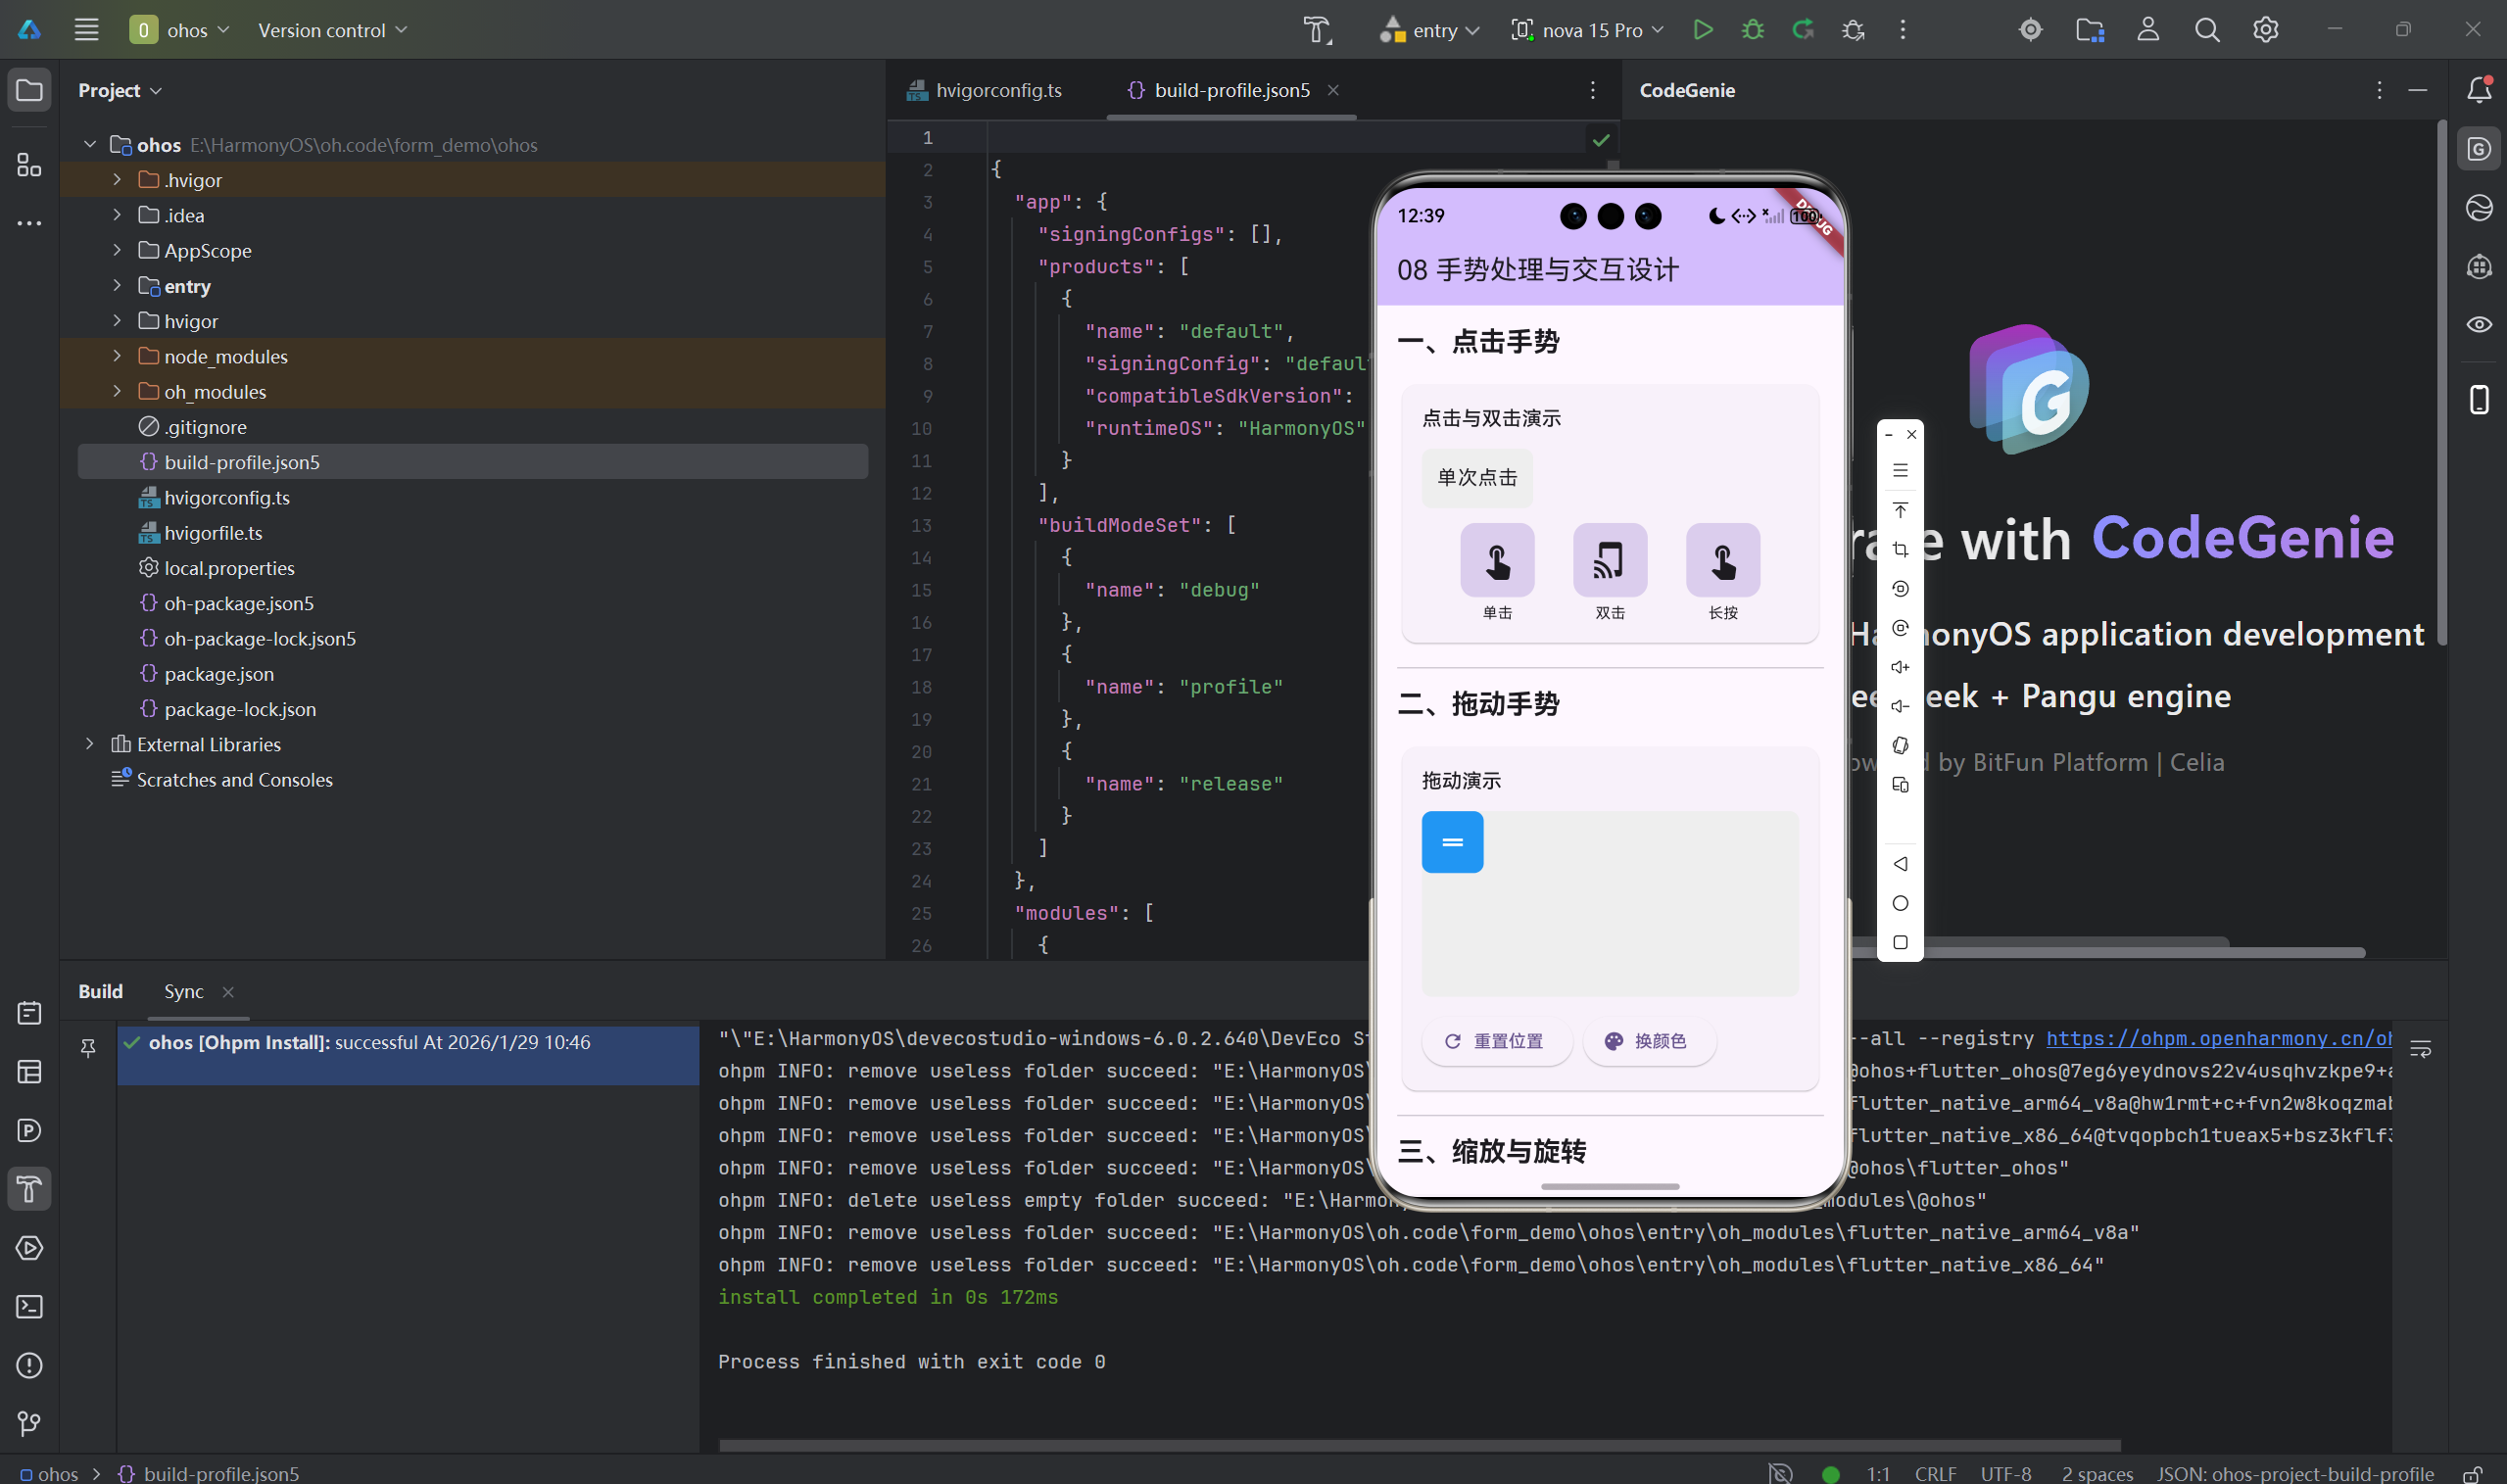
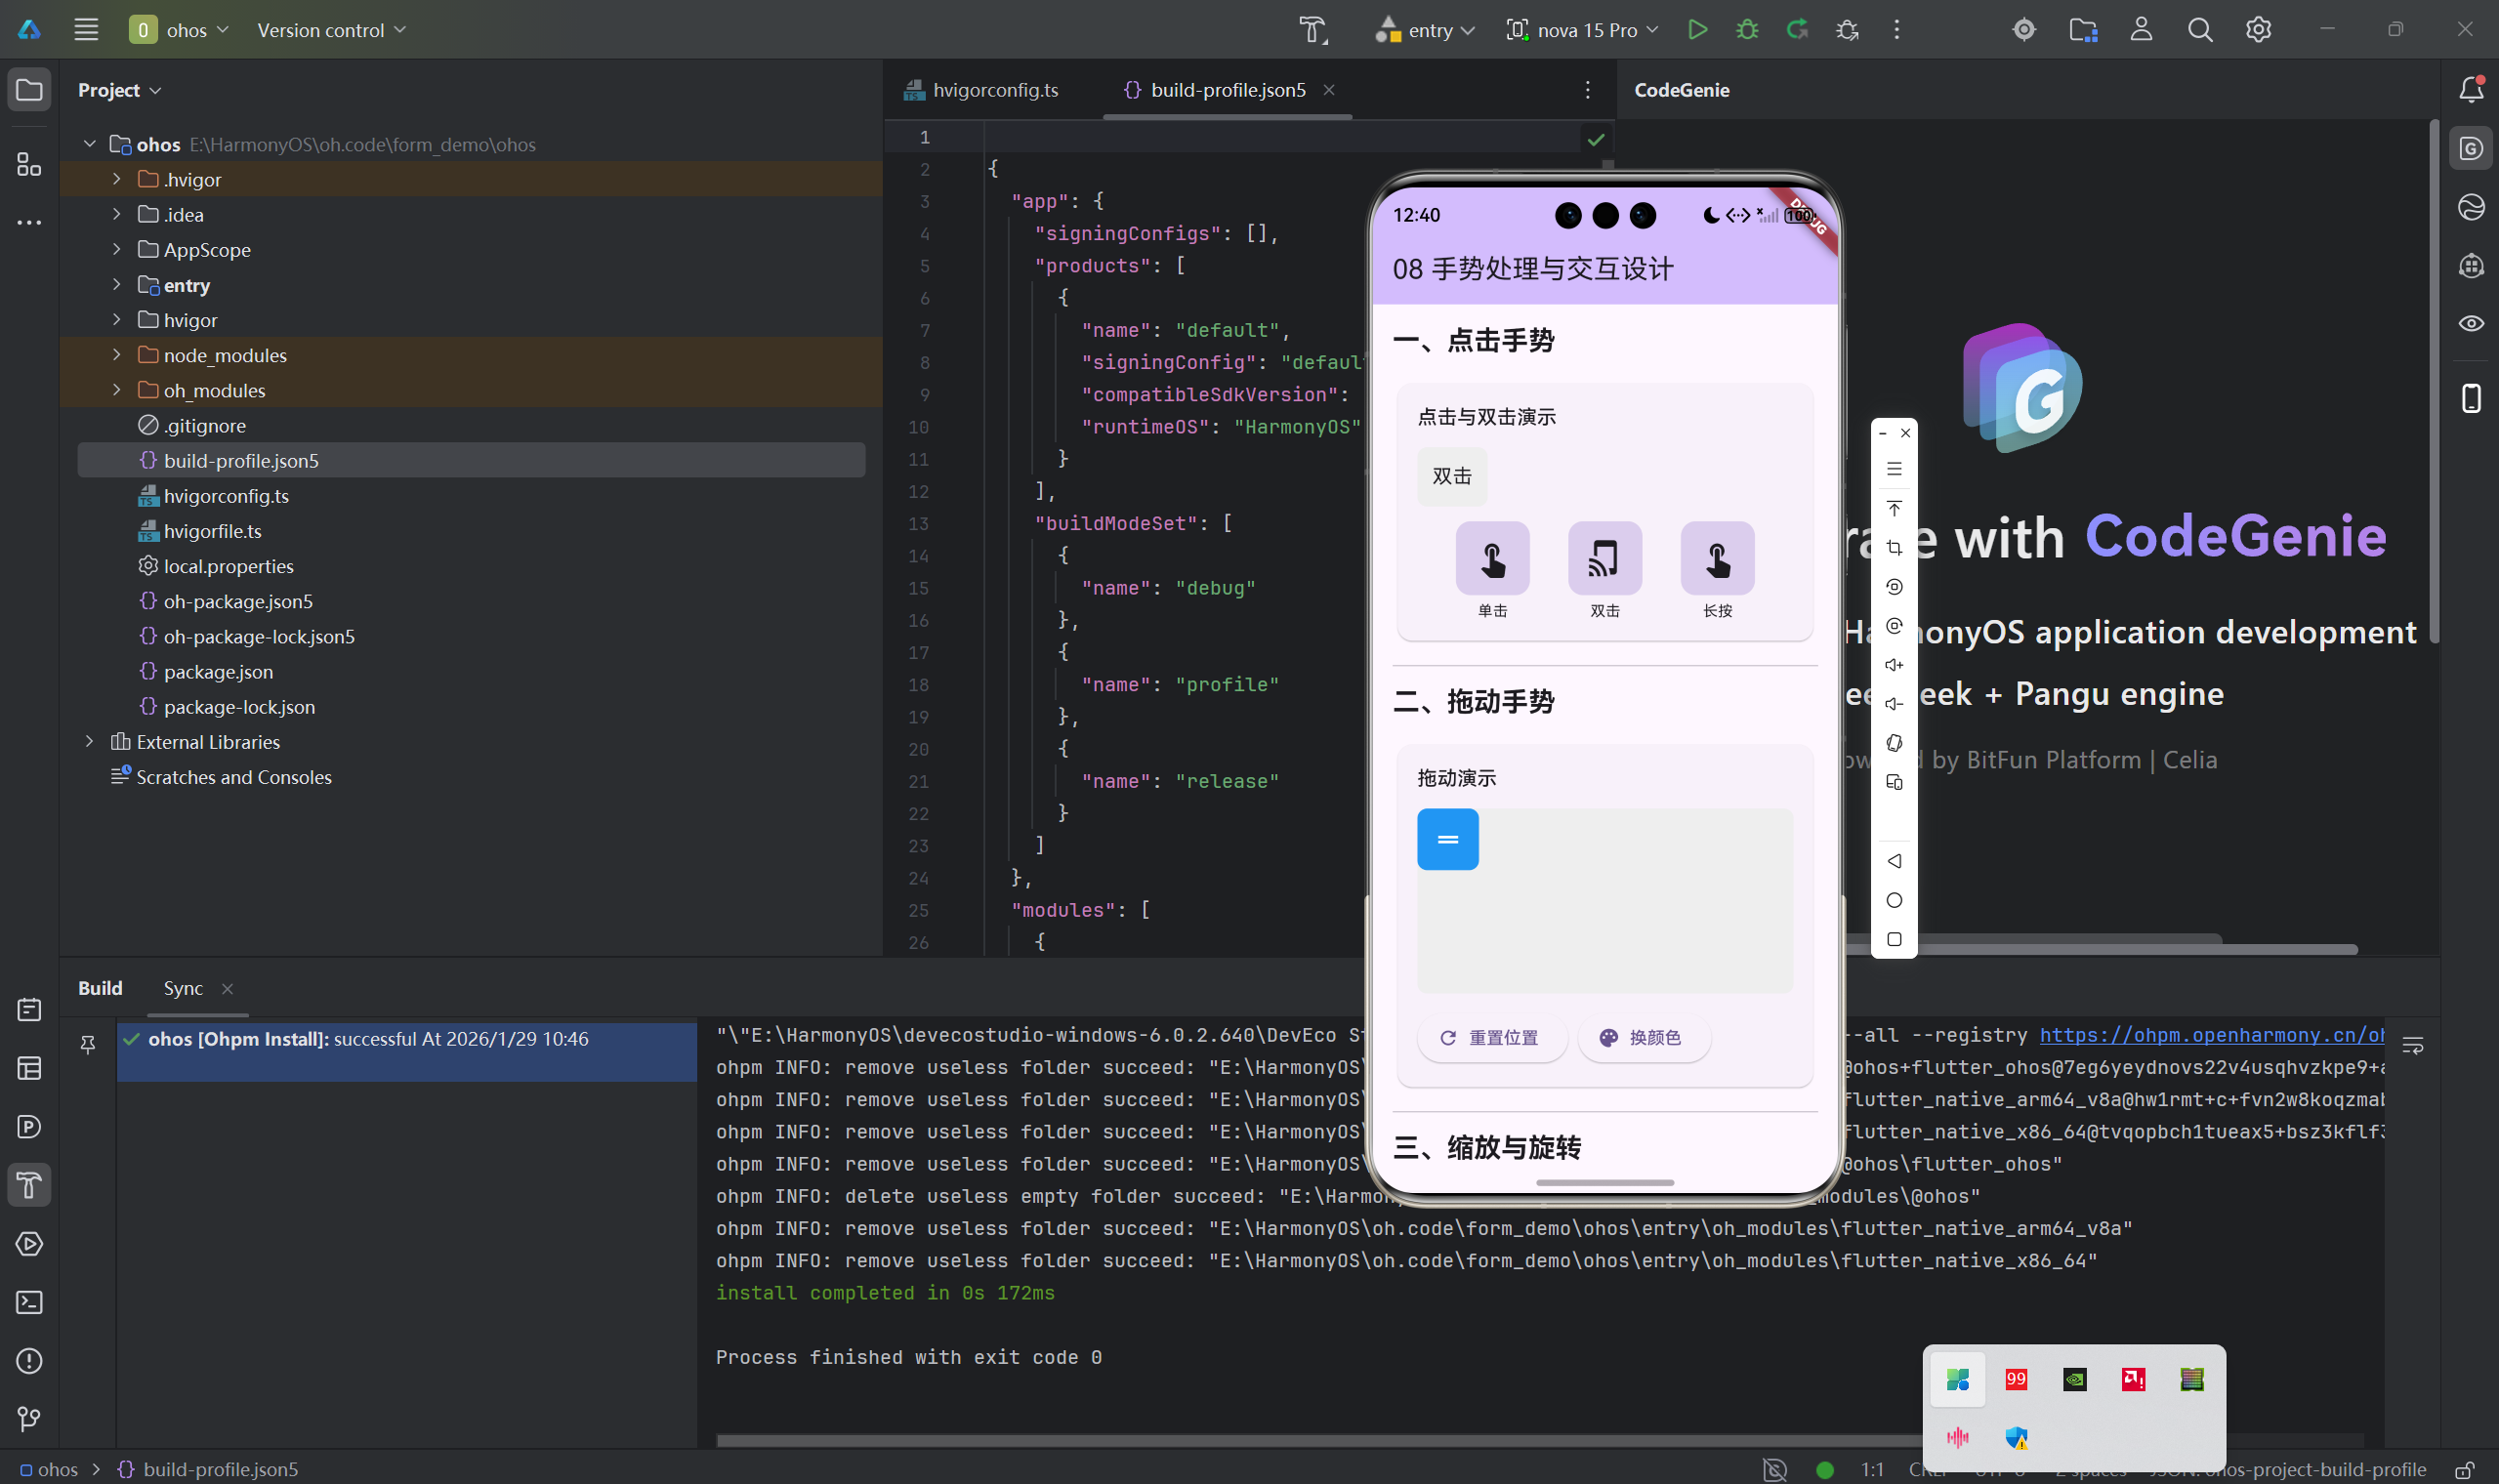
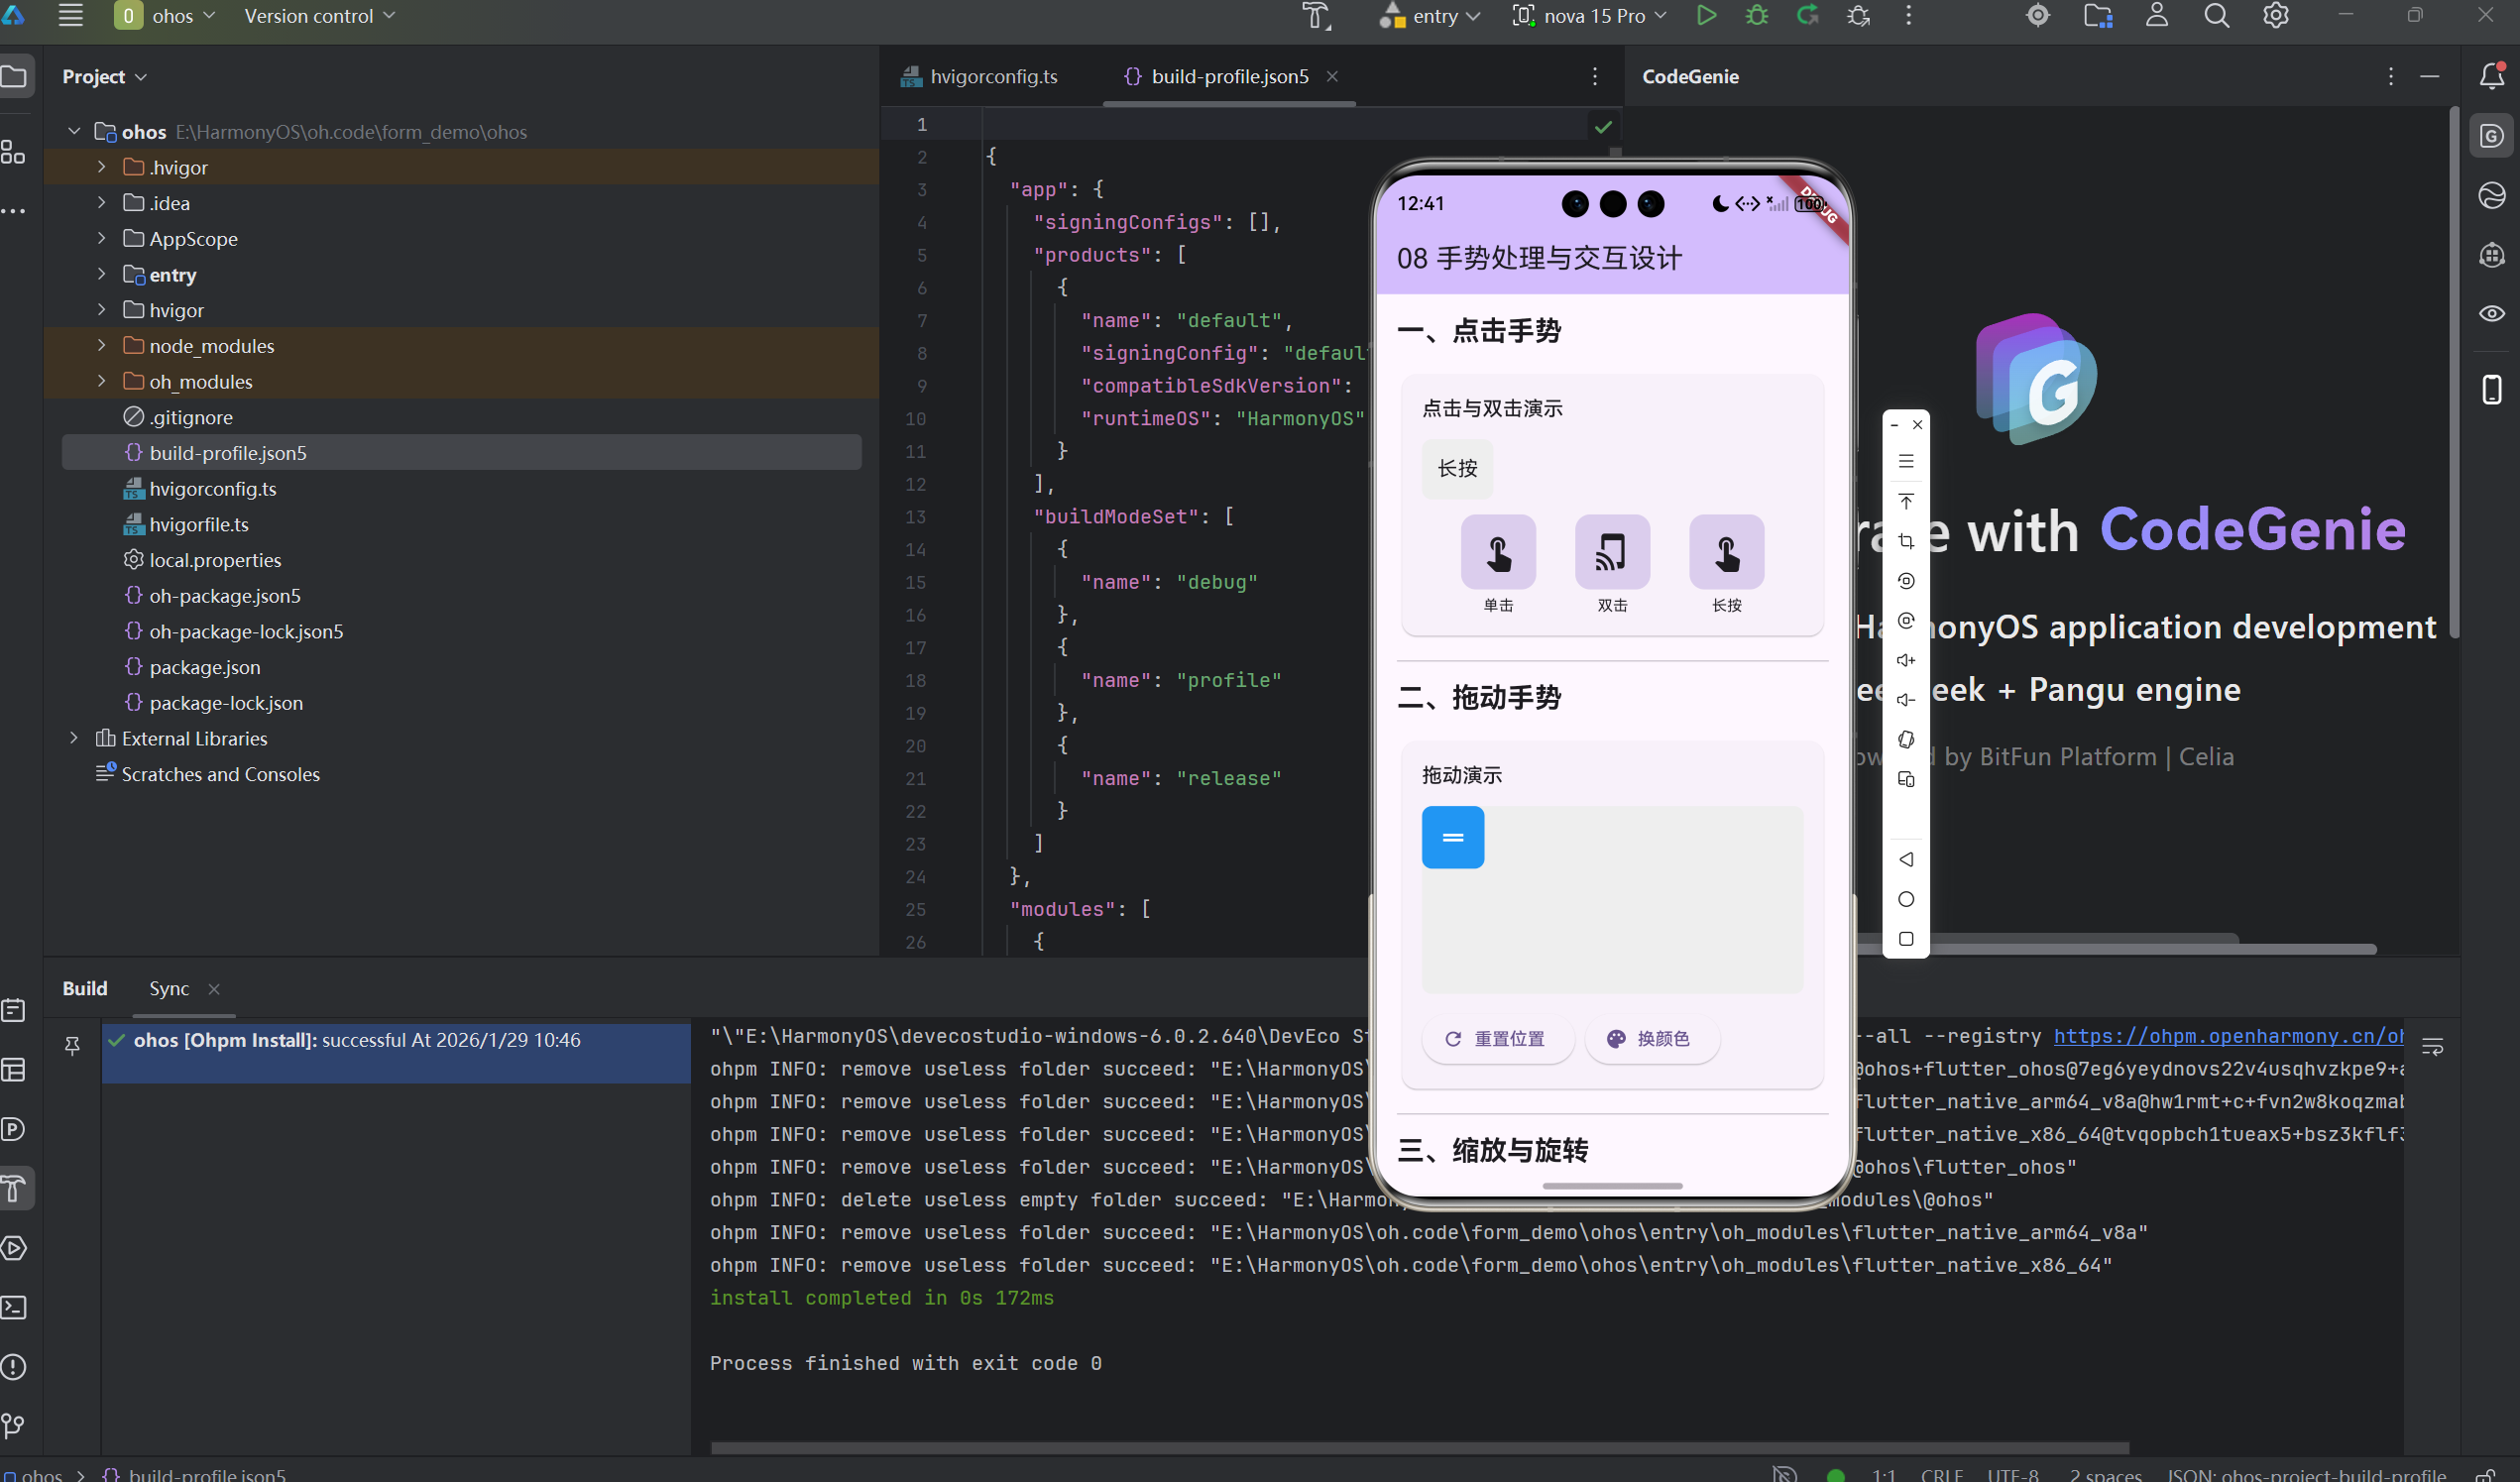
一、手势基础原理
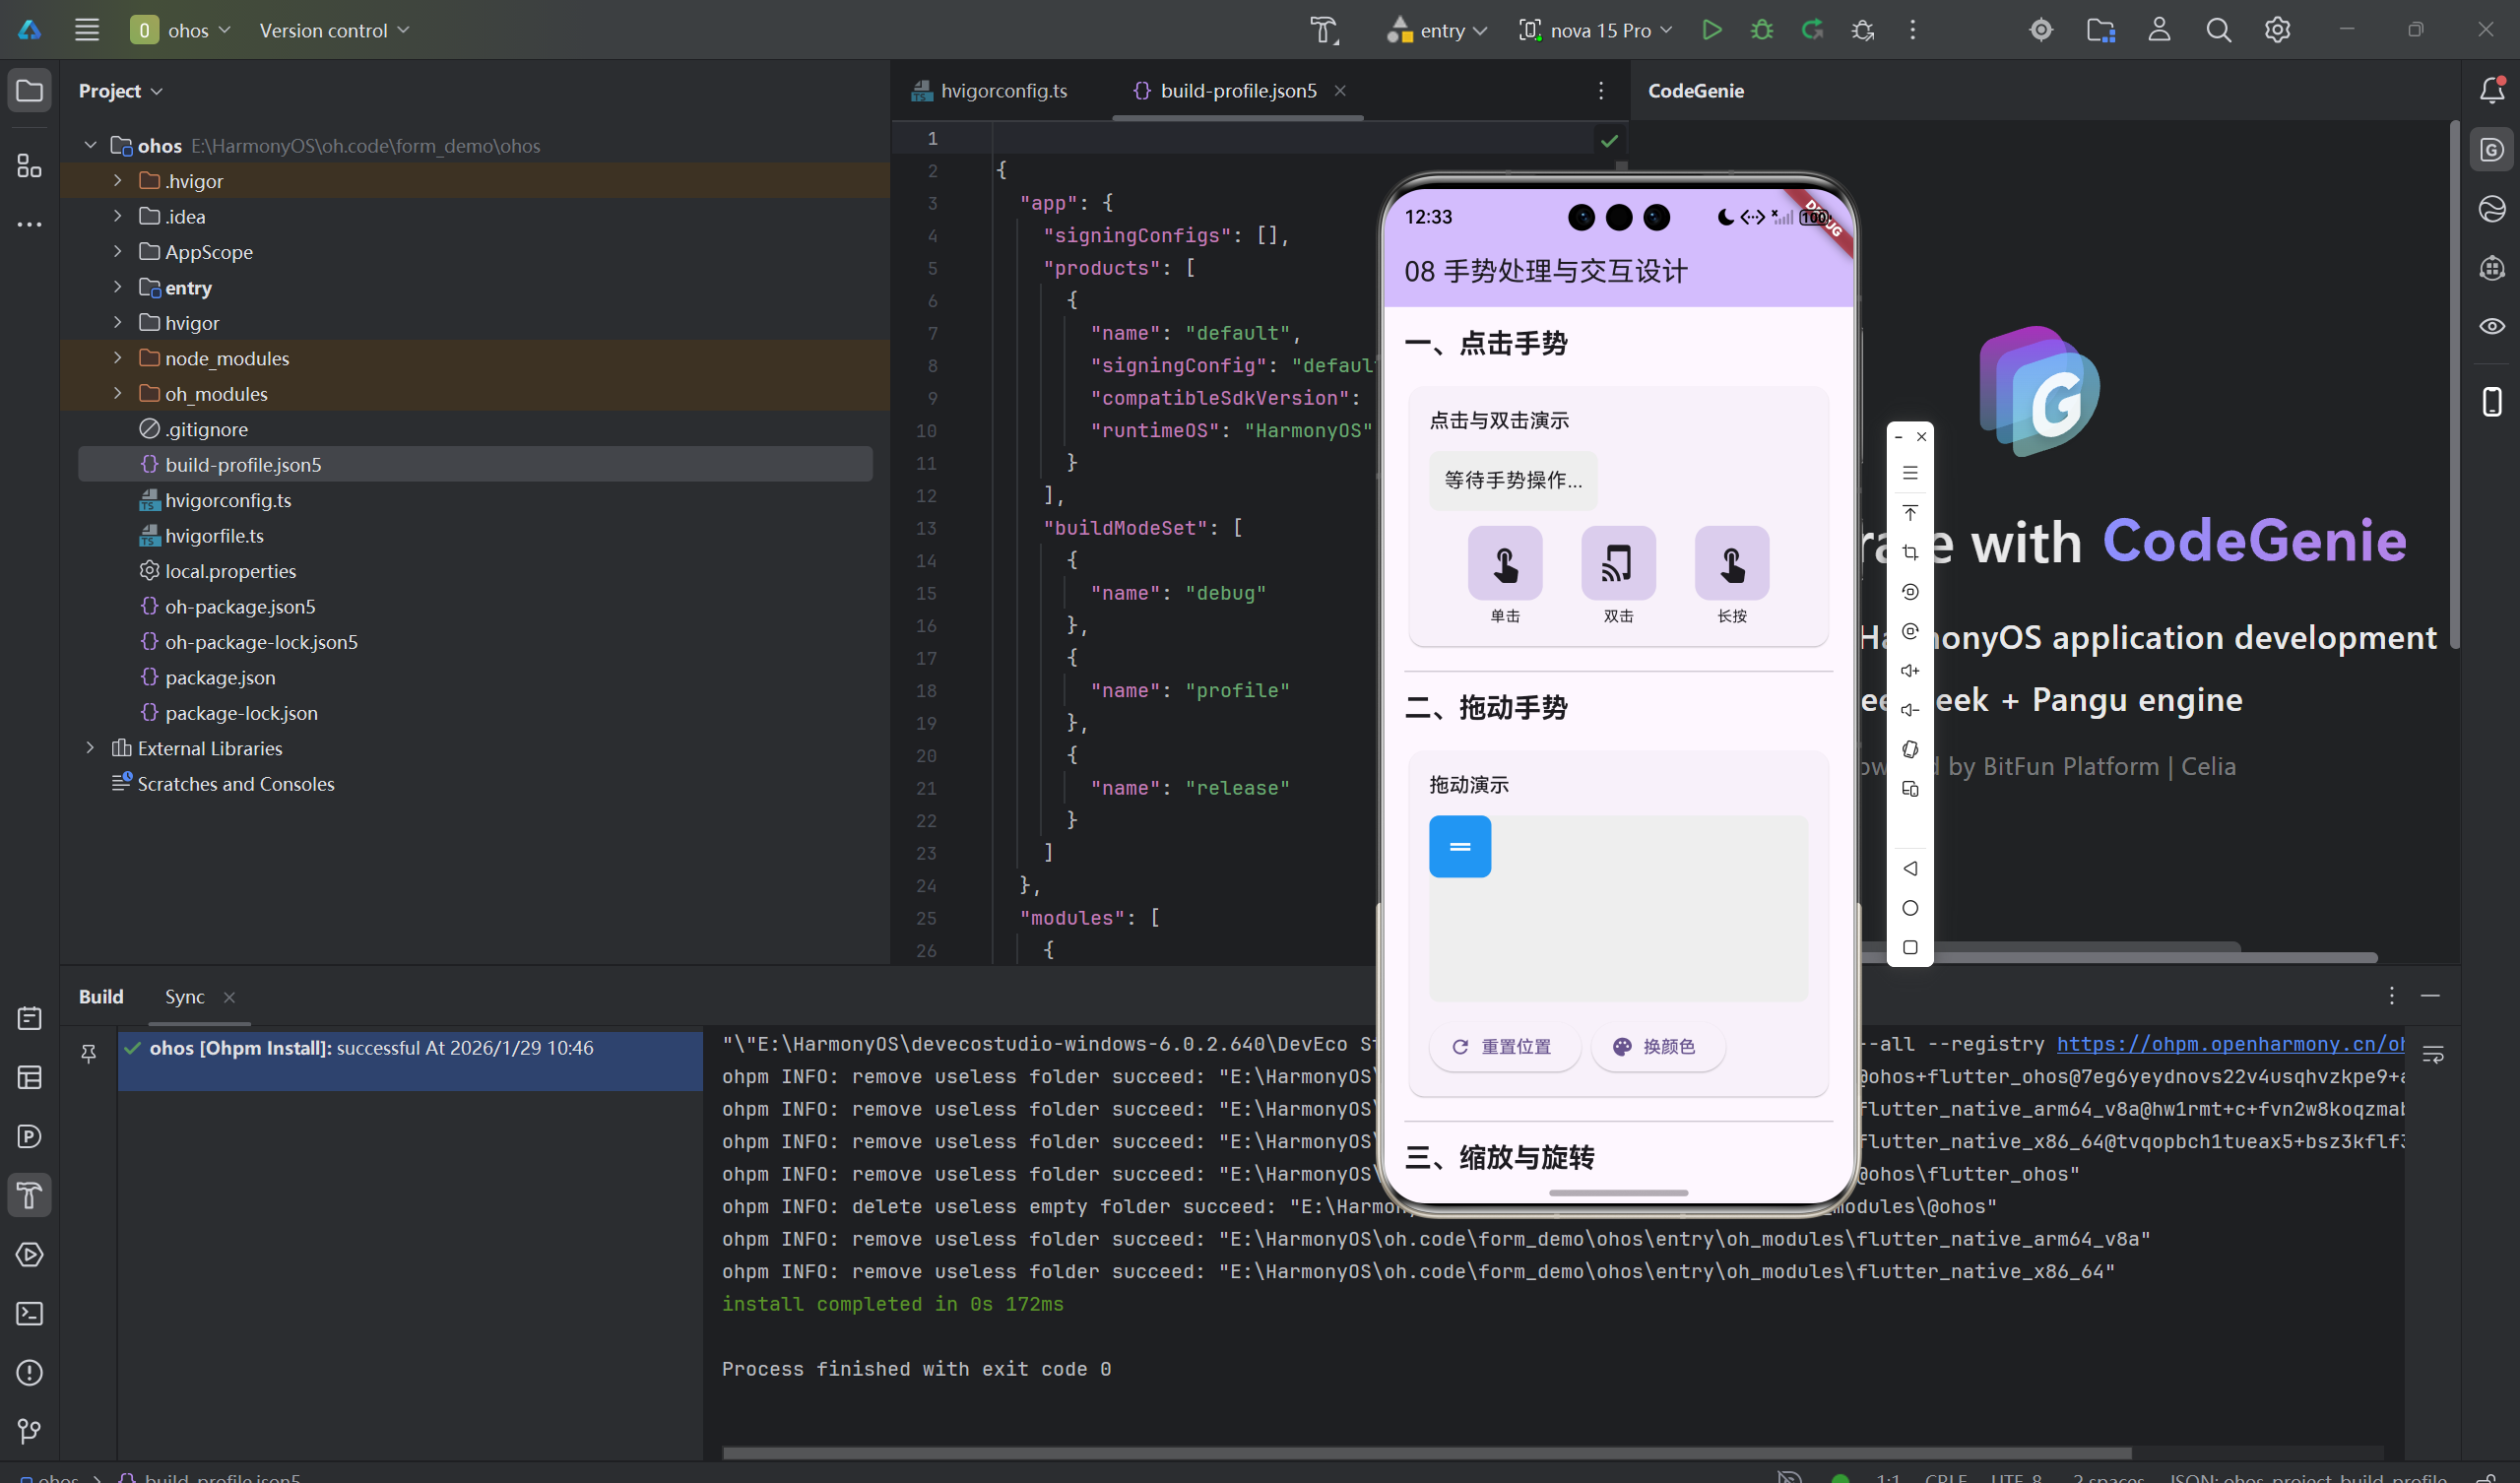
1.1 手势竞技场
Flutter使用手势竞技场(Gesture Arena)来处理冲突手势:
GestureDetector(
  onTap: () => print('点击'),
  onDoubleTap: () => print('双击'),
  onLongPress: () => print('长按'),
  child: Container(color: Colors.blue),
)
1.2 GestureDetector基础
class BasicGestureDetector extends StatelessWidget {
Widget build(BuildContext context) {
return GestureDetector(
// 点击
onTap: () => print('点击'),
onTapDown: (details) => print('按下: ${details.globalPosition}'),
onTapUp: (details) => print('抬起: ${details.globalPosition}'),
// 双击
onDoubleTap: () => print('双击'),
// 长按
onLongPress: () => print('长按'),
onLongPressStart: (details) => print('长按开始'),
// 滑动
onPanStart: (details) => print('滑动开始'),
onPanUpdate: (details) => print('滑动: ${details.delta}'),
onPanEnd: (details) => print('滑动结束'),
// 缩放
onScaleStart: (details) => print('缩放开始'),
onScaleUpdate: (details) => print('缩放: ${details.scale}'),
onScaleEnd: (details) => print('缩放结束'),
child: Container(
width: 200,
height: 200,
color: Colors.blue,
child: Center(child: Text('手势区域')),
),
);
}
}
二、常用手势识别
2.1 滑动手势

class SwipeGestureExample extends StatefulWidget {
State<SwipeGestureExample> createState() => _SwipeGestureExampleState();
}
class _SwipeGestureExampleState extends State<SwipeGestureExample> {
int _currentIndex = 0;
final List<Widget> _pages = [
Container(color: Colors.red, child: Center(child: Text('页面1'))),
Container(color: Colors.green, child: Center(child: Text('页面2'))),
Container(color: Colors.blue, child: Center(child: Text('页面3'))),
];
Widget build(BuildContext context) {
return GestureDetector(
onHorizontalDragEnd: (details) {
if (details.primaryVelocity == null) return;
if (details.primaryVelocity! > 0) {
setState(() {
_currentIndex = (_currentIndex - 1).clamp(0, _pages.length - 1);
});
} else {
setState(() {
_currentIndex = (_currentIndex + 1).clamp(0, _pages.length - 1);
});
}
},
child: _pages[_currentIndex],
);
}
}
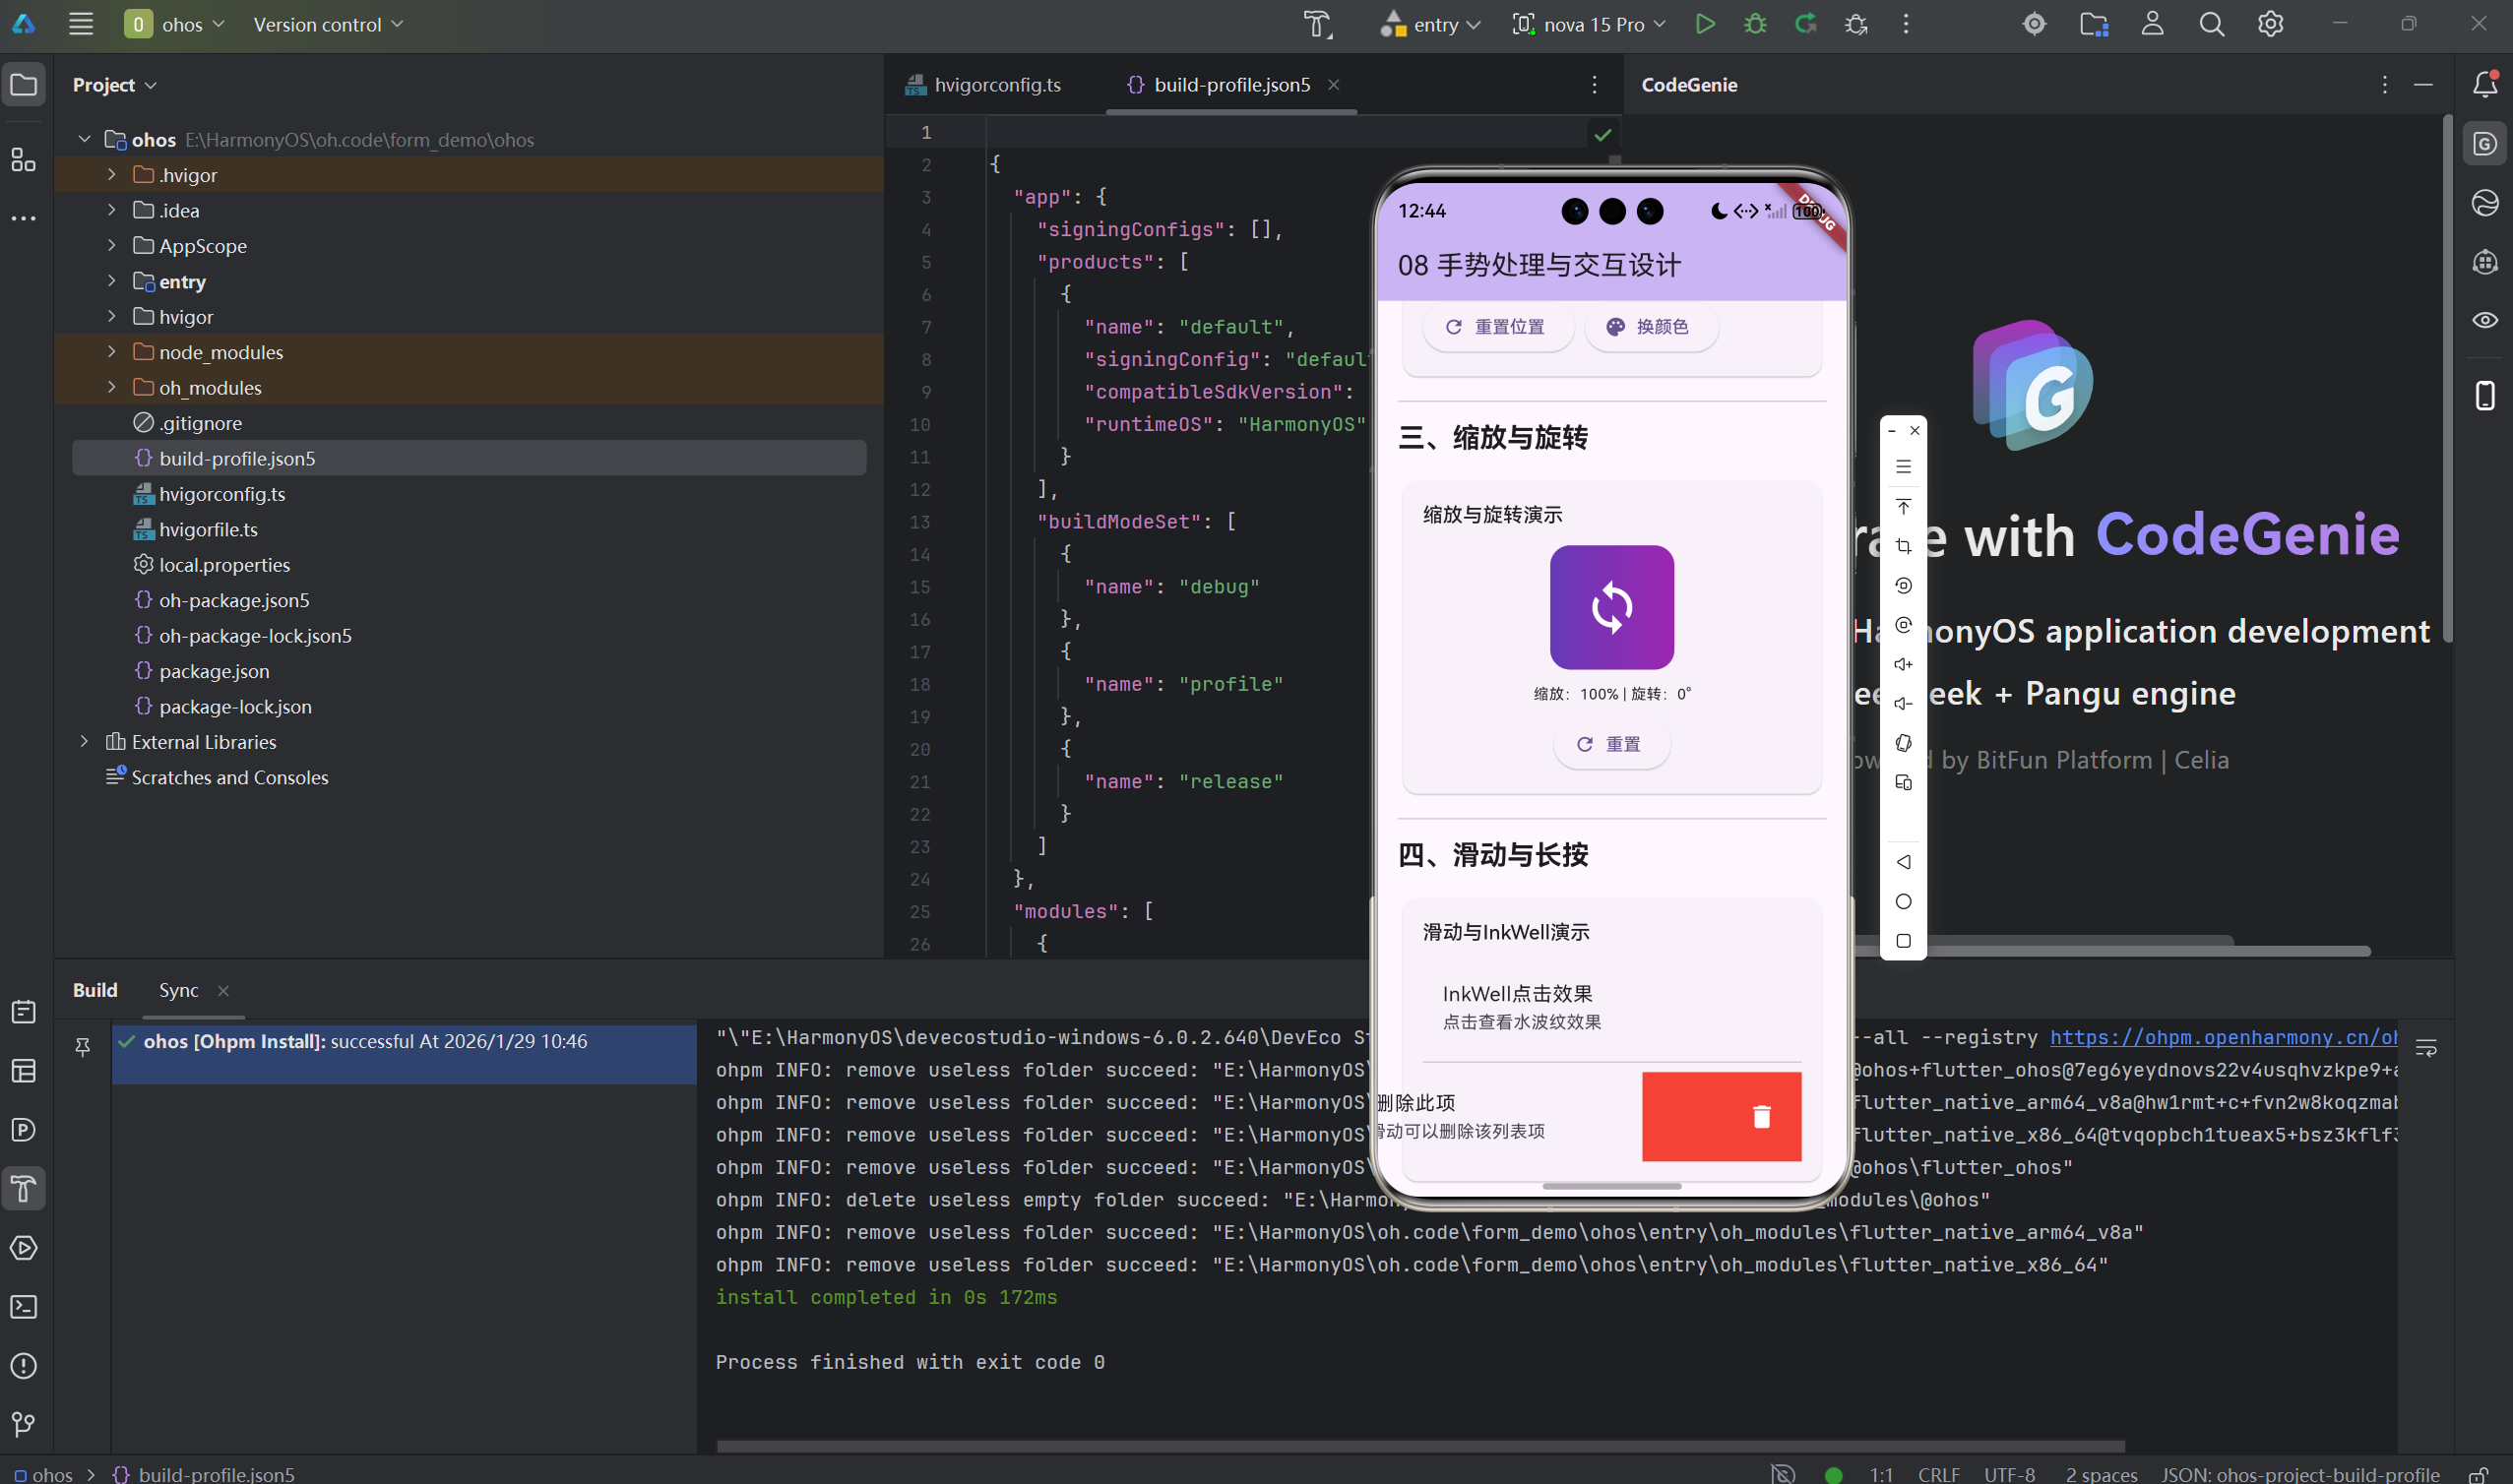
2.2 缩放手势
class ScaleGestureExample extends StatefulWidget {
State<ScaleGestureExample> createState() => _ScaleGestureExampleState();
}
class _ScaleGestureExampleState extends State<ScaleGestureExample> {
double _scale = 1.0;
Widget build(BuildContext context) {
return GestureDetector(
onScaleUpdate: (details) {
setState(() {
_scale = details.scale;
});
},
child: Transform.scale(
scale: _scale,
child: Container(
width: 200,
height: 200,
color: Colors.blue,
child: Center(child: Text('缩放: $_scale')),
),
),
);
}
}
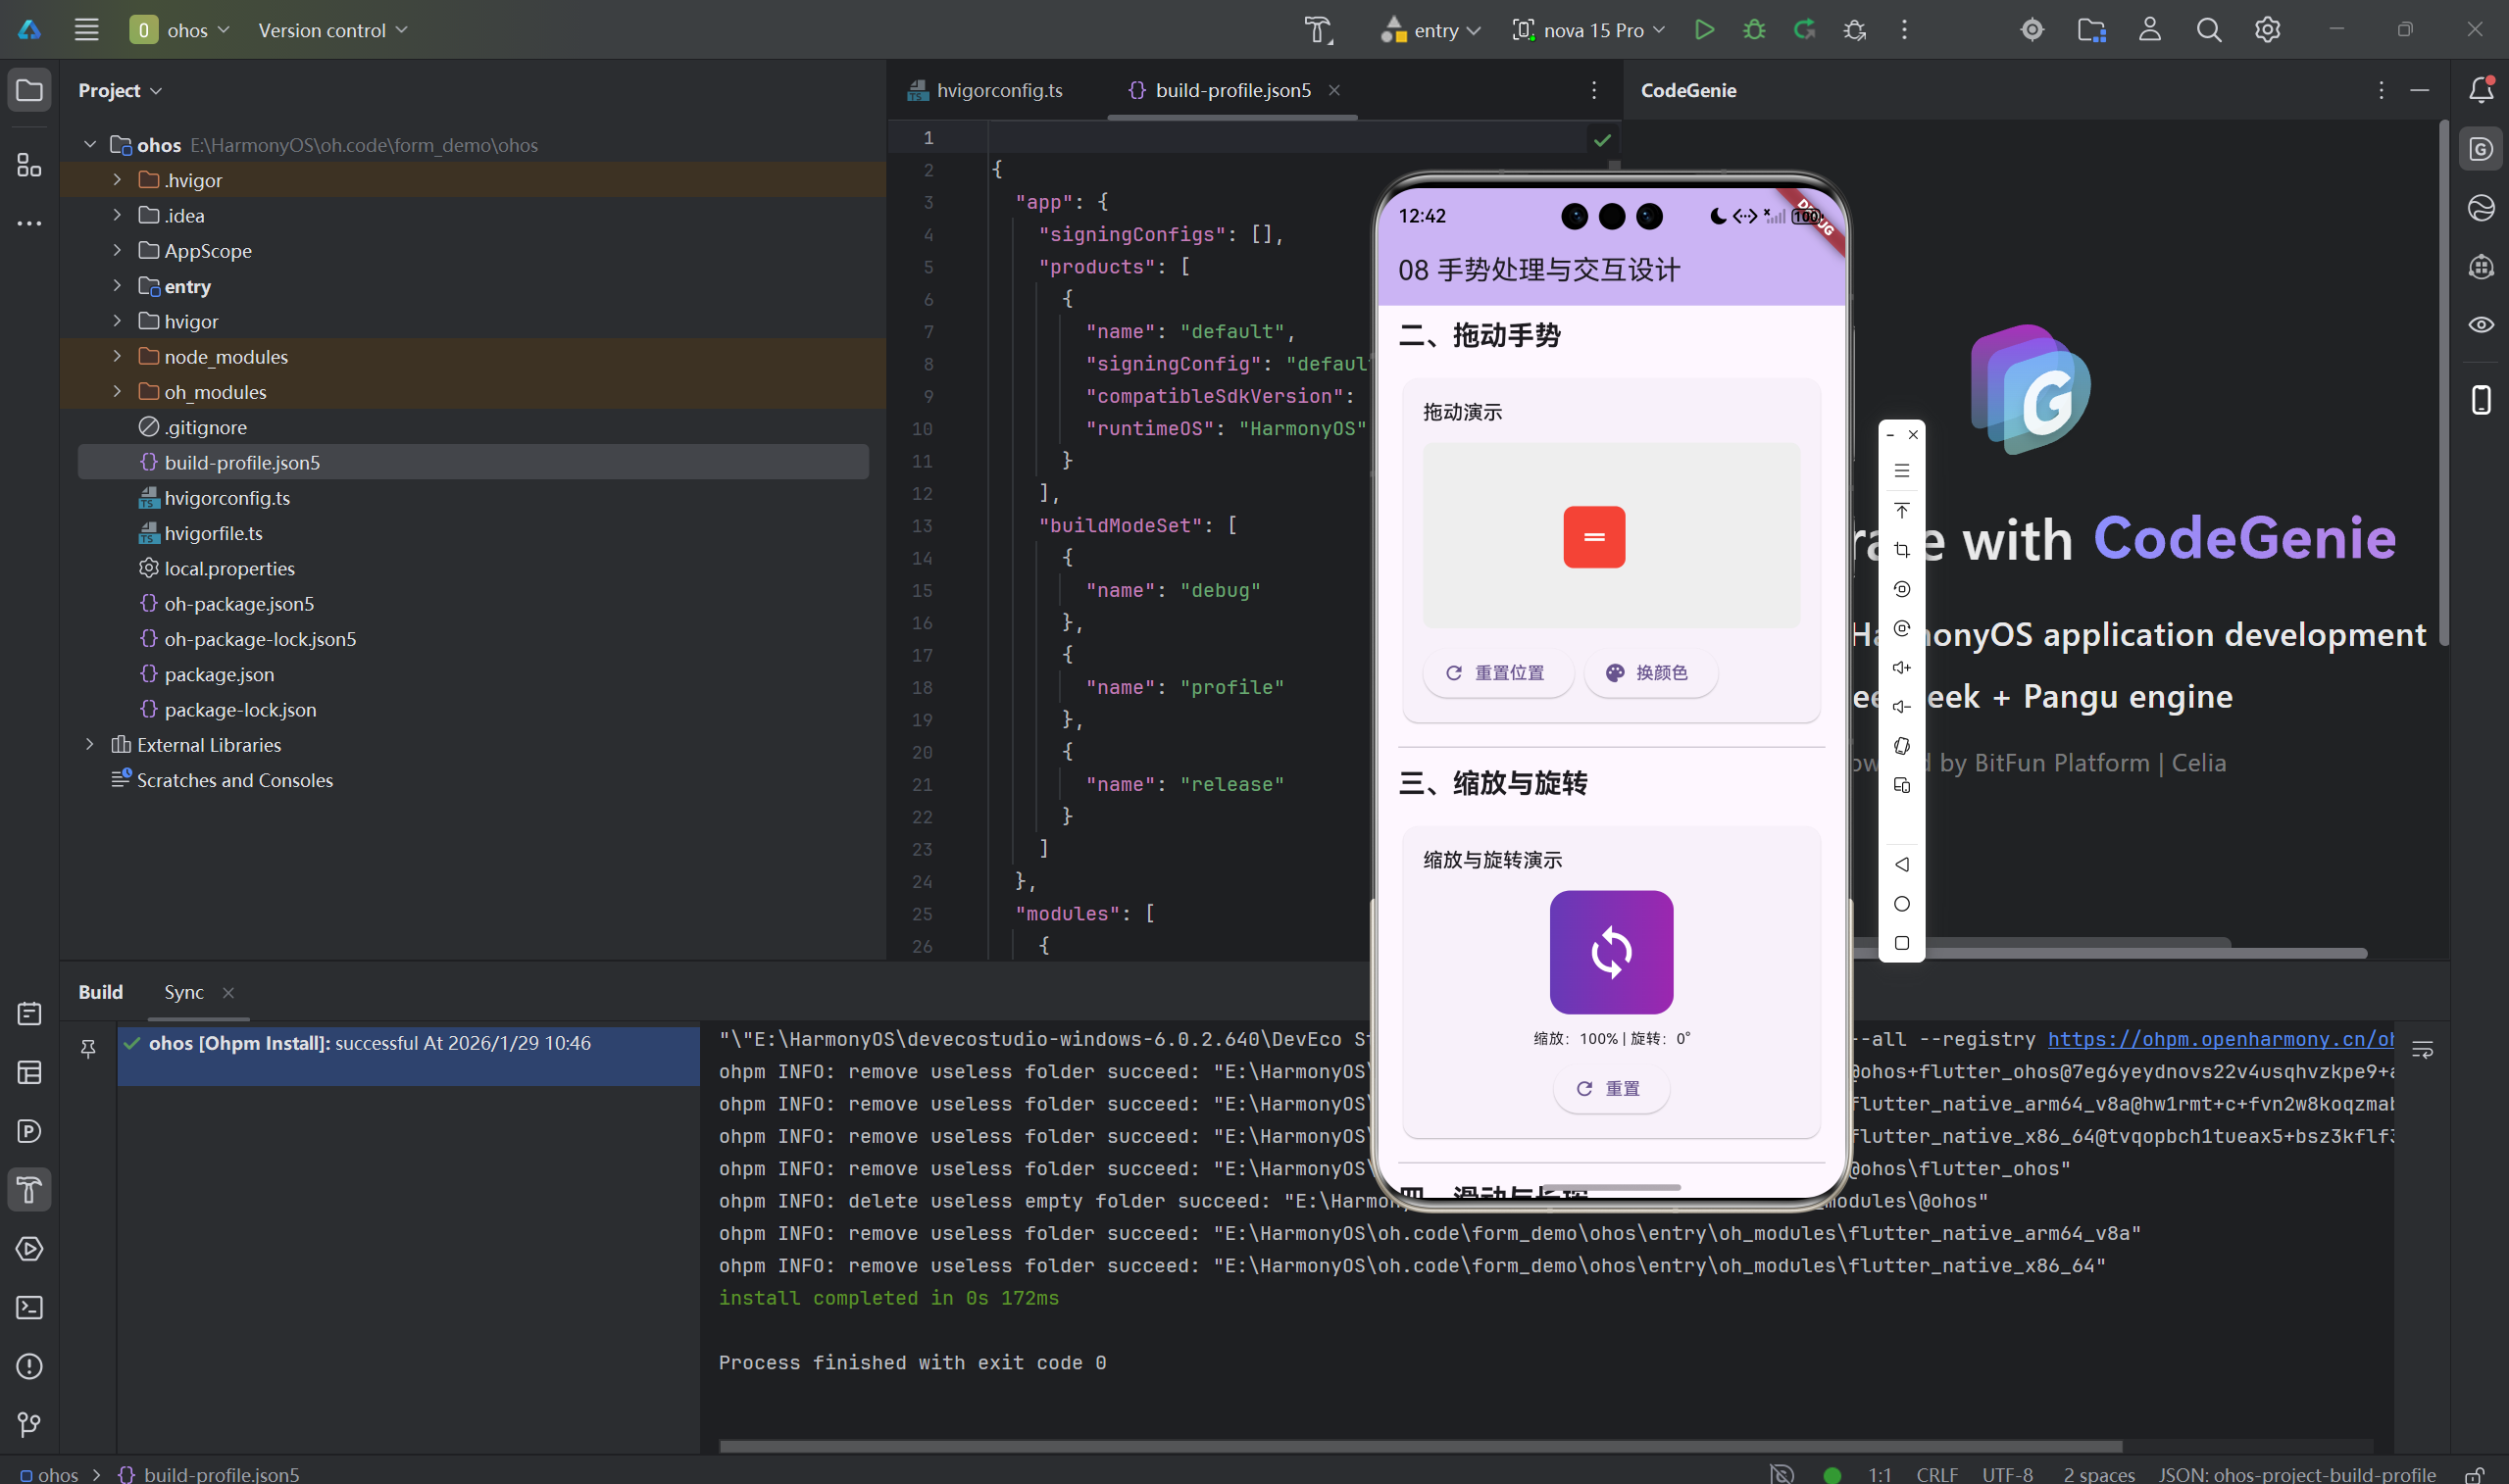
2.3 拖拽手势
class DragGestureExample extends StatefulWidget {
State<DragGestureExample> createState() => _DragGestureExampleState();
}
class _DragGestureExampleState extends State<DragGestureExample> {
Offset _position = Offset.zero;
Widget build(BuildContext context) {
return Stack(
children: [
Positioned(
left: _position.dx,
top: _position.dy,
child: GestureDetector(
onPanUpdate: (details) {
setState(() {
_position += details.delta;
});
},
child: Container(
width: 100,
height: 100,
color: Colors.blue,
child: Center(child: Text('拖我')),
),
),
),
],
);
}
}
2.4 InkWell点击效果
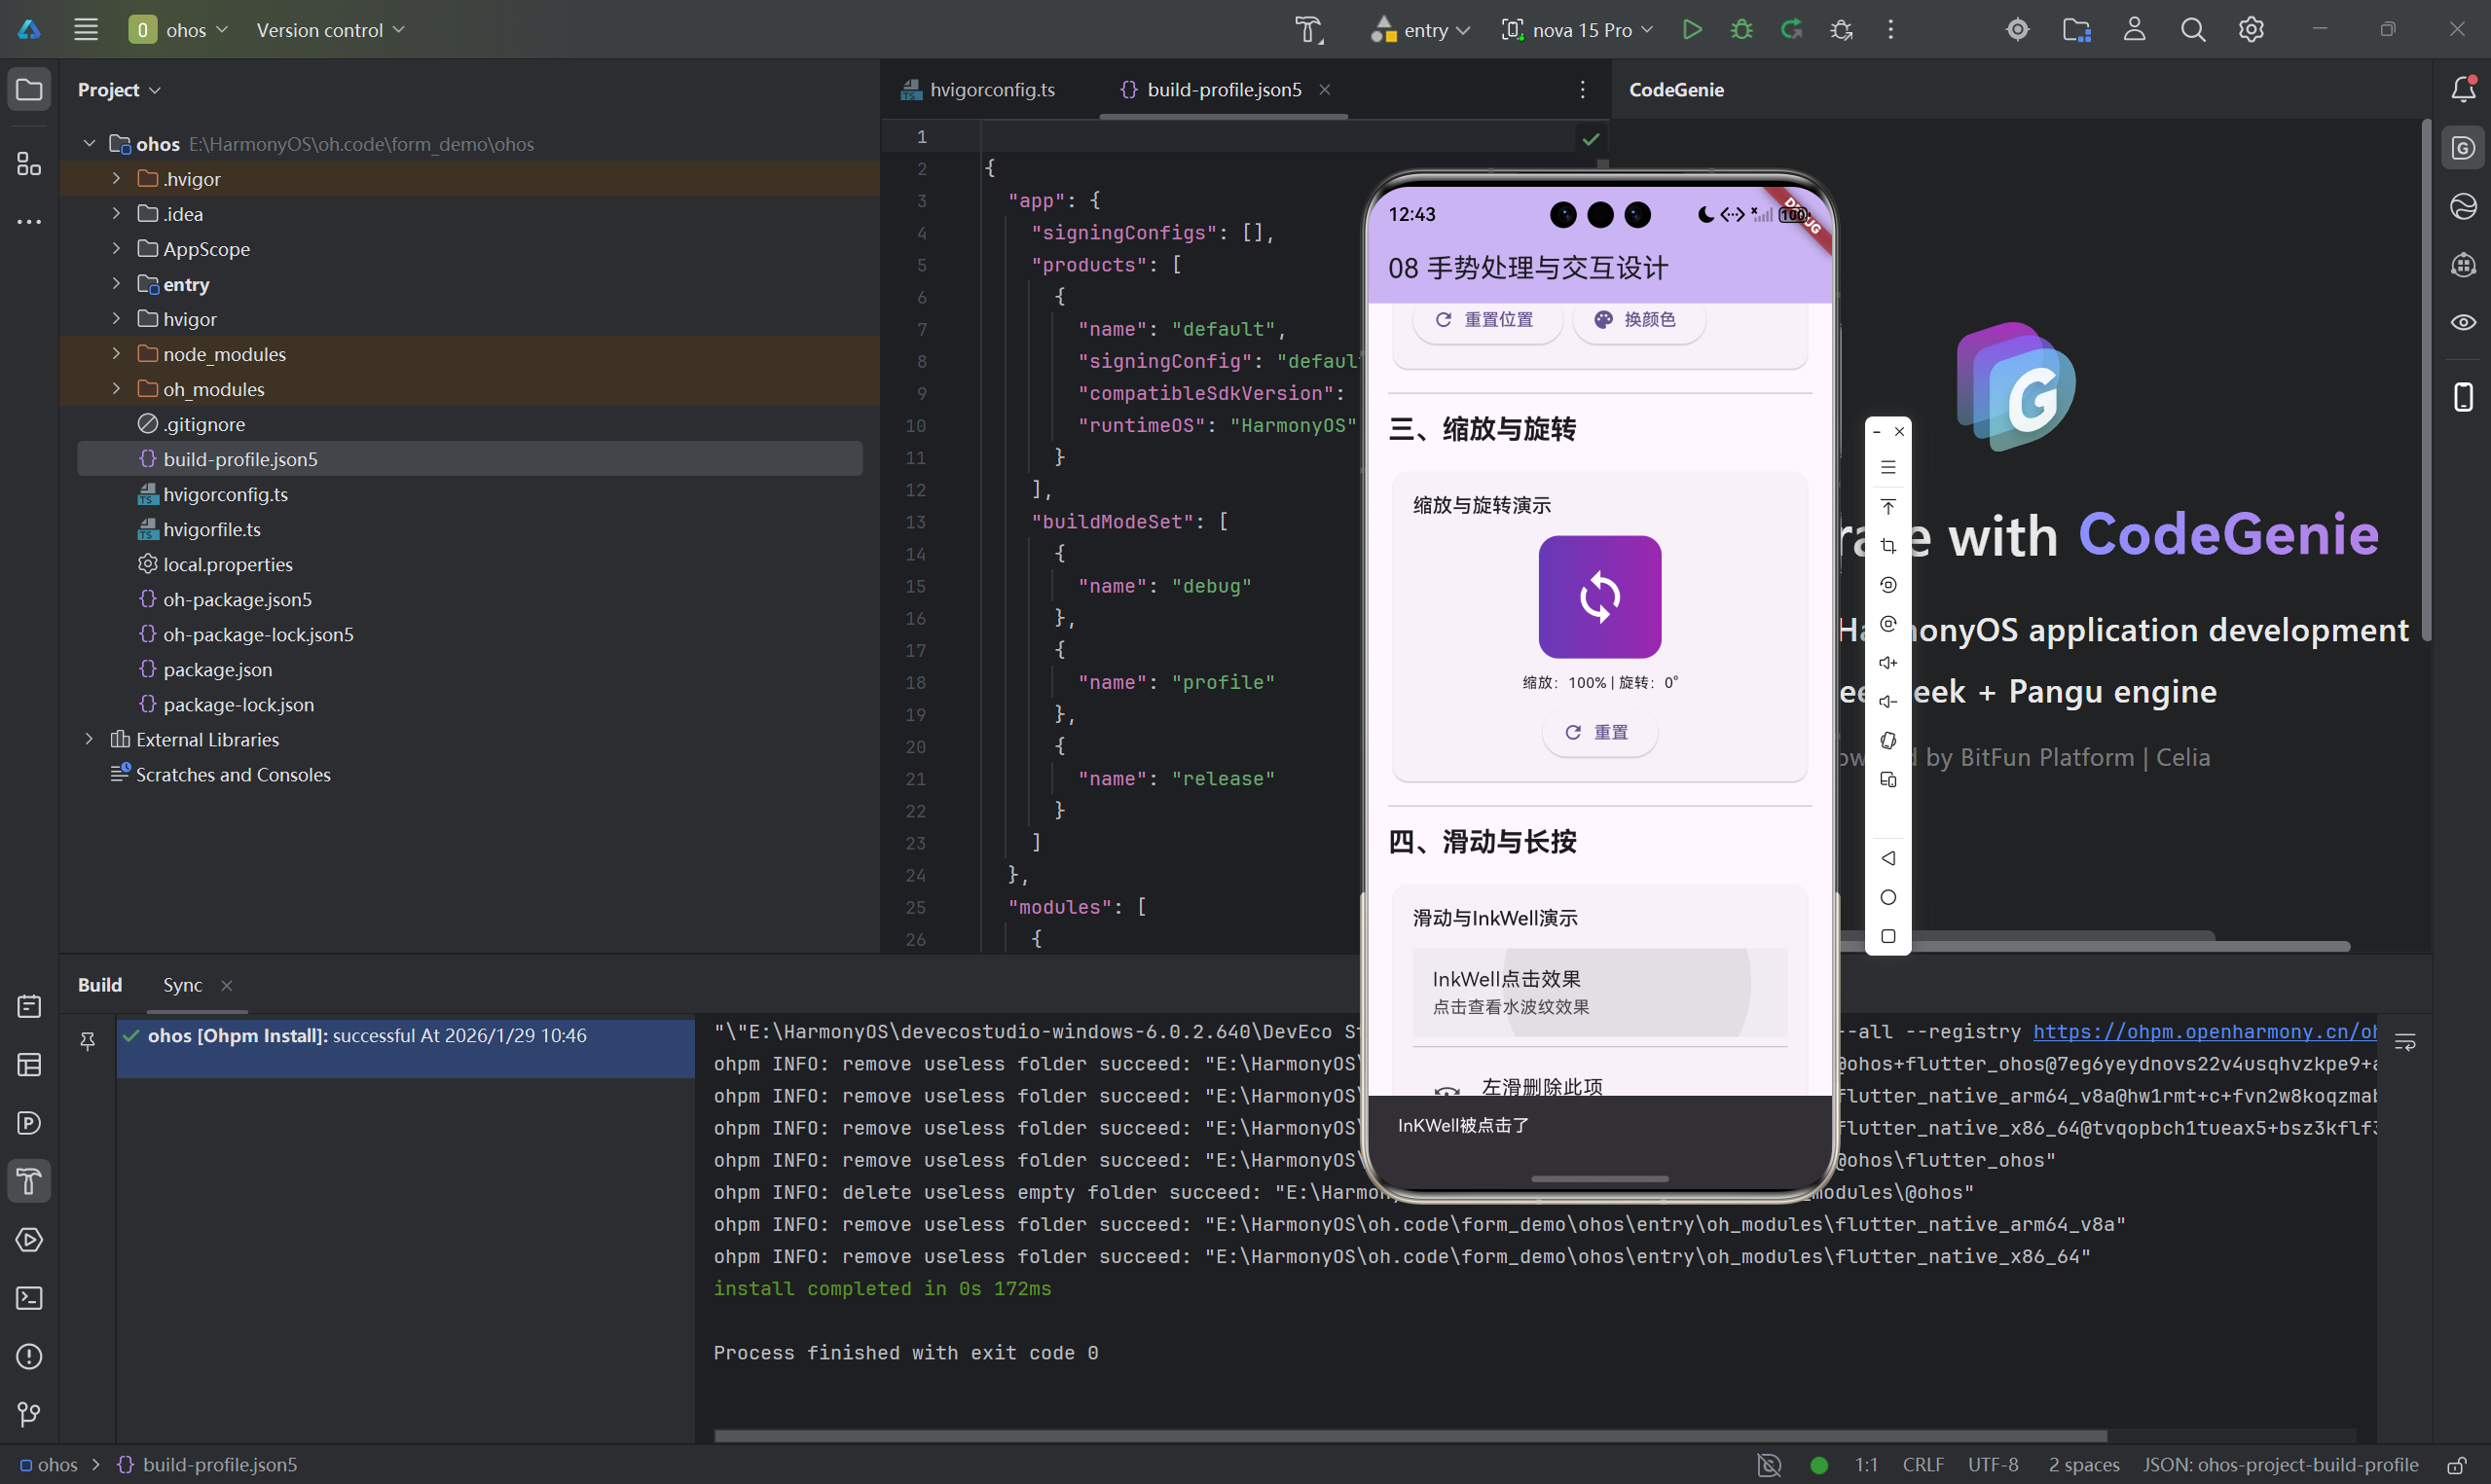
InkWell(
  onTap: () => print('点击'),
  onLongPress: () => print('长按'),
  borderRadius: BorderRadius.circular(8),
  child: Container(
    padding: EdgeInsets.all(16),
    decoration: BoxDecoration(
      borderRadius: BorderRadius.circular(8),
      border: Border.all(color: Colors.blue),
    ),
    child: Text('有水波纹效果的按钮'),
  ),
)
三、自定义手势实现
3.1 自定义手势识别器
class CustomTapGestureRecognizer extends TapGestureRecognizer {
void resolve(GestureDisposition disposition) {
super.resolve(disposition);
}
}
class CustomGestureDetector extends StatelessWidget {
final Widget child;
final VoidCallback? onCustomTap;
const CustomGestureDetector({
super.key,
required this.child,
this.onCustomTap,
});
Widget build(BuildContext context) {
return RawGestureDetector(
gestures: {
CustomTapGestureRecognizer:
GestureRecognizerFactoryWithHandlers<CustomTapGestureRecognizer>(
() => CustomTapGestureRecognizer(),
(CustomTapGestureRecognizer instance) {
instance.onTapDown = (details) {};
},
),
},
child: child,
);
}
}
3.2 Listener底层手势
Listener(
  onPointerDown: (event) => print('按下: ${event.position}'),
  onPointerMove: (event) => print('移动: ${event.position}'),
  onPointerUp: (event) => print('抬起: ${event.position}'),
  onPointerCancel: () => print('取消'),
  child: Container(
    width: 200,
    height: 200,
    color: Colors.orange,
    child: Center(child: Text('Listener')),
  ),
)
四、交互设计原则
4.1 手势反馈
class GestureFeedbackExample extends StatefulWidget {
State<GestureFeedbackExample> createState() => _GestureFeedbackExampleState();
}
class _GestureFeedbackExampleState extends State<GestureFeedbackExample> {
bool _isPressed = false;
Widget build(BuildContext context) {
return GestureDetector(
onTapDown: (_) => setState(() => _isPressed = true),
onTapUp: (_) => setState(() => _isPressed = false),
onTapCancel: () => setState(() => _isPressed = false),
child: AnimatedContainer(
duration: Duration(milliseconds: 100),
width: 200,
height: 60,
decoration: BoxDecoration(
color: _isPressed ? Colors.blue.shade700 : Colors.blue,
borderRadius: BorderRadius.circular(8),
),
child: Center(
child: Text(
'按钮',
style: TextStyle(color: Colors.white),
),
),
),
);
}
}
4.2 防误触设计
class PreventAccidentalTap extends StatefulWidget {
State<PreventAccidentalTap> createState() => _PreventAccidentalTapState();
}
class _PreventAccidentalTapState extends State<PreventAccidentalTap> {
DateTime? _lastTapTime;
void _handleTap() {
final now = DateTime.now();
if (_lastTapTime != null && now.difference(_lastTapTime!).inMilliseconds < 300) {
print('点击太快,忽略');
return;
}
_lastTapTime = now;
print('执行操作');
}
Widget build(BuildContext context) {
return ElevatedButton(
onPressed: _handleTap,
child: Text('防误触按钮'),
);
}
}
总结
手势交互让应用更生动。
核心要点:
- GestureDetector是最常用的手势组件
- InkWell提供Material风格的点击反馈
- 注意手势冲突的处理
- 提供清晰的手势反馈
- 防止误触和误操作
交互建议:
- 手势要符合用户习惯
- 提供即时反馈
- 重要操作要有确认
- 考虑防误触设计
- 做好手势教学
好的手势设计提升用户体验。
欢迎加入开源鸿蒙跨平台社区:开源鸿蒙跨平台开发者社区

开源鸿蒙跨平台开发社区汇聚开发者与厂商,共建“一次开发,多端部署”的开源生态,致力于降低跨端开发门槛,推动万物智联创新。
更多推荐

 9
9 0
0- 0


 已为社区贡献27条内容

所有评论(0)