rn_for_openharmony商城项目app实战-支付成功实现
本文介绍了如何在React Native中实现一个支付成功页面,通过动画增强用户体验。主要步骤包括:1) 使用Animated库创建缩放和淡入动画效果;2) 展示成功图标和订单信息;3) 添加温馨提示和操作按钮。技术要点涉及useRef存储动画值、Animated.sequence控制动画顺序、useNativeDriver提升性能等。页面设计注重视觉层次和用户引导,通过弹性动画和渐显效果使交互更
案例开源地址:https://atomgit.com/nutpi/rn_openharmony_buy
写在前面
支付成功页面是用户完成购买后看到的第一个页面,虽然功能简单,但设计得好能给用户留下好印象。这个页面主要是告诉用户"你的订单成功了",然后引导用户去查看订单或者继续购物。
这篇文章记录一下我怎么实现支付成功页面的,顺便加点动画效果,让页面更有活力。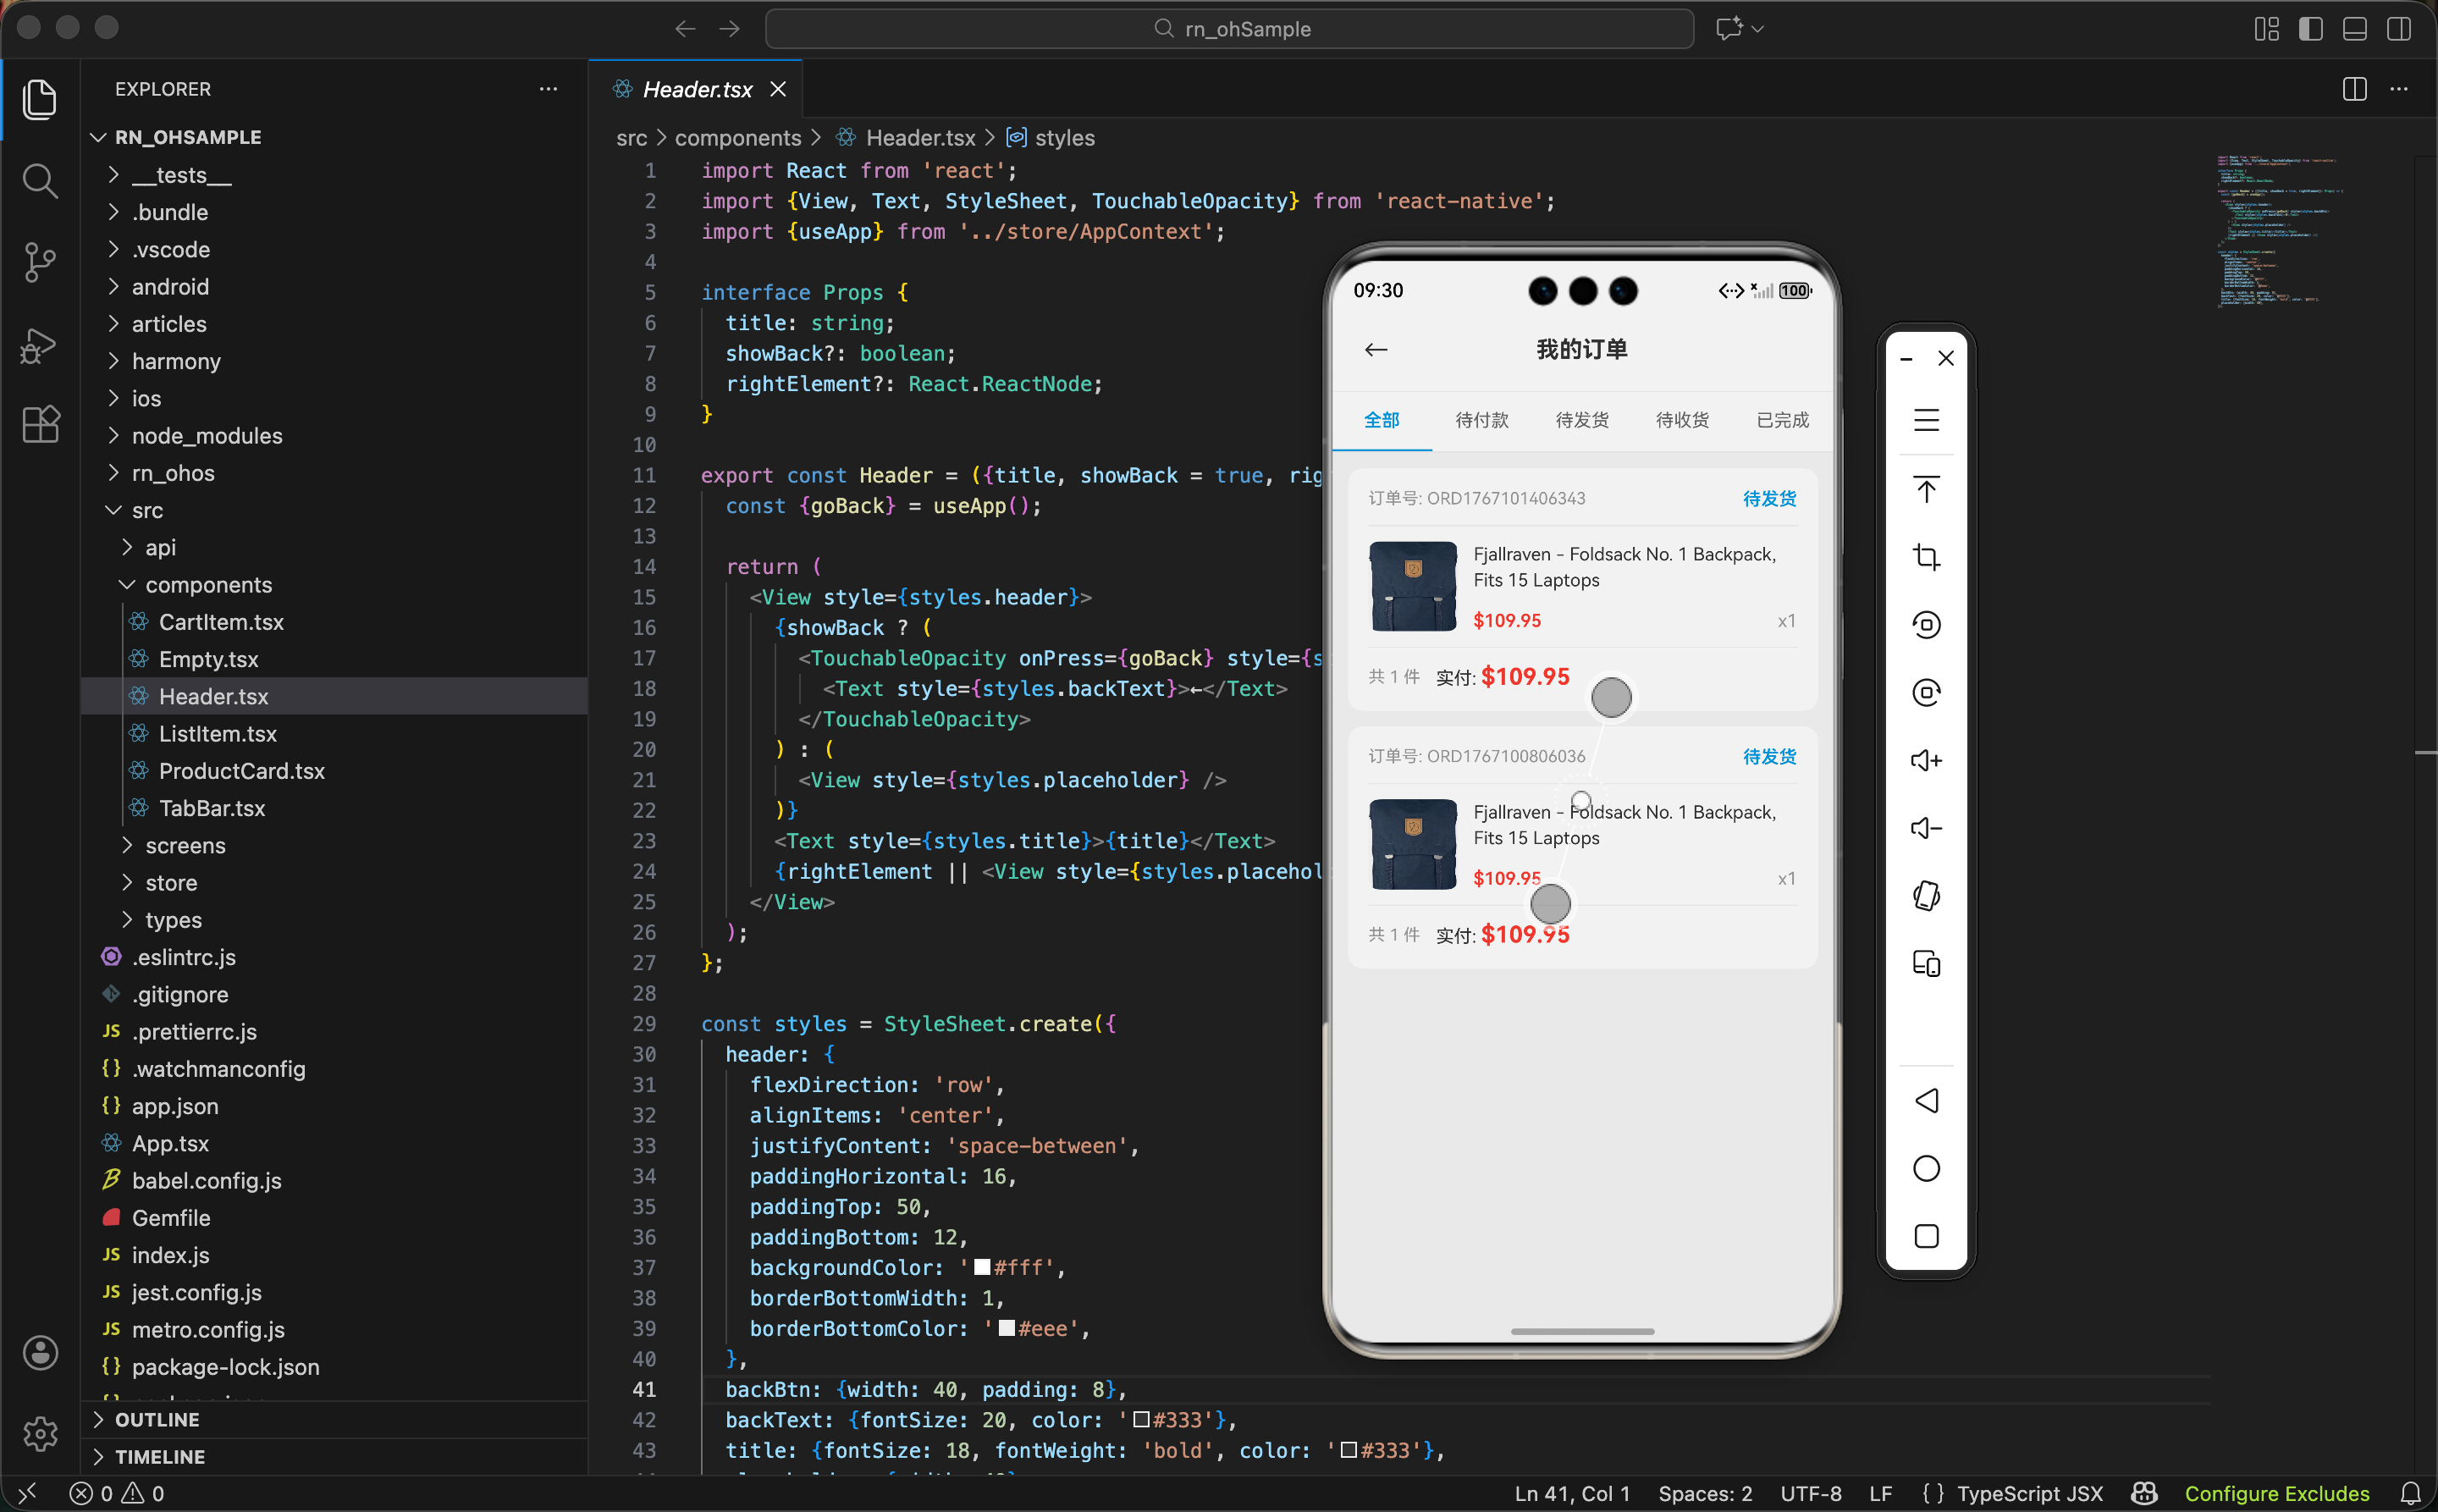
引入依赖
import React, {useEffect, useRef} from 'react';
import {View, Text, StyleSheet, TouchableOpacity, Animated} from 'react-native';
import {useApp} from '../store/AppContext';
这里用到了 Animated,这是 React Native 内置的动画库。useRef 用来存储动画值,useEffect 用来在组件挂载时启动动画。
动画值初始化
export const PaymentSuccessScreen = () => {
  const {navigate, orders} = useApp();
  const scaleAnim = useRef(new Animated.Value(0)).current;
  const fadeAnim = useRef(new Animated.Value(0)).current;

  const latestOrder = orders[0];
定义了两个动画值:
scaleAnim:控制成功图标的缩放,从 0 放大到 1fadeAnim:控制文字内容的透明度,从 0 渐显到 1
latestOrder 取订单列表的第一个,因为刚创建的订单会被放在最前面。
为什么用 useRef 而不是 useState?
Animated.Value是一个可变对象,用useRef存储可以避免每次渲染都创建新的动画值。用useState的话,动画值变化会触发重新渲染,可能导致动画卡顿。
启动动画
useEffect(() => {
  Animated.sequence([
    Animated.spring(scaleAnim, {
      toValue: 1,
      tension: 50,
      friction: 7,
      useNativeDriver: true,
    }),
    Animated.timing(fadeAnim, {
      toValue: 1,
      duration: 300,
      useNativeDriver: true,
    }),
  ]).start();
}, []);
用 Animated.sequence 让两个动画依次执行:先是图标弹出,然后文字渐显。
spring 动画有弹性效果,tension 控制弹性强度,friction 控制阻尼。这两个值调一调能得到不同的弹跳感觉。
useNativeDriver: true 是什么?
这个选项让动画在原生线程执行,不会阻塞 JS 线程,动画会更流畅。但它只支持
transform和opacity这类属性,不支持width、height等布局属性。
成功图标
<Animated.View style={[styles.iconWrap, {transform: [{scale: scaleAnim}]}]}>
  <Text style={styles.icon}>✅</Text>
</Animated.View>
用 Animated.View 包裹图标,把 scaleAnim 绑定到 transform 的 scale 属性上。动画值从 0 变到 1,图标就会从无到有弹出来。
iconWrap: {
  width: 100,
  height: 100,
  borderRadius: 50,
  backgroundColor: '#e8f8f0',
  justifyContent: 'center',
  alignItems: 'center',
  marginBottom: 24
},
icon: {fontSize: 50},
图标背景用浅绿色,和成功的语义呼应。
成功提示文字
<Animated.View style={{opacity: fadeAnim}}>
  <Text style={styles.title}>下单成功</Text>
  <Text style={styles.subtitle}>感谢您的购买,我们会尽快为您发货</Text>
文字部分也用 Animated.View 包裹,绑定 fadeAnim 到 opacity。图标弹出后,文字渐渐显示出来。
title: {fontSize: 26, fontWeight: 'bold', color: '#333', textAlign: 'center'},
subtitle: {fontSize: 15, color: '#999', textAlign: 'center', marginTop: 8},
标题用大号加粗,副标题用小号灰色,层次分明。
订单信息展示
{latestOrder && (
  <View style={styles.orderInfo}>
    <View style={styles.orderRow}>
      <Text style={styles.orderLabel}>订单编号</Text>
      <Text style={styles.orderValue}>{latestOrder.id}</Text>
    </View>
    <View style={styles.orderRow}>
      <Text style={styles.orderLabel}>订单金额</Text>
      <Text style={styles.orderPrice}>${latestOrder.totalPrice.toFixed(2)}</Text>
    </View>
    <View style={styles.orderRow}>
      <Text style={styles.orderLabel}>商品数量</Text>
      <Text style={styles.orderValue}>{latestOrder.items.reduce((s, i) => s + i.quantity, 0)} 件</Text>
    </View>
  </View>
)}
展示刚创建的订单信息:订单编号、金额、商品数量。用 reduce 计算商品总件数。
为什么要判断 latestOrder?
理论上从结算页面跳过来肯定有订单,但加个判断更安全。万一用户直接访问这个页面(比如通过深链接),没有订单数据也不会报错。
orderInfo: {
  backgroundColor: '#f9f9f9',
  borderRadius: 16,
  padding: 20,
  marginTop: 32,
  width: '100%'
},
orderRow: {flexDirection: 'row', justifyContent: 'space-between', paddingVertical: 10},
orderLabel: {fontSize: 14, color: '#999'},
orderValue: {fontSize: 14, color: '#333'},
orderPrice: {fontSize: 18, fontWeight: 'bold', color: '#e74c3c'},
订单金额用红色大字突出显示。
温馨提示
<View style={styles.tips}>
  <Text style={styles.tipsIcon}>💡</Text>
  <Text style={styles.tipsText}>您可以在"我的订单"中查看订单详情和物流信息</Text>
</View>
提示用户去哪里查看订单,引导下一步操作。
tips: {
  flexDirection: 'row',
  alignItems: 'center',
  backgroundColor: '#fffbf0',
  borderRadius: 12,
  padding: 16,
  marginTop: 24
},
tipsIcon: {fontSize: 18, marginRight: 8},
tipsText: {flex: 1, fontSize: 13, color: '#666', lineHeight: 20},
底部操作按钮
<View style={styles.actions}>
  <TouchableOpacity style={styles.orderBtn} onPress={() => navigate('orderList')}>
    <Text style={styles.orderBtnText}>查看订单</Text>
  </TouchableOpacity>
  <TouchableOpacity style={styles.homeBtn} onPress={() => navigate('home')}>
    <Text style={styles.homeBtnText}>返回首页</Text>
  </TouchableOpacity>
</View>
两个按钮:查看订单和返回首页。查看订单是主要操作,用蓝色实心按钮;返回首页是次要操作,用灰色按钮。
actions: {padding: 20, paddingBottom: 40},
orderBtn: {
  backgroundColor: '#3498db',
  paddingVertical: 16,
  borderRadius: 25,
  alignItems: 'center',
  marginBottom: 12
},
orderBtnText: {fontSize: 16, fontWeight: '600', color: '#fff'},
homeBtn: {
  backgroundColor: '#f5f5f5',
  paddingVertical: 16,
  borderRadius: 25,
  alignItems: 'center'
},
homeBtnText: {fontSize: 16, fontWeight: '600', color: '#666'},
按钮顺序的考量
查看订单放上面,返回首页放下面。因为用户刚下完单,更可能想看看订单状态,而不是立刻去逛别的。把主要操作放在更显眼的位置。
完整页面结构
return (
  <View style={styles.container}>
    <View style={styles.content}>
      <Animated.View style={[styles.iconWrap, {transform: [{scale: scaleAnim}]}]}>
        <Text style={styles.icon}>✅</Text>
      </Animated.View>

      <Animated.View style={{opacity: fadeAnim}}>
        <Text style={styles.title}>下单成功</Text>
        <Text style={styles.subtitle}>感谢您的购买,我们会尽快为您发货</Text>

        {latestOrder && (
          <View style={styles.orderInfo}>
            {/* 订单信息 */}
          </View>
        )}

        <View style={styles.tips}>
          {/* 温馨提示 */}
        </View>
      </Animated.View>
    </View>

    <View style={styles.actions}>
      {/* 操作按钮 */}
    </View>
  </View>
);
页面分两部分:上面是内容区域(居中显示),下面是操作按钮(固定在底部)。
container: {flex: 1, backgroundColor: '#fff', paddingTop: 80},
content: {flex: 1, alignItems: 'center', paddingHorizontal: 32},
paddingTop: 80 让内容往下移一点,不要贴着顶部。
动画效果分析
整个动画流程是这样的:
- 页面加载,图标和文字都是不可见的(scale=0, opacity=0)
- 图标开始弹出动画,从 0 放大到 1,有弹性效果
- 图标动画完成后,文字开始渐显,从透明变成不透明
- 整个过程大概 0.5 秒左右
这种序列动画比同时执行更有层次感,用户的注意力会先被图标吸引,然后自然地看到文字内容。
可以优化的点
1. 分享功能
加个分享按钮,让用户可以把订单分享给朋友。
2. 推荐商品
在页面下方推荐一些相关商品,引导用户继续购物。
3. 动画优化
可以加一些粒子效果或者彩带效果,让成功的感觉更强烈。
4. 音效
播放一个"叮"的成功音效,多感官反馈。
小结
支付成功页面虽然简单,但有几个值得注意的点:
- 用动画增加页面活力,
Animated.sequence实现序列动画 useNativeDriver: true让动画更流畅- 展示订单关键信息,让用户确认
- 提供清晰的下一步操作引导
- 主次按钮用不同样式区分
动画是提升用户体验的好方法,但也不要过度使用。支付成功这种关键节点加点动画很合适,普通页面就没必要了。
下一篇写商品评价页面,敬请期待。
欢迎加入开源鸿蒙跨平台社区:https://openharmonycrossplatform.csdn.net

开源鸿蒙跨平台开发社区汇聚开发者与厂商,共建“一次开发,多端部署”的开源生态,致力于降低跨端开发门槛,推动万物智联创新。
更多推荐
 5
5 0
0- 0


 已为社区贡献18条内容

所有评论(0)