【十二】【QT开发应用】纯代码控制UI控件,QT纯代码ui水平布局,关于VS里面编码中文乱码问题,关于VS里面没有代码补全,番茄助手Visual Assist X教程和资源链接
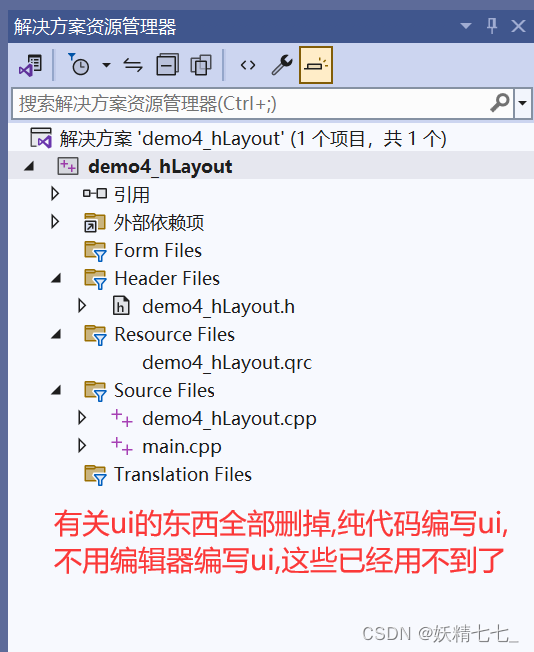
代码编写UI
#include "demo4_hLayout.h"
#include <QHBoxLayout>
#include <QLabel>
#include <QLineEdit>
#include <QPushButton>

demo4_hLayout::demo4_hLayout(QWidget *parent)
    : QWidget(parent)
{
    resize(400, 200);


    QLabel* pPath = new QLabel(this);

    pPath->setObjectName("pPath");
    //pPath->setFixedSize(40, 32);
    pPath->setText("路径");

    QLineEdit* pEdit = new QLineEdit(this);
    pEdit->setObjectName("pEdit");
    //pEdit->setFixedSize(100, 32);

    QPushButton* pBtn = new QPushButton(this);
    pBtn->setObjectName("pBtn");
    //pBtn->setFixedSize(50, 32);
    pBtn->setText("打开");


    QHBoxLayout* pHLay = new QHBoxLayout(this);
    pHLay->setContentsMargins(10, 10, 10, 10);
    pHLay->setSpacing(4);


    pHLay->addWidget(pPath);
    pHLay->addWidget(pEdit);
    pHLay->addStretch();
    pHLay->addWidget(pBtn);
    pHLay->addStretch();


}

demo4_hLayout::~demo4_hLayout()
{}
复盘
#include "demo4_hLayout.h" // 包含头文件 demo4_hLayout.h
#include <QHBoxLayout> // 包含 QHBoxLayout 类
#include <QLabel> // 包含 QLabel 类
#include <QLineEdit> // 包含 QLineEdit 类
#include <QPushButton> // 包含 QPushButton 类

demo4_hLayout::demo4_hLayout(QWidget *parent)
    : QWidget(parent) // 调用基类 QWidget 的构造函数
{
    resize(400, 200); // 设置窗口大小为 400x200

    QLabel* pPath = new QLabel(this); // 创建 QLabel 对象 pPath,父对象为 this

    pPath->setObjectName("pPath"); // 设置对象名为 "pPath"
    //pPath->setFixedSize(40, 32); // 设置固定大小为 40x32
    pPath->setText("路径"); // 设置标签文本为 "路径"

    QLineEdit* pEdit = new QLineEdit(this); // 创建 QLineEdit 对象 pEdit,父对象为 this
    pEdit->setObjectName("pEdit"); // 设置对象名为 "pEdit"
    //pEdit->setFixedSize(100, 32); // 设置固定大小为 100x32

    QPushButton* pBtn = new QPushButton(this); // 创建 QPushButton 对象 pBtn,父对象为 this
    pBtn->setObjectName("pBtn"); // 设置对象名为 "pBtn"
    //pBtn->setFixedSize(50, 32); // 设置固定大小为 50x32
    pBtn->setText("打开"); // 设置按钮文本为 "打开"

    QHBoxLayout* pHLay = new QHBoxLayout(this); // 创建 QHBoxLayout 对象 pHLay,父对象为 this
    pHLay->setContentsMargins(10, 10, 10, 10); // 设置布局的内容边距
    pHLay->setSpacing(4); // 设置布局中的控件间距

    pHLay->addWidget(pPath); // 将 pPath 添加到布局中
    pHLay->addWidget(pEdit); // 将 pEdit 添加到布局中
    pHLay->addStretch(); // 添加一个伸缩项,使后续控件右对齐
    pHLay->addWidget(pBtn); // 将 pBtn 添加到布局中
    pHLay->addStretch(); // 添加一个伸缩项,使前面的控件左对齐
}

demo4_hLayout::~demo4_hLayout() // 析构函数
{}
#include "demo4_hLayout.h"
#include <QHBoxLayout>
#include <QLabel>
#include <QLineEdit>
#include <QPushButton>
#include “demo4_hLayout.h”:包含自定义的头文件。
#include :包含 Qt 的水平布局类,用于排列子控件。
#include :包含标签控件类,用于显示文本或图像。
#include :包含单行文本编辑控件类。
#include :包含按钮控件类。
resize(400, 200);
设置窗口大小为 400x200 像素。
QLabel* pPath = new QLabel(this);
pPath->setObjectName("pPath");
pPath->setText("路径");

QLineEdit* pEdit = new QLineEdit(this);
pEdit->setObjectName("pEdit");

QPushButton* pBtn = new QPushButton(this);
pBtn->setObjectName("pBtn");
pBtn->setText("打开");
创建 QLabel、QLineEdit 和 QPushButton 控件。
使用 setObjectName 设置对象名,便于通过对象名查找控件。
设置标签和按钮的文本。
QHBoxLayout* pHLay = new QHBoxLayout(this);
pHLay->setContentsMargins(10, 10, 10, 10);
pHLay->setSpacing(4);

pHLay->addWidget(pPath);
pHLay->addWidget(pEdit);
pHLay->addStretch();
pHLay->addWidget(pBtn);
pHLay->addStretch();
创建 QHBoxLayout 布局管理器,用于水平排列控件。
使用 setContentsMargins 设置布局的边距。只能使用这个函数去控制改水平布局的边距, QT5不能使用setMargins函数,因为已经被移除了.
使用 setSpacing 设置控件之间的间距。设置控件之间的间距是所有在这个水平布局里面的控件相邻的间距.QT5里面这个函数不是设置具体两个相邻控件的间距,而是所有相邻控件的间距.如果有多个会自动选取较大值进行设置.
使用 addWidget 方法将控件添加到布局中。
使用 addStretch 方法添加伸缩项,用于控制控件的对齐方式。这个函数添加弹簧,弹簧会将控件推到一侧,给控件一个力.
关于VS里面编码中文乱码问题
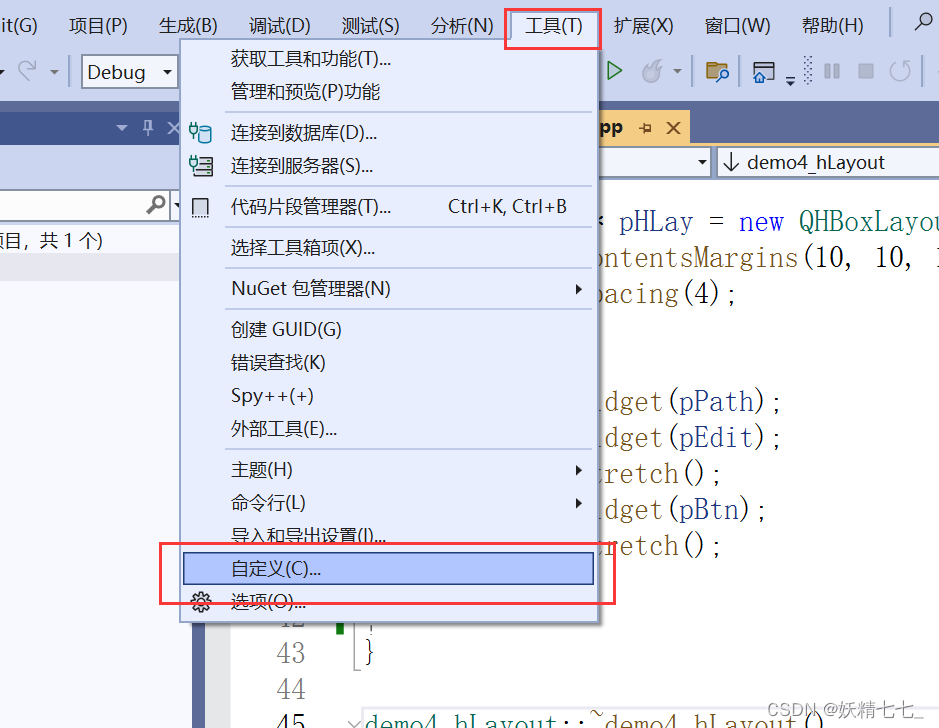
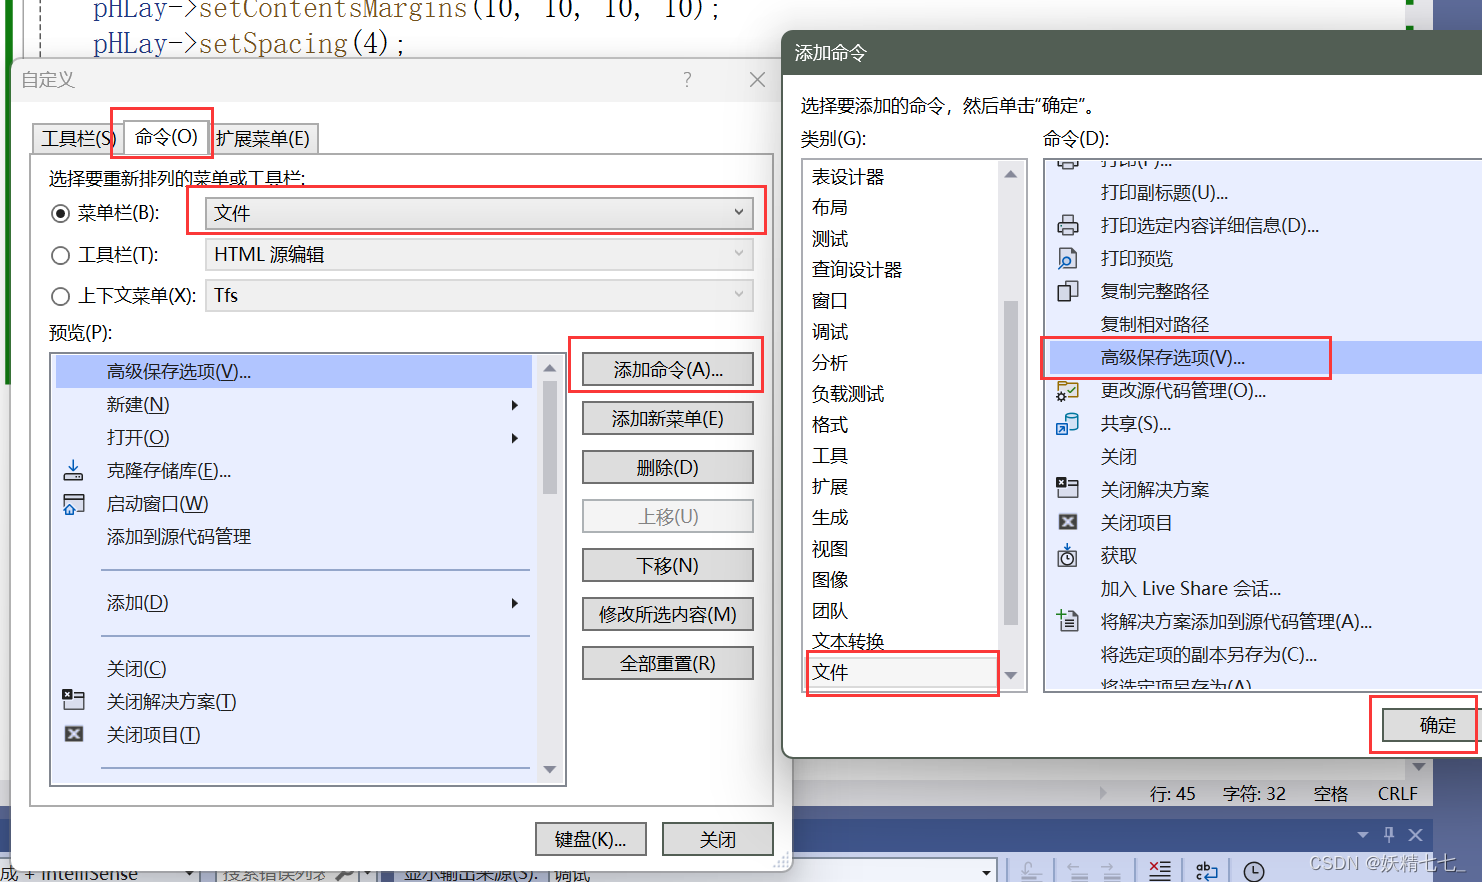
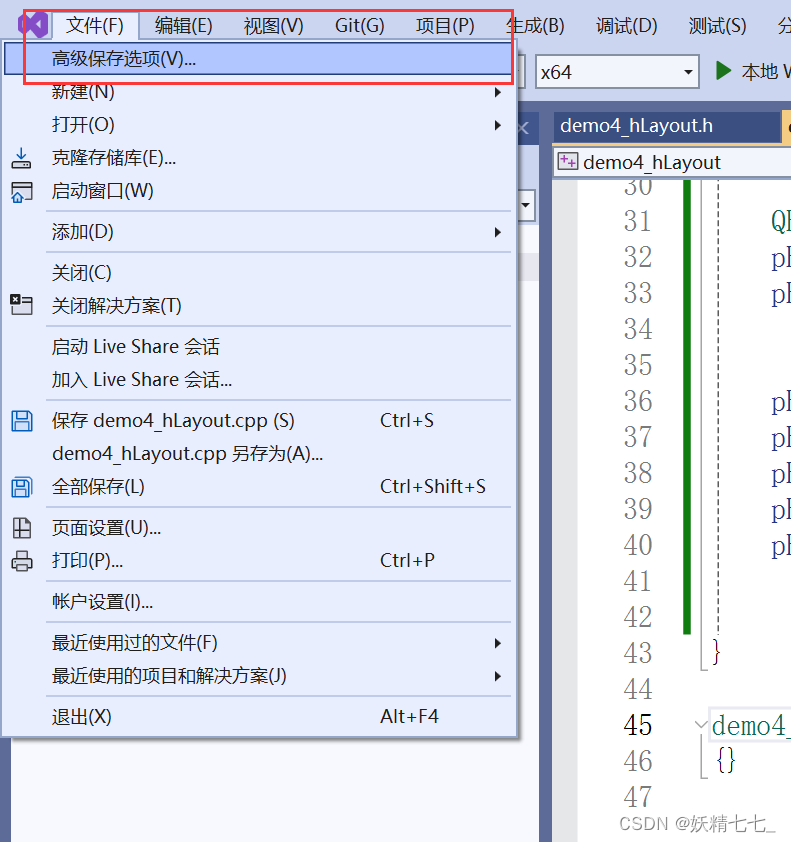
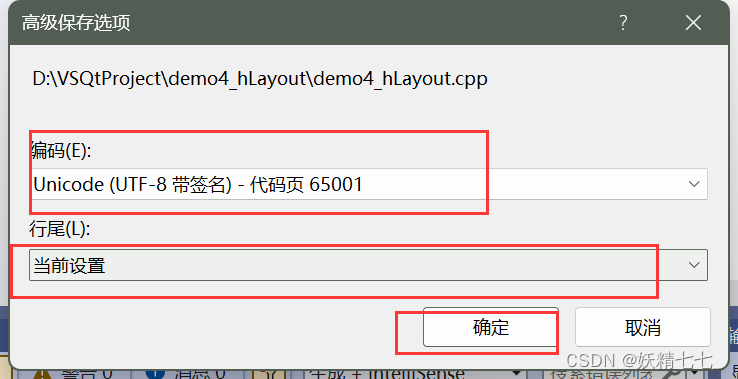
关于VS里面没有代码补全
Roson的Qt之旅#83 Visual Studio编写Qt代码时没有自动补全和提示功能
下载Visual Assist X插件.
CSDN文章—番茄助手Visual Assist X安装VS2022
软件下载链接!!!https://www.ilanzou.com/s/0HahO3B
结尾
最后,感谢您阅读我的文章,希望这些内容能够对您有所启发和帮助。如果您有任何问题或想要分享您的观点,请随时在评论区留言。
同时,不要忘记订阅我的博客以获取更多有趣的内容。在未来的文章中,我将继续探讨这个话题的不同方面,为您呈现更多深度和见解。
谢谢您的支持,期待与您在下一篇文章中再次相遇!

开源鸿蒙跨平台开发社区汇聚开发者与厂商,共建“一次开发,多端部署”的开源生态,致力于降低跨端开发门槛,推动万物智联创新。
更多推荐



 30
30 0
0- 0


 已为社区贡献1条内容

所有评论(0)