Qt热更新demo--使用从服务器端下载dll文件,并热更新客户端
审核中。
前提申明,笔者目前只是带学牲,此篇只做学习用途,如有错误之处,贻笑大方便可。
首先,从编译一个动态库开始。
打开qt create ,新建c++库项目
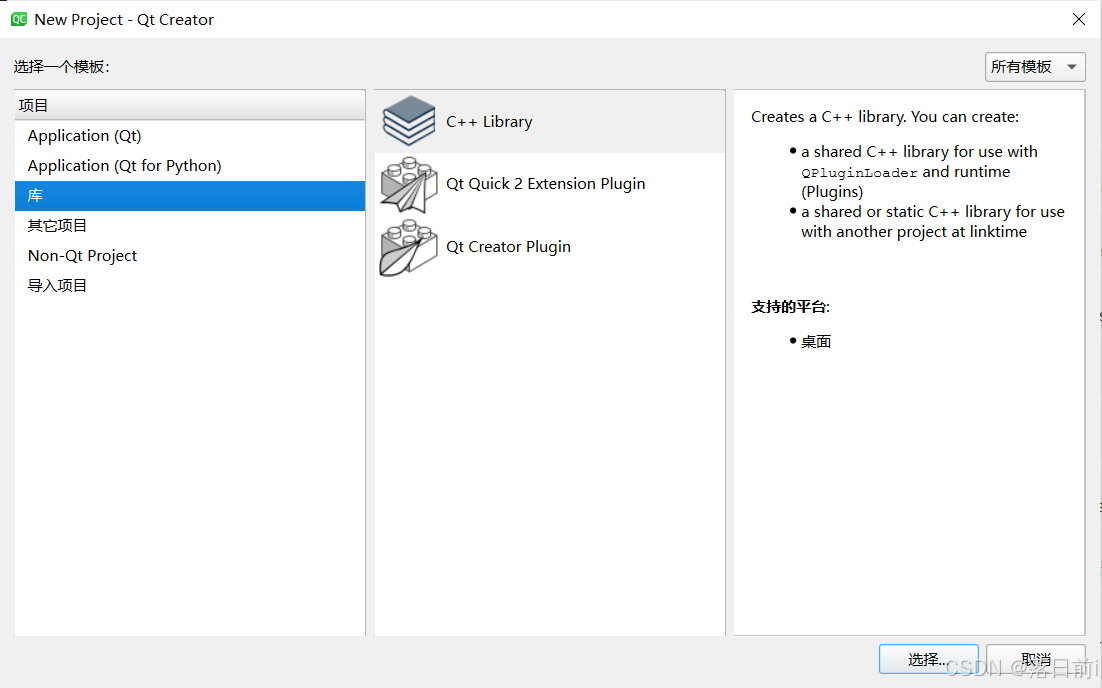
选择第一个 c++ Library
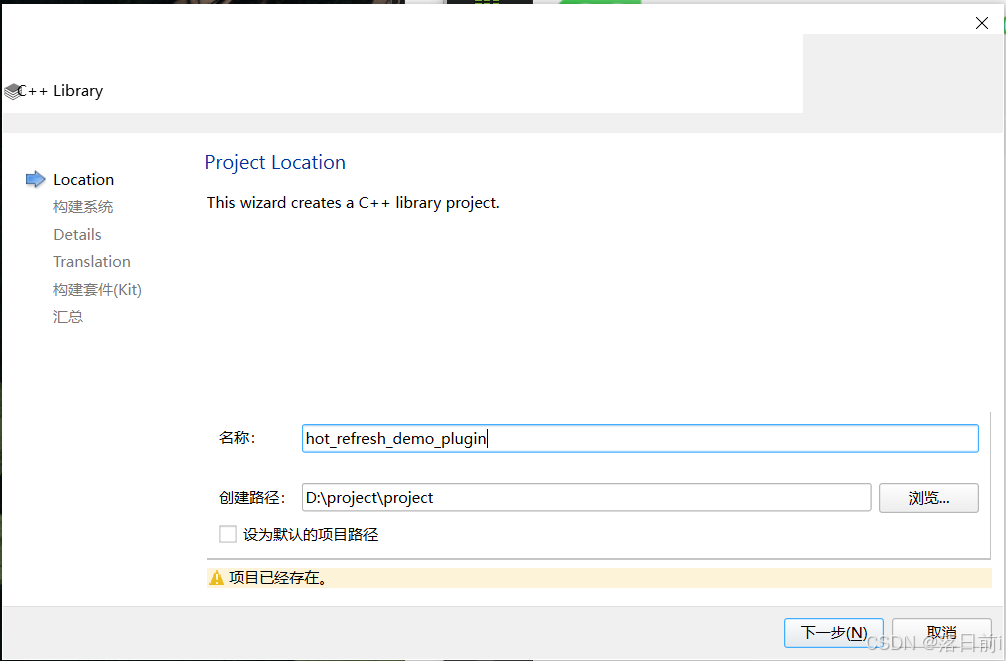
名字所以即可。
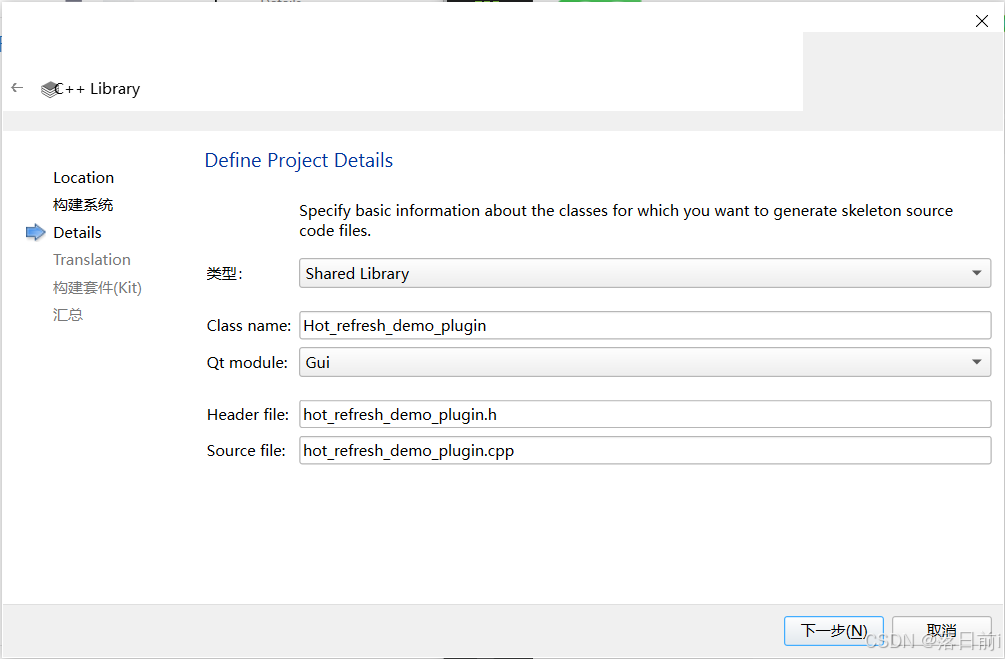
类型为Shared Library即可
包含Qt模块选择Gui
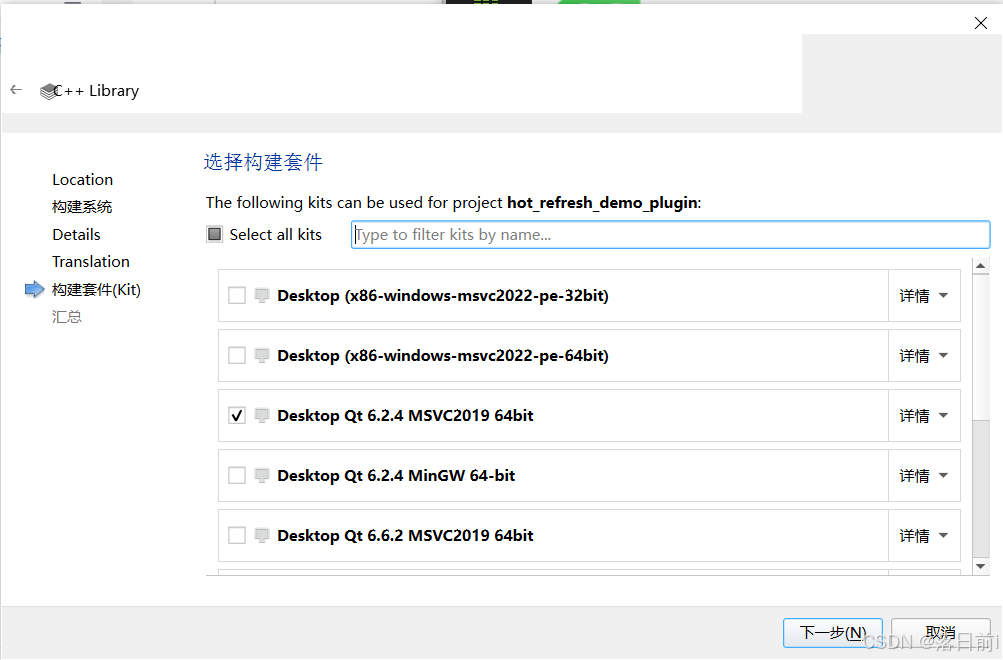
构造随意
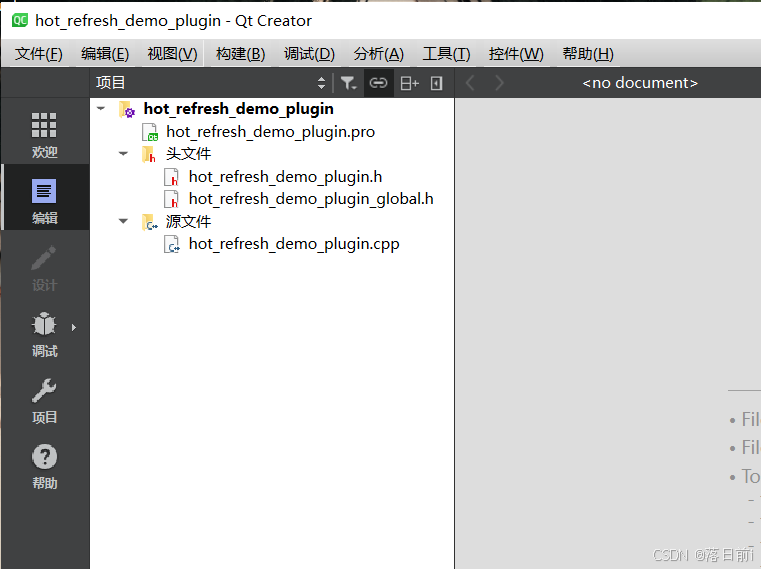
生成后项目结构如此
查看hot_refresh_demo_plugin_global.h文件,可以看到,此大概是Qt自动生成的用于控制动态链接库(DLL)导出和导入符号的宏定义,使用时在函数、类前添加HOT_REFRESH_DEMO_PLUGIN_EXPORT 宏即可
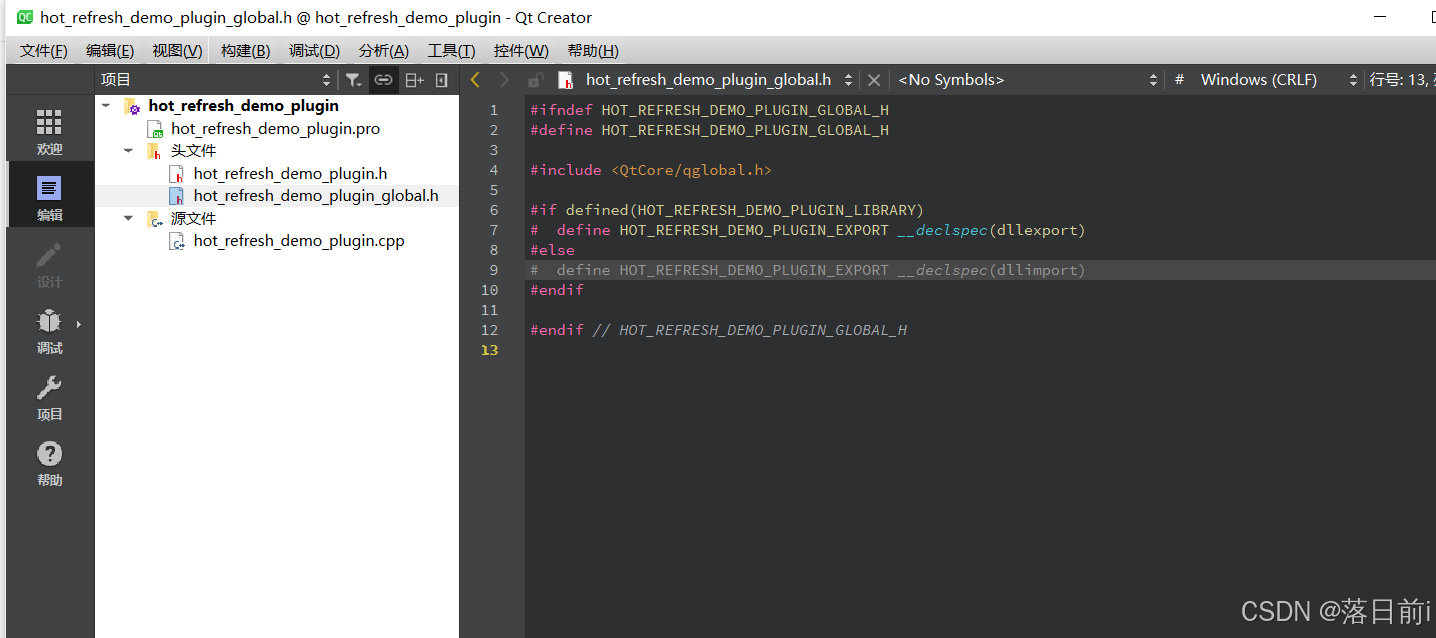
大致如下样式

那么,进入编译动态库第二步
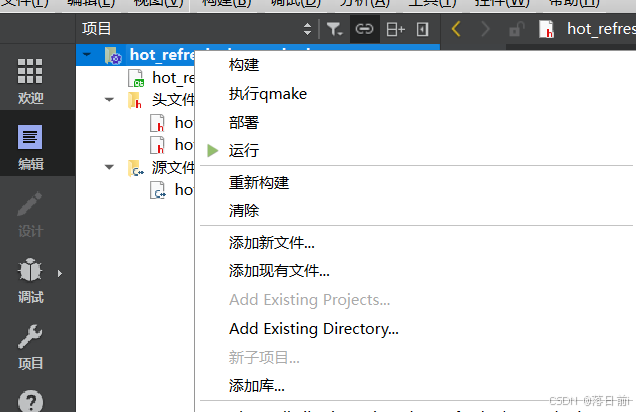
右键新建文件
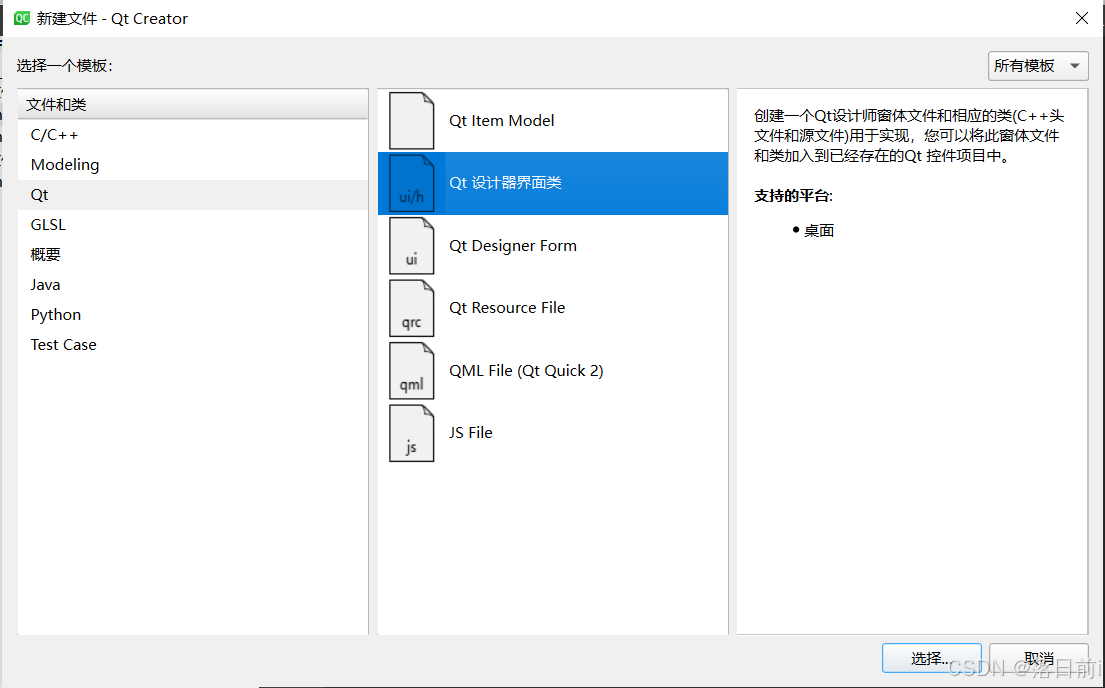
使用自带ui文件的类
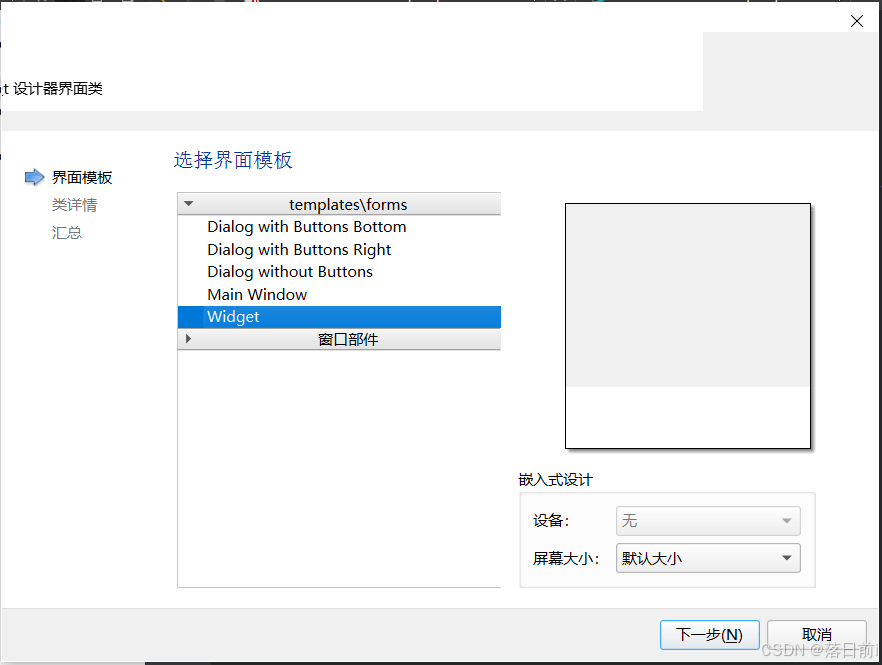
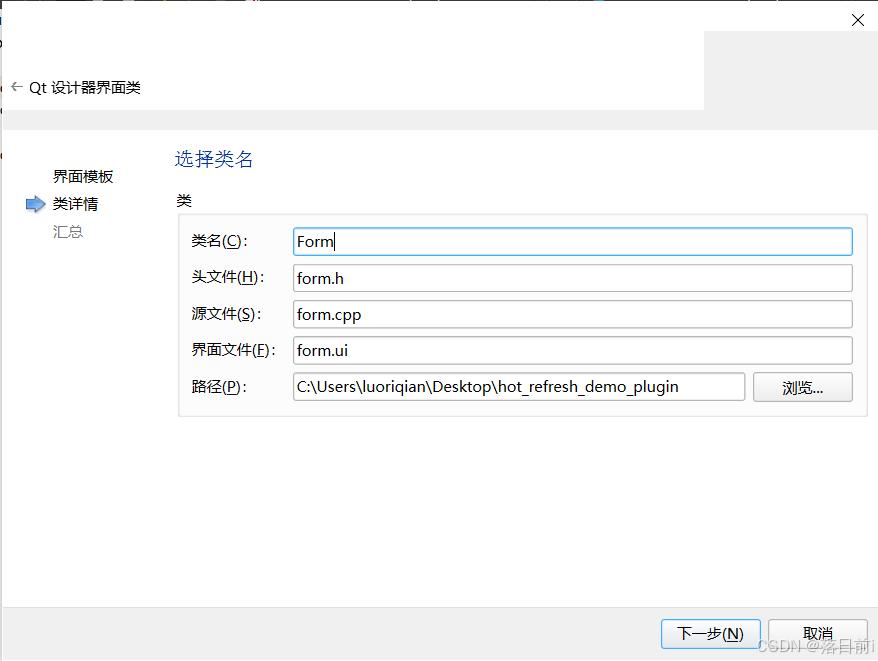
名字随意即可
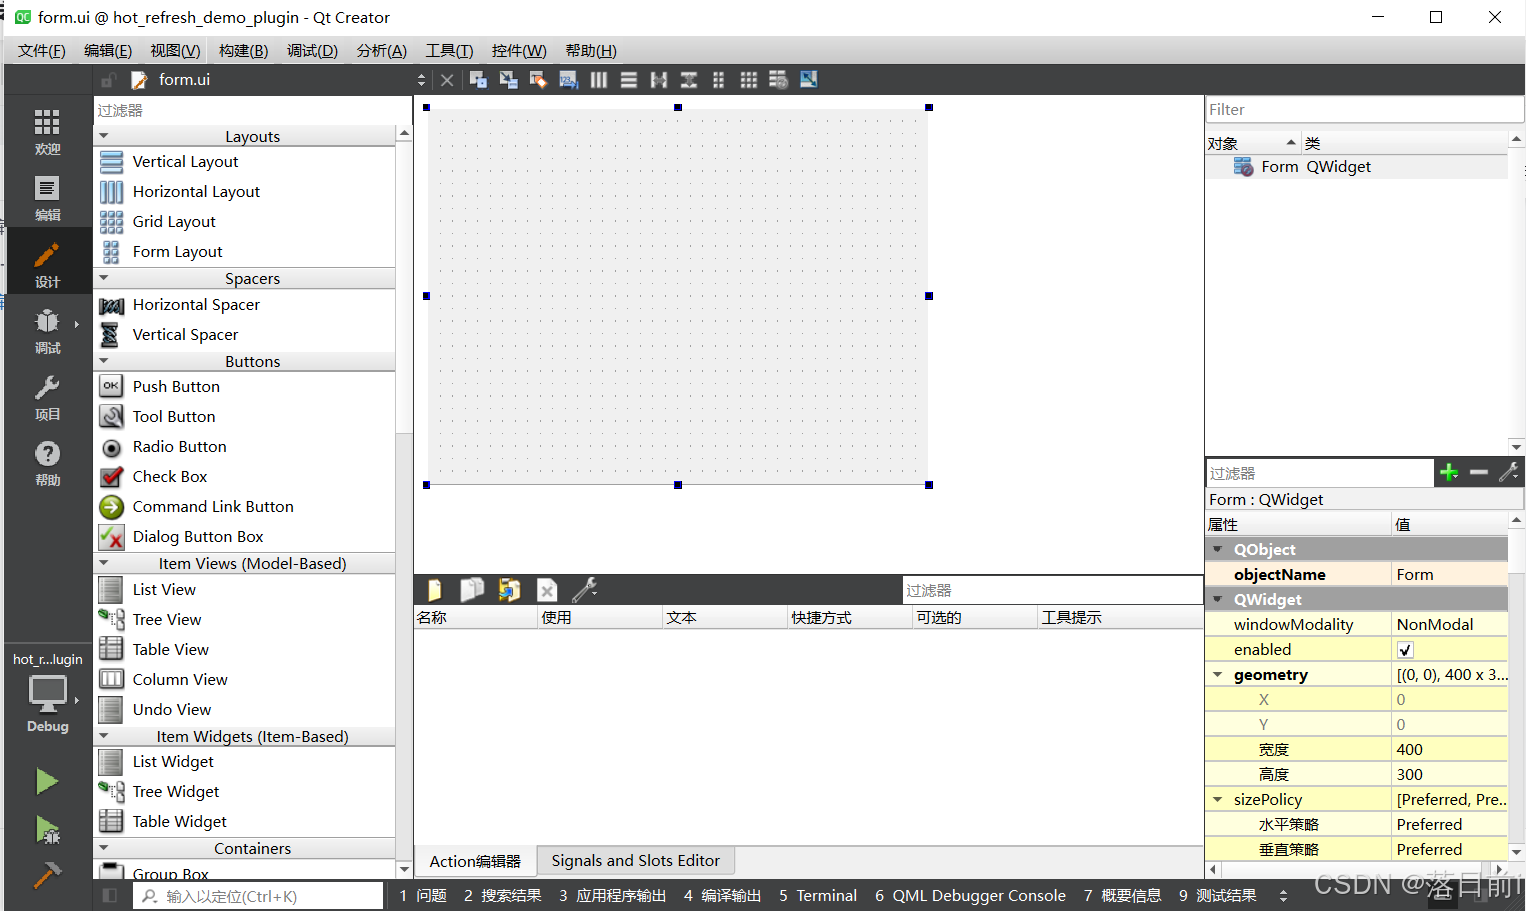
在form.ui中,我们将窗体大小设置为400*300
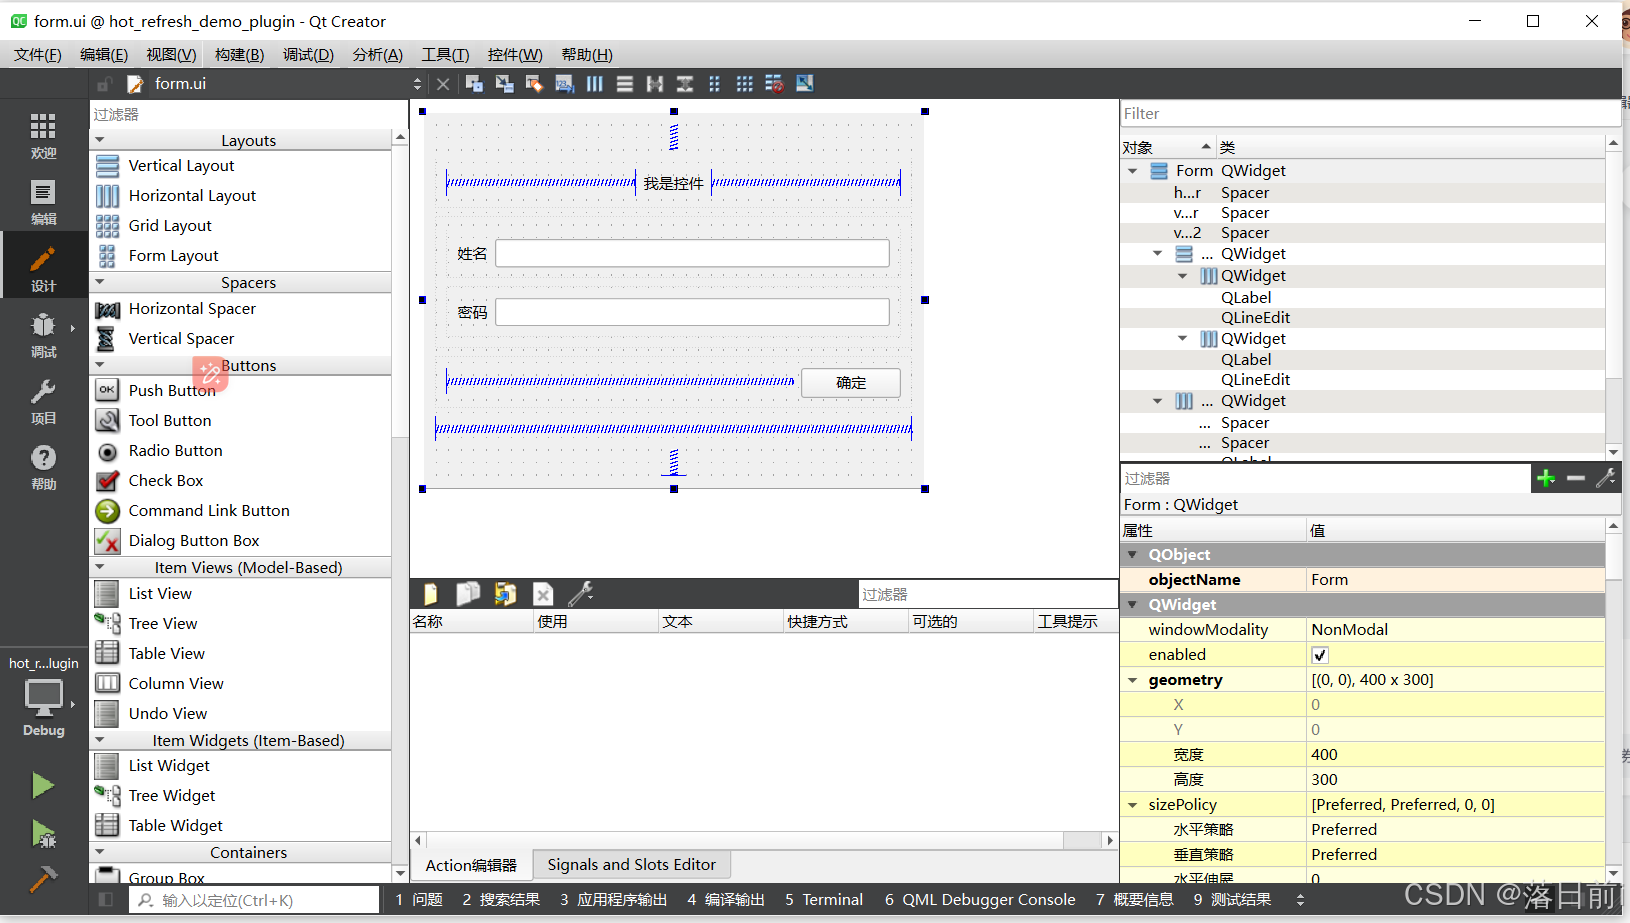
随便设计一下窗体,使窗体有内容即可,一会使用此lib文件时,能看见东西即可。
第三部,实现部分代码
hot_refresh_demo_plugin.h什么也不用写
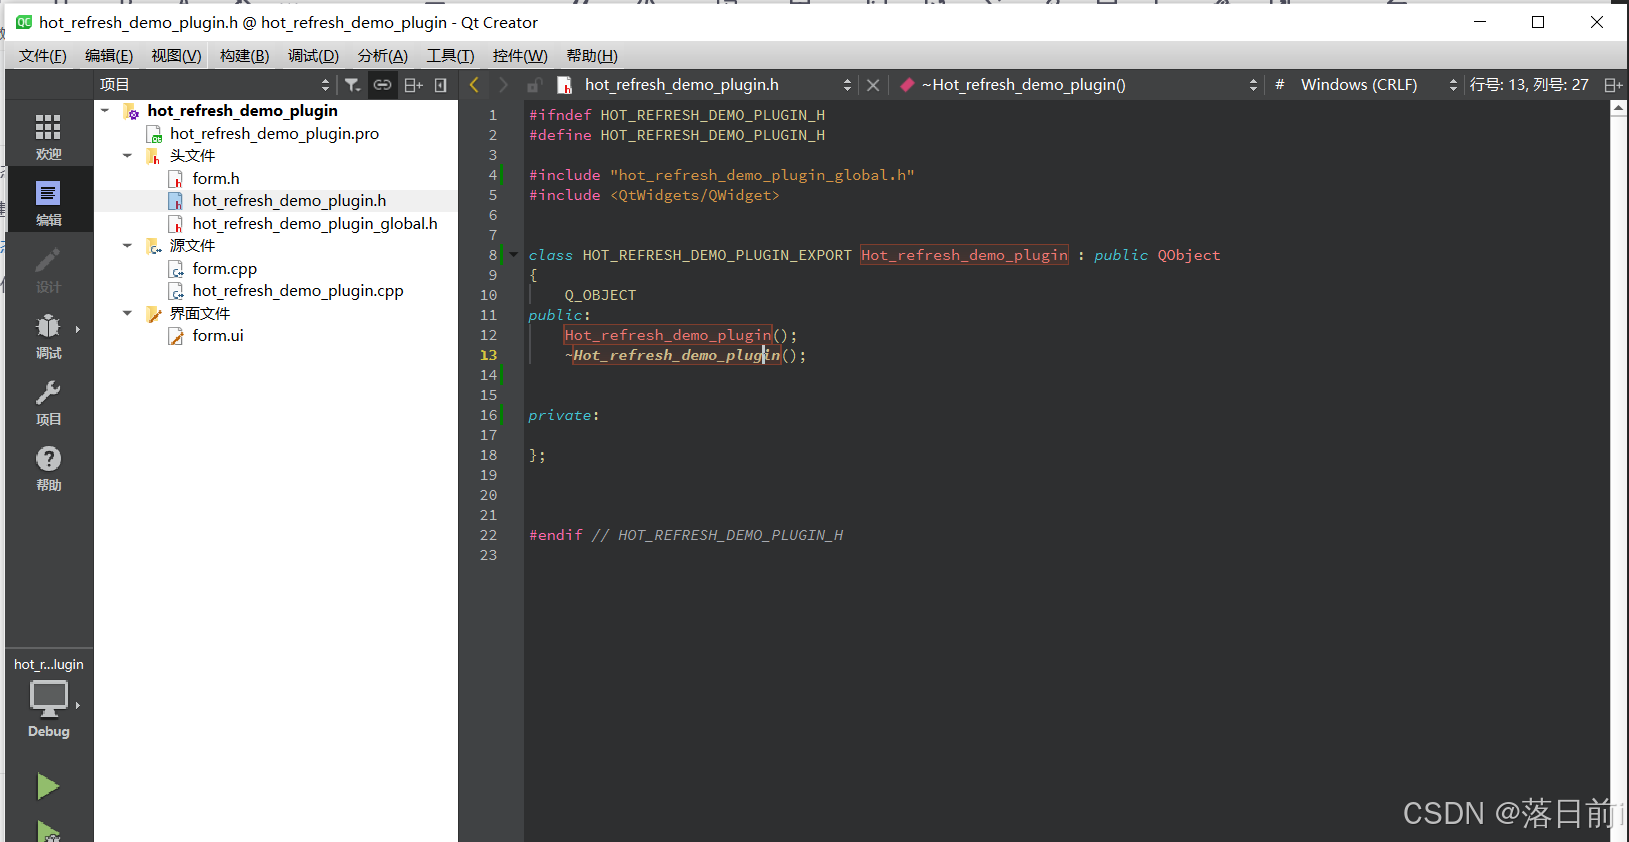
在hot_refresh_demo_plugin.cpp文件中,写一个全局函数,且调用#include "form.h"
此部分我引入 ai对此代码的解释————
extern "C"是用来告诉C++编译器,括号内的代码应该按照C语言的链接规范来编译,而不是C++的链接规范。这主要用于以下情况:
跨语言链接:当你希望C++代码可以被C语言代码调用时,使用
extern "C"可以防止C++编译器对函数名进行“修饰”(name mangling),从而确保函数名在编译后的二进制文件中与C语言编译器生成的名称一致。与C库交互:如果你正在使用一个用C语言编写的库,并需要从C++代码中调用该库的函数,
extern "C"也是必要的。
在此提供代码
extern "C" {
HOT_REFRESH_DEMO_PLUGIN_EXPORT QWidget* rootWidget()
{
    return new Form();
}

}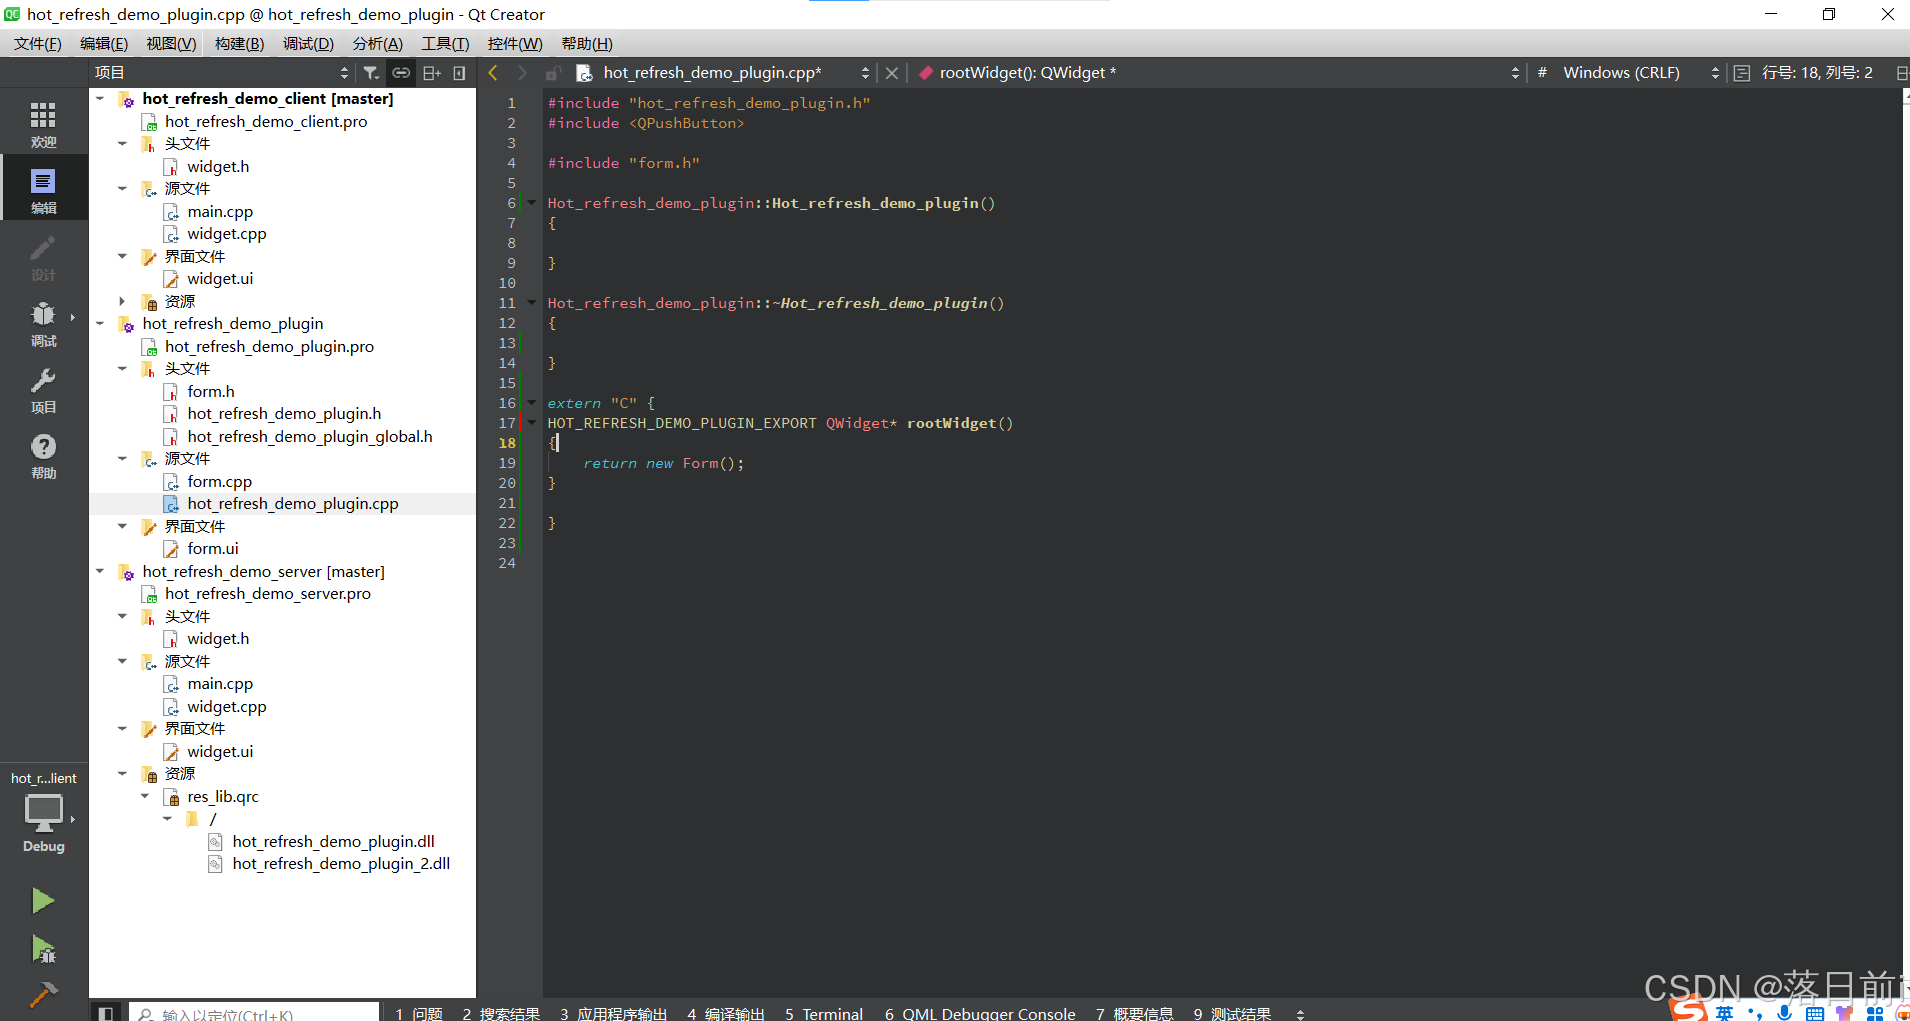
由此,变简单完成了一个包含显示一个窗体的库,那么让我们编译
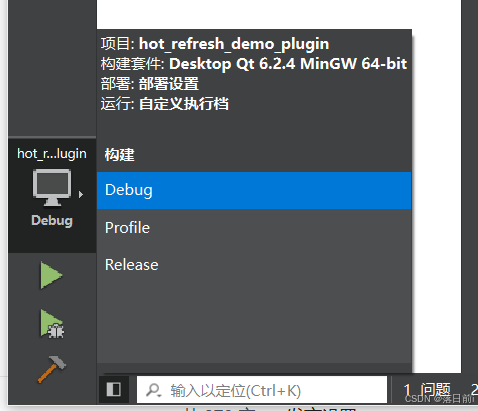
点点三个图标——小锤子,构造一下
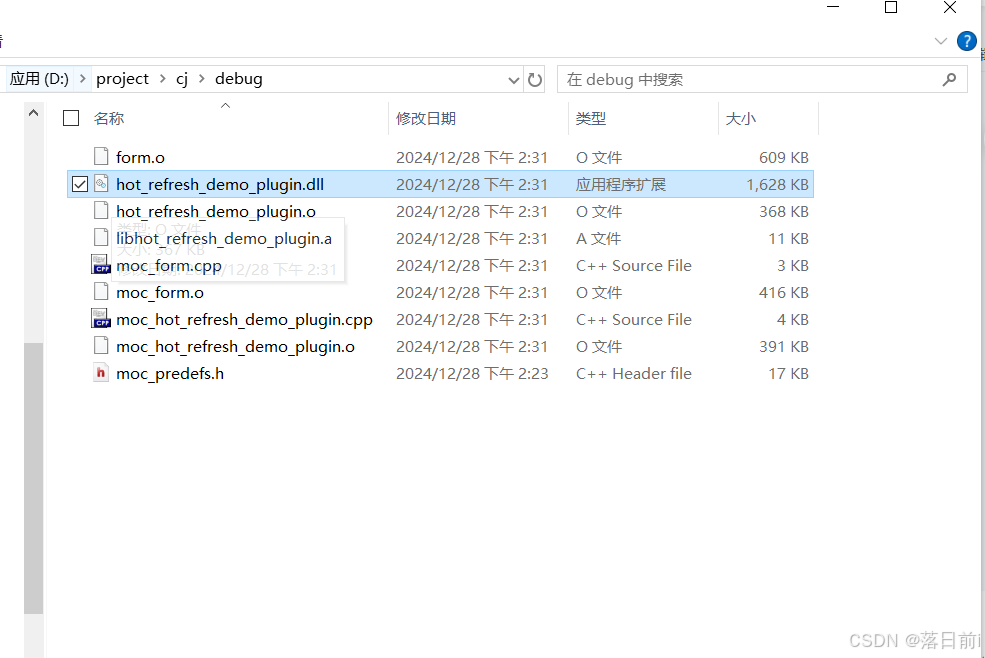
那么在外面的构造目录(由于我设置了构造路径)下的debug文件夹中(如果你使用的是debug便在debug中、release便在release中)有hot_refresh_demo_plugin.dll文件。记住一个文件,让我进行下一步。
OK,进行到这里变生成了一个lib库。
那么进行第二大步,实现一个Qt服务器
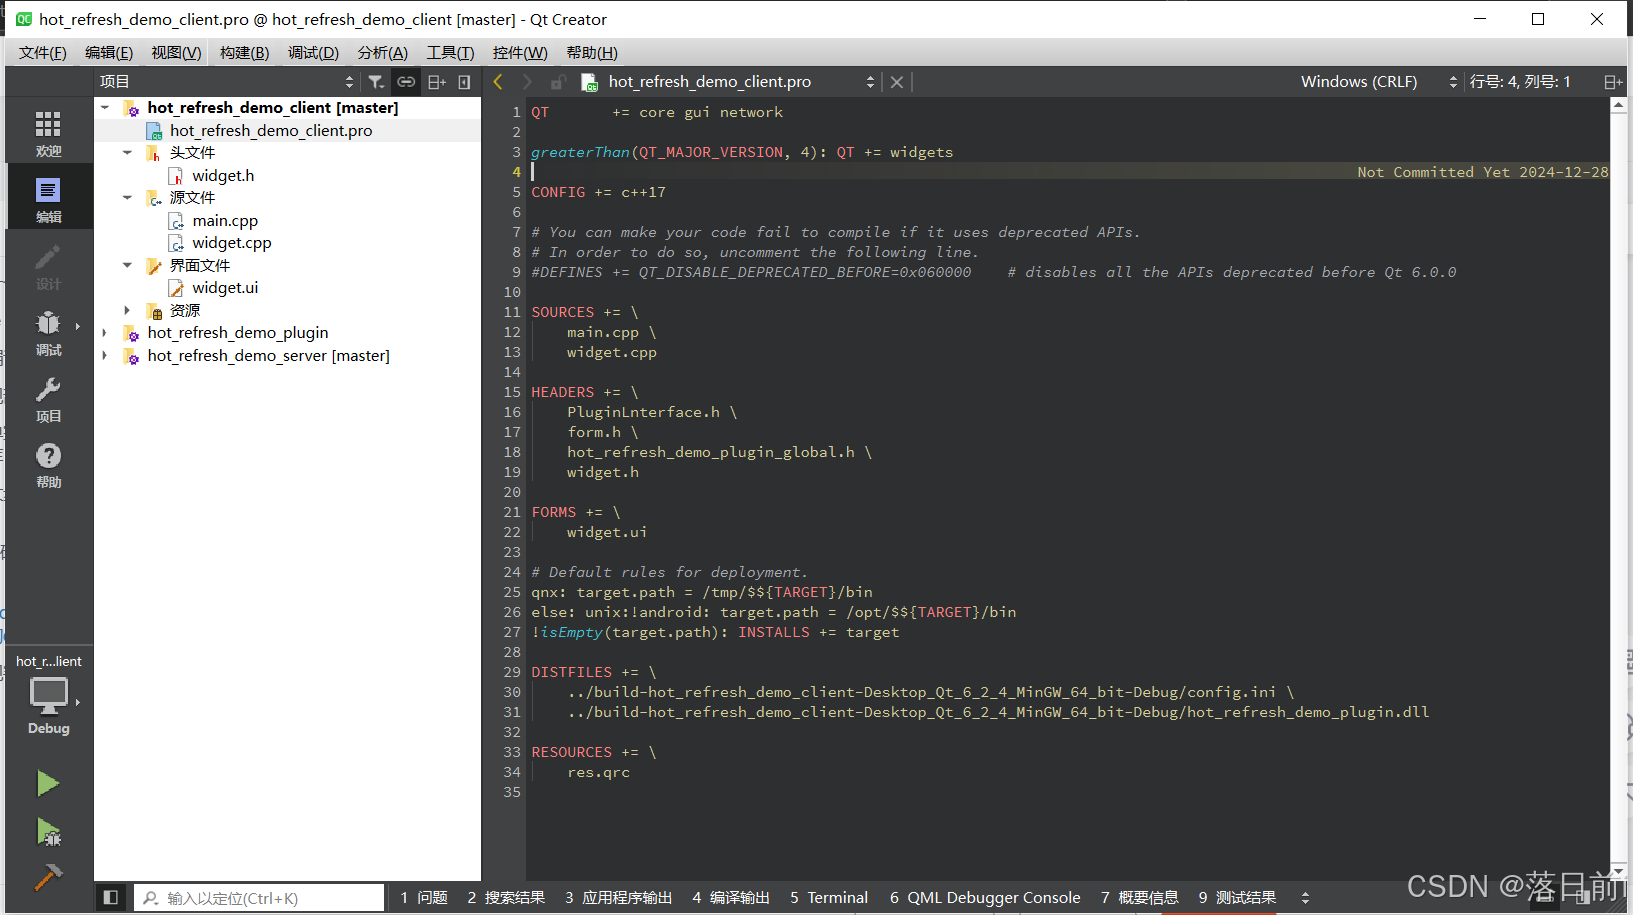
1.创建一个基础项目,在pro文件中加入 QT += core gui network
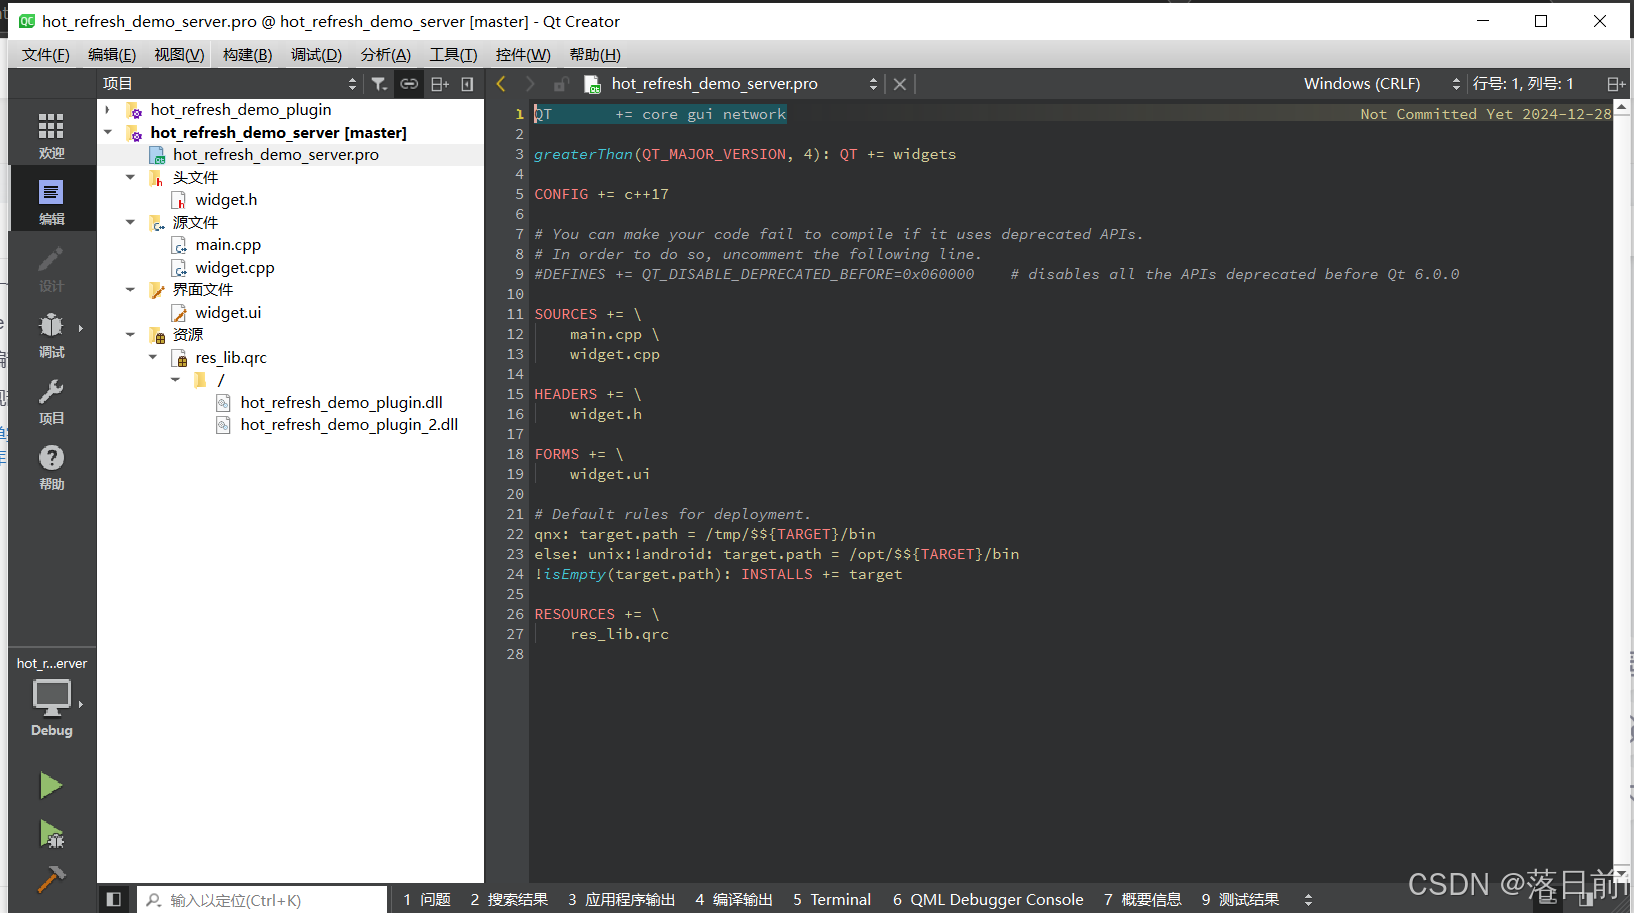
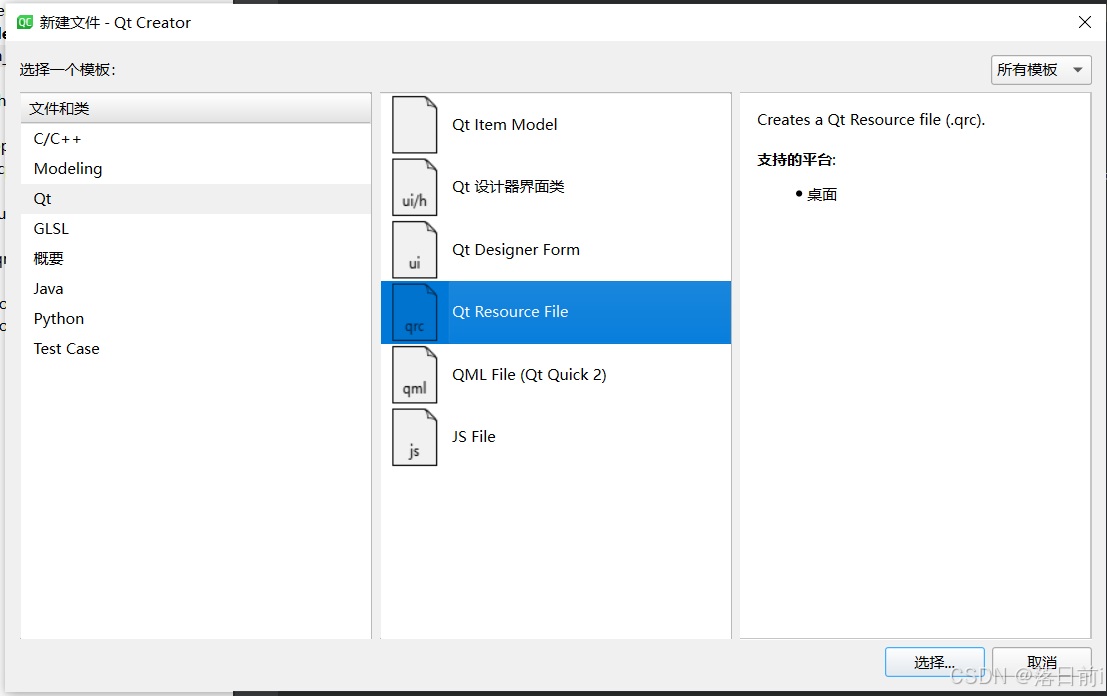
创建一个Resources资源文件,并添加你所有的dll库
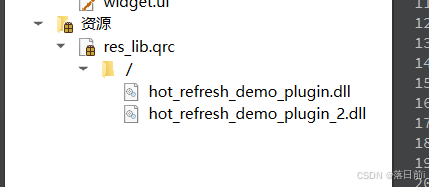
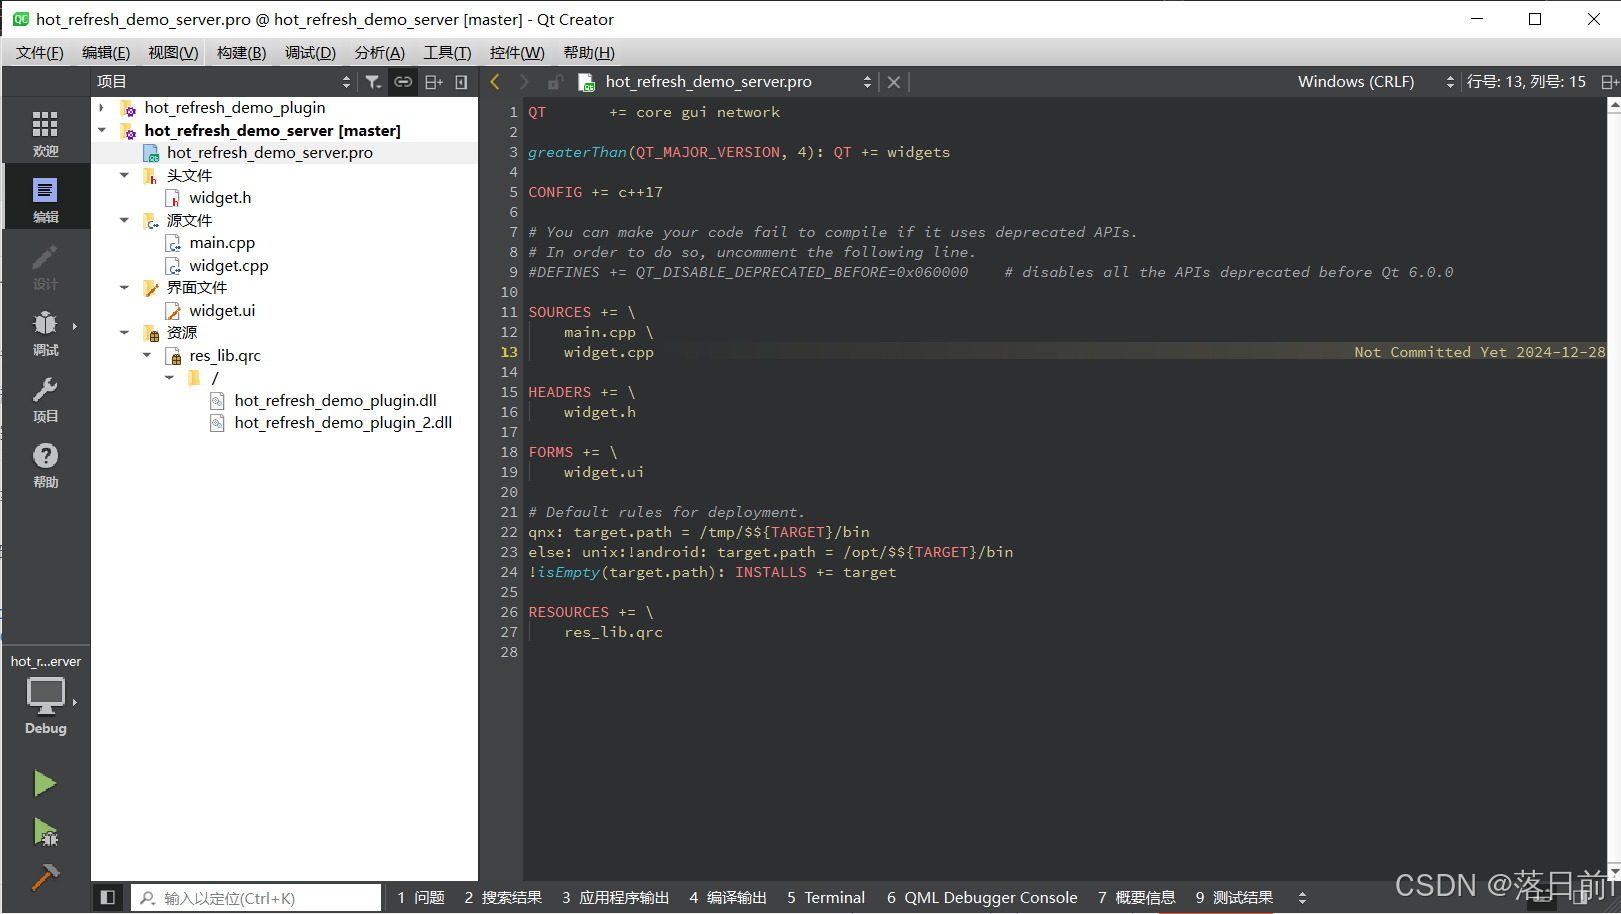
最终你的服务器项目结构如下
在widget.h、widget.cpp中实现服务器功能,QTcpServer并不是此篇的重点,变不做赘述
此外,我还实现了第二个库hot_refresh_demo_plugin_2.lib,请大家自行理解
ui设计
添加了一个QTextEdit类textEdit实现debug输出
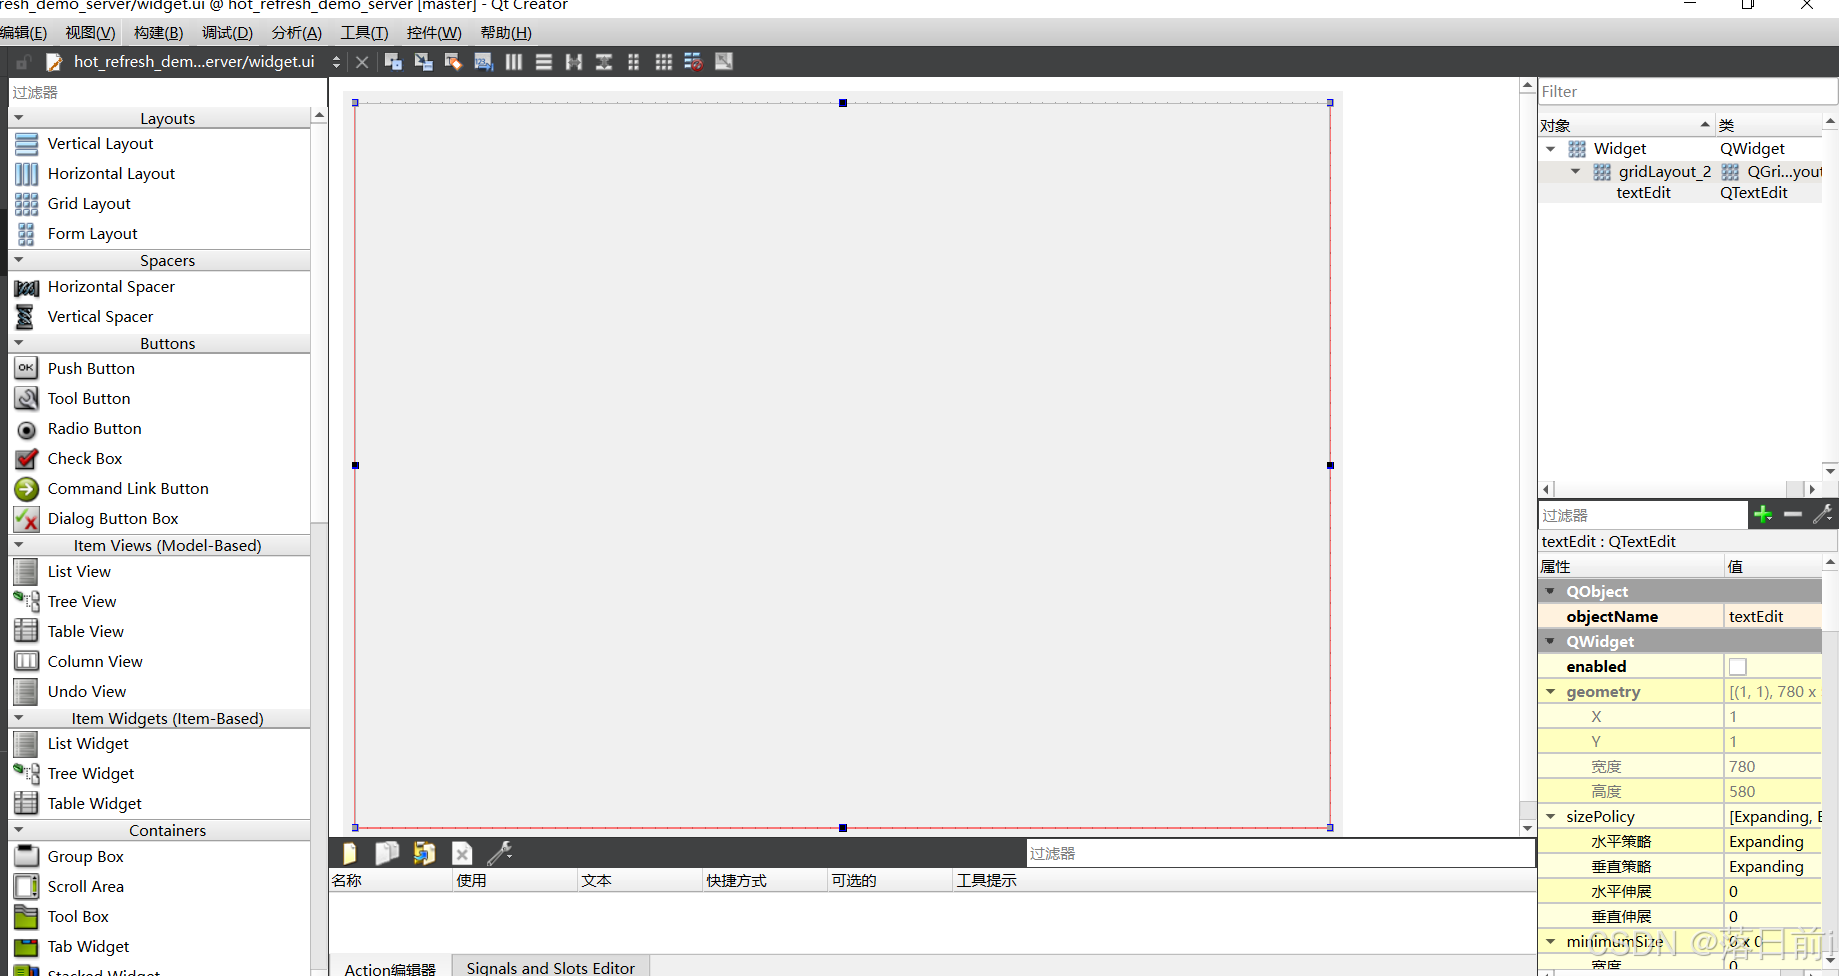
代码实现
服务器实现的内容就是当客户机需要dll文件的时候,向客户机传输相应的dll文件。熟悉QTcpServer的应该很好理解
widget.h
#ifndef WIDGET_H
#define WIDGET_H

#include <QWidget>

class QTcpServer;
class QTcpSocket;
class QFile;

QT_BEGIN_NAMESPACE
namespace Ui { class Widget; }
QT_END_NAMESPACE

class Widget : public QWidget
{
    Q_OBJECT

public:
    Widget(QWidget *parent = nullptr);
    ~Widget();

    QTcpServer *server;

    void send_file(QTcpSocket *clientSocket, QFile file);
private:
    Ui::Widget *ui;
};
#endif // WIDGET_H
widget.cpp
#include "widget.h"
#include "ui_widget.h"

#include <QByteArray>
#include <QFile>
#include <QTcpServer>
#include <QTcpSocket>

Widget::Widget(QWidget *parent)
    : QWidget(parent)
    , ui(new Ui::Widget)
    ,server(new QTcpServer(this))
{
    ui->setupUi(this);

    this->setWindowTitle("热更新demo服务器");
    this->setFixedSize(300,400);

    if (this->server->listen(QHostAddress::LocalHost, 1234))
    {
        this->ui->textEdit->append("服务器开始运行!");
    }
    else
    {
        this->ui->textEdit->append("服务器运行失败");
    }

    connect(this->server, &QTcpServer::newConnection,[=]{
        static int count=0;
        QTcpSocket *clientSocket = this->server->nextPendingConnection();

        this->ui->textEdit->append(QString("有一台客户机连接到服务器"));

        connect(clientSocket, &QTcpSocket::readyRead, [this, clientSocket]() {
            this->ui->textEdit->append("接收到信息");
            QByteArray msg = clientSocket->readAll();
            this->ui->textEdit->append(msg);

            if (msg == "hot_refresh_demo_plugin.dll") {

                send_file(clientSocket,QString(":/hot_refresh_demo_plugin.dll"));

            } else if (msg == "hot_refresh_demo_plugin_2.dll") {

                send_file(clientSocket,QString(":/hot_refresh_demo_plugin_2.dll"));

            }
        });
        connect(clientSocket,&QTcpSocket::disconnected,[=]{
            clientSocket->deleteLater();
        });
    });
}

void Widget::send_file(QTcpSocket *clientSocket,QFile file){
    if (!file.open(QIODevice::ReadOnly)) {
        qDebug() << "Failed to open file for reading";
        clientSocket->close();
        return ;
    }

    const int bufferSize = 4096; // 每次发送 4KB
    QByteArray buffer;

    while (!(buffer = file.read(bufferSize)).isEmpty()) {
        clientSocket->write(buffer);
        clientSocket->flush(); // 确保数据立即发送
    }

    // 发送结束标志
    clientSocket->write("END_OF_FILE");
    clientSocket->flush();

    file.close();
}

Widget::~Widget()
{
    delete ui;
}
第三大步,实现客户端功能。
还是加入network模块,项目结构如下
ui设计如下
分别两个QWdiget plugin和plugin_2存放调用的两个lib产生的界面
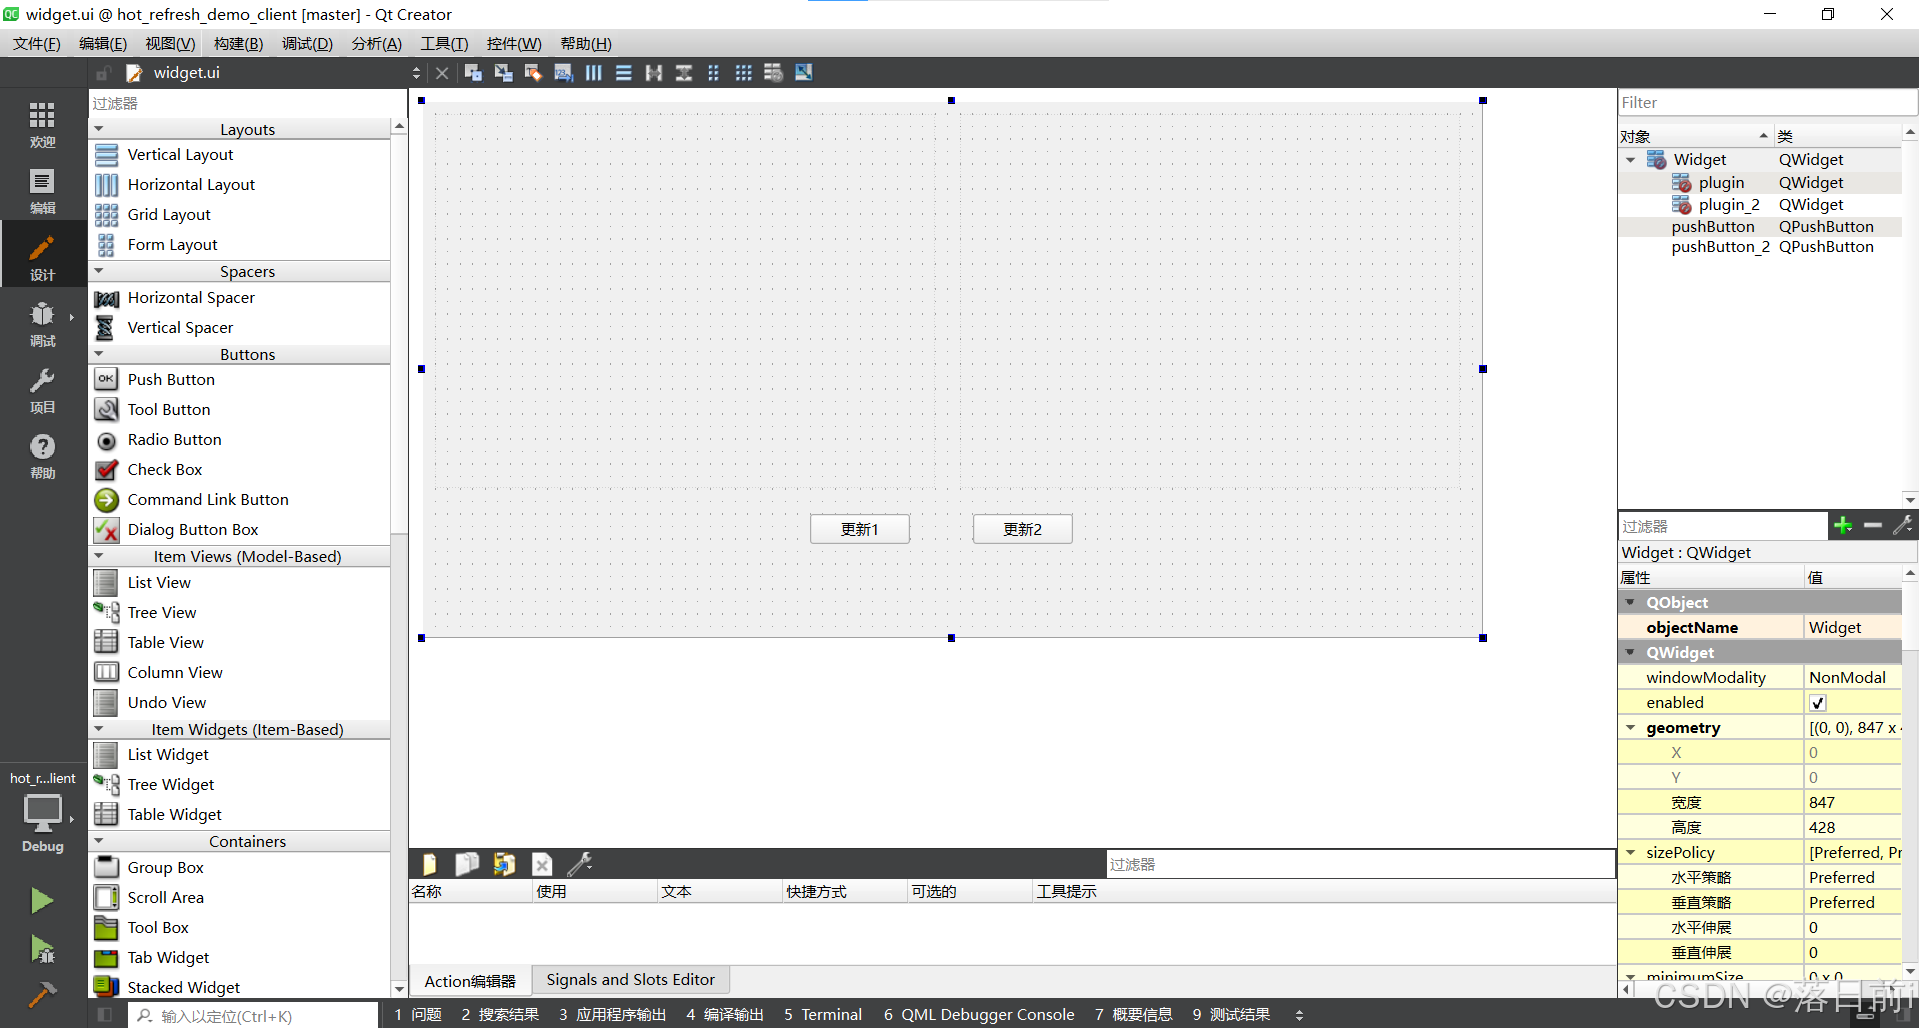
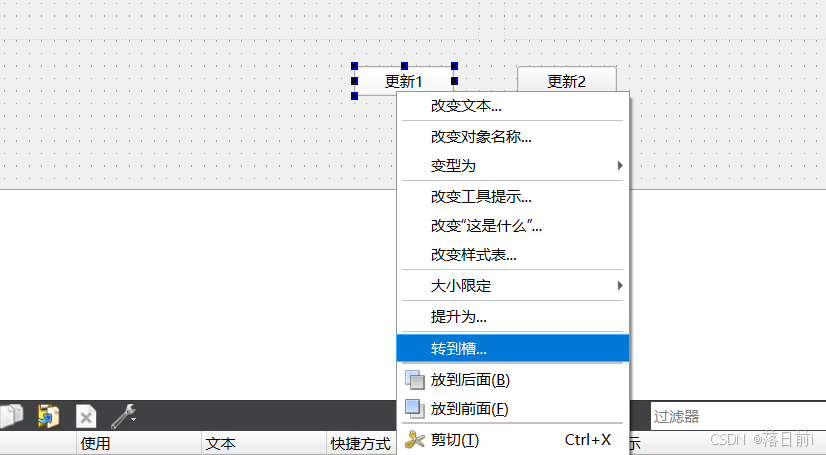
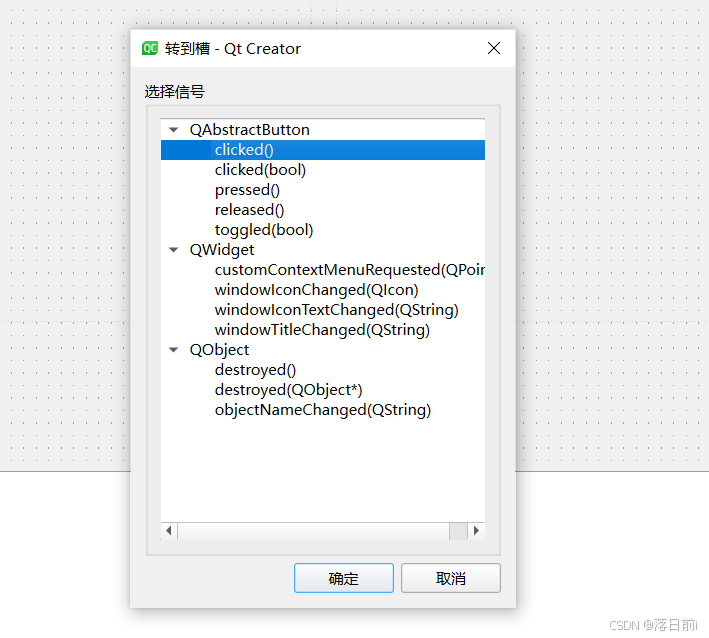
两个按钮pushButton,pushButton_2,要转到槽
实现代码
成功调用dll文件值得强调的就是在头文件中定义函数指针
//定义函数指针
typedef int (*addFun)(int , int);
typedef int (*subFun)(int , int);
typedef QWidget* (*rootWidget)();
在cpp文件中使用QLibrary 库,并且在reinterpret_cast<rootWidget>(dllLib.resolve("rootWidget"));中“” rootWidget “” 要与dll中写入的接口名字对印,便可以实现调用到窗口。
QLibrary dllLib;
dllLib.setFileName(path);
if(dllLib.load())
{
rootWidget wg= reinterpret_cast<rootWidget>(dllLib.resolve("rootWidget"));ww=wg();
ww->resize(400,300);
QVBoxLayout *layout = new QVBoxLayout(this->ui->plugin);
layout->addWidget(ww);
}
widget.h
#ifndef WIDGET_H
#define WIDGET_H

#include <QWidget>

//定义函数指针
typedef int (*addFun)(int , int);
typedef int (*subFun)(int , int);
typedef QWidget* (*rootWidget)();


QT_BEGIN_NAMESPACE
namespace Ui { class Widget; }
QT_END_NAMESPACE

// 前向声明插件类
class QTcpSocket;
class QString;

class Widget : public QWidget
{
    Q_OBJECT

public:
    Widget(QWidget *parent = nullptr);
    ~Widget();

    QTcpSocket *socket;

    float edition;

    QWidget *ww;
    QWidget *ww2;

private:
    QByteArray accumulatedData;
    QString filename;
    void set_hot_refresh_demo_plugin();
    void set_hot_refresh_demo_plugin_2();

private slots:
    void on_pushButton_clicked();

    void on_pushButton_2_clicked();

    void ready_read();

private:
    Ui::Widget *ui;
};
#endif // WIDGET_H
widget.cpp
#include "widget.h"
#include "ui_widget.h"
#include <QTcpSocket>
#include <QSettings>
#include <QLibrary>
#include <QDebug>
#include <QDir>
#include <QVBoxLayout>
#include <QTimer>

Widget::Widget(QWidget *parent)
    : QWidget(parent)
    , ui(new Ui::Widget)
    , socket(new QTcpSocket(this))
{
    ui->setupUi(this);

    socket->connectToHost("127.0.0.1", 1234);

    QSettings settings("./config.ini", QSettings::IniFormat);
    edition = settings.value("edition/id").toFloat();
    //qDebug() << edition;

    connect(this->socket,&QTcpSocket::readyRead,this,&Widget::ready_read);

    this->ui->pushButton_2->setEnabled(false);

    this->update();

}

void Widget::ready_read() {
    qDebug() << "11111111111111111111";
    QByteArray newData = socket->readAll();
    accumulatedData.append(newData);

    if(this->filename==""){
        QTimer::singleShot(200, [=]() {
            ready_read();
        });
    }
    QFile file(filename);

    // 打开文件以写入
    if (!file.open(QIODevice::WriteOnly)) {
        qDebug() << "Failed to open file for writing";
        return;
    }
    // 检查结束标志
    if (accumulatedData.contains("END_OF_FILE")) {
        int endIndex = accumulatedData.indexOf("END_OF_FILE");
        QByteArray fileData = accumulatedData.left(endIndex);
        file.write(fileData);

        // 关闭文件
        file.close();
        qDebug() << "File received and saved";

        // 清理状态
        accumulatedData.clear();

        if(this->filename=="hot_refresh_demo_plugin.dll"){
            set_hot_refresh_demo_plugin();
            this->filename="";
        }
        if(this->filename=="hot_refresh_demo_plugin_2.dll"){
            set_hot_refresh_demo_plugin_2();
            this->filename="";
        }
    }
}

Widget::~Widget()
{
    delete ui;
    delete ww;
}

void Widget::on_pushButton_clicked()
{
    this->socket->write("hot_refresh_demo_plugin.dll");
    this->filename="hot_refresh_demo_plugin.dll";

    this->ui->pushButton->setEnabled(false);

}


void Widget::on_pushButton_2_clicked()
{
    this->socket->write("hot_refresh_demo_plugin_2.dll");
    this->filename="hot_refresh_demo_plugin_2.dll";

    this->ui->pushButton_2->setEnabled(false);
}

void Widget::set_hot_refresh_demo_plugin()
{

    QString path = "hot_refresh_demo_plugin.dll";

    qDebug()<<path;

    QLibrary dllLib;
    dllLib.setFileName(path);
    if(dllLib.load())
    {
        rootWidget wg= reinterpret_cast<rootWidget>(dllLib.resolve("rootWidget"));

        ww=wg();
        ww->resize(400,300);
        QVBoxLayout *layout = new QVBoxLayout(this->ui->plugin);
        layout->addWidget(ww);
    }

    this->ui->pushButton_2->setEnabled(true);
}

void Widget::set_hot_refresh_demo_plugin_2()
{

    QString path = "hot_refresh_demo_plugin_2.dll";

    qDebug()<<path;

    QLibrary dllLib;
    dllLib.setFileName(path);
    if(dllLib.load())
    {
        rootWidget wg= reinterpret_cast<rootWidget>(dllLib.resolve("rootWidget"));

        ww2=wg();
        ww2->resize(400,300);
        QVBoxLayout *layout = new QVBoxLayout(this->ui->plugin_2);
        layout->addWidget(ww2);
    }
}
最后演示效果如下
qt热更新demo
gitee仓库hot_refresh_demo: qt热更新demo

开源鸿蒙跨平台开发社区汇聚开发者与厂商,共建“一次开发,多端部署”的开源生态,致力于降低跨端开发门槛,推动万物智联创新。
更多推荐

 14
14 0
0- 0


 已为社区贡献2条内容

所有评论(0)