QT音乐播放器⑧----热门歌单网格显示、最新歌曲网格显示、搜索音乐页面布局
简介:
基于QT5.12版本的Quick QML项目----恋羽音乐播放器(爆肝中......)
上一讲链接:https://blog.csdn.net/2301_80668528/article/details/152268816
下一讲链接:https://blog.csdn.net/2301_80668528/article/details/152614244?fromshare=blogdetail&sharetype=blogdetail&sharerId=152614244&sharerefer=PC&sharesource=2301_80668528&sharefrom=from_link
上一讲效果:
轮播图测试效果⑥
ps:如有错误,欢迎指出^\/^
原视频出处:https://b23.tv/gFnMsLg
一、“热门歌单”网格显示
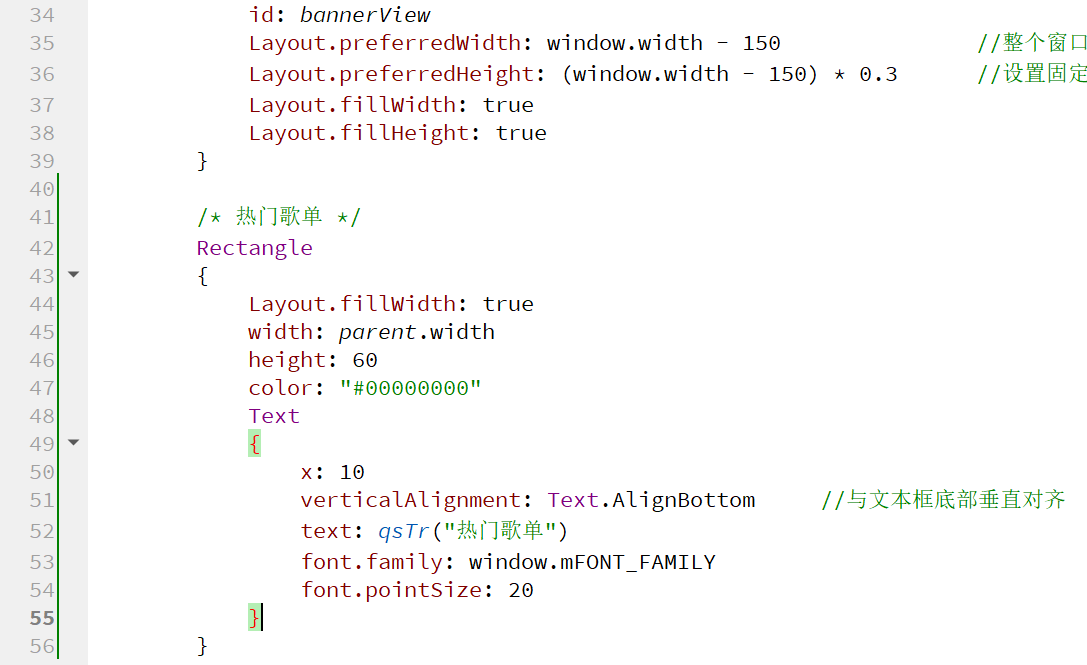
1.添加文本“热门歌单”
进入DetialRecommendPageView.qml文件中,在轮播图后面接着写“热门歌单”代码:
2.将热门歌单用GridView单独写成一个组件
想让热门歌单呈网格状布局,就得像轮播图一样独立作为一个组件:
新建组件,命名“MusicGridHotView.qml”:
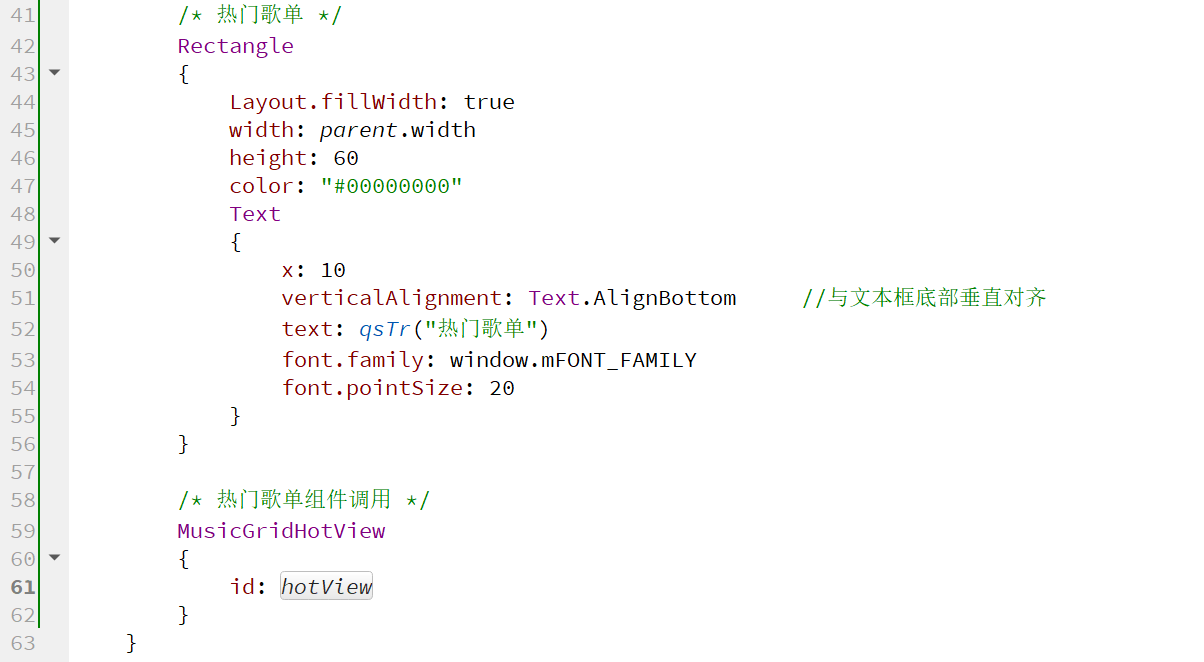
3.调用MusicGridHotView.qml组件
在DetailRecommPageView.qml文件中进行调用:
4.编辑MusicGridHotView.qml组件内容
(1)添加Grid组件
Item
{
    property alias list: gridRepeater.model

    Grid
    {
        id:gridLayout
        anchors.fill: parent
        columns: 5              //列数
        Repeater        //构造一系列相同格式的组件
        {
            id: gridRepeater
            model:[]

            Frame
            {
                padding: 5                          //自身边框到自身内部另一个容器边框之间的距离(容器内距离)
                width: parent.width * 0.2           //五列,每一列占父组件的的五分之一(0.2)
                height: parentparent.width * 0.2    //与width保持一致
//                background: Rectangle
//                {
//                    color: "#00000000"
//                }

                clip: true      //超出区域自动裁剪

                /* 图片显示 */
                MusicRoundImage
                {
                    id:img
                    width: parent.width
                    height: parent.height
                    imgSrc: modelData.coverImgUrl
                }

                /* 图片底部文本 */
                Text
                {
                    anchors
                    {
                        top:img.bottom
                        horizontalCenter: parent.horizontalCenter   //水平居中
                    }
                    text: modelData.name
                    font
                    {
                        family:window.mFONT_FAMILY      //字体
                        pointSize: 10
                    }
                    elide: Qt.ElideMiddle        //超出显示范围的自动用“...”代替
                }

            }
        }

    }
}
(2)在DetailRecommPageView.qml文件调用中设置组件宽高:
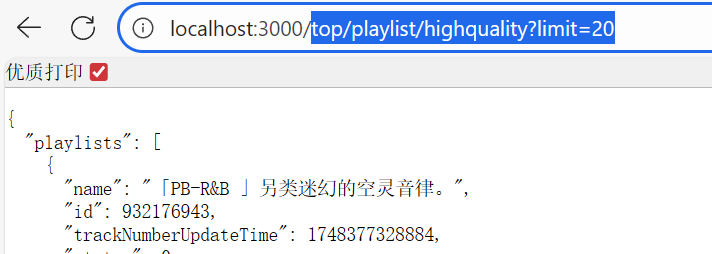
在网易云音乐API网页中搜素:
将MusicGridHotView.qml中Frame{}的高度加上20,作为文本“热门歌单”的高度,同时将Text{}中的高度设置为30:
height: parentparent.width * 0.2 + 20height: 20并将热门歌单图片显示MusicRoundImage{}的宽高比设置为1:1:
width: parent.width
height: parent.width    //宽高比:1:1
故,MusicGridHotView{}调用中最优高度应设置为:
Layout.preferredHeight: (window.width - 200) * 0.2 * 4 + 30 * 4 + 20
//窗口宽度 - 菜单栏宽度:150 - (热门歌单列数:5 * 热门歌单单侧间距padding:5 * 两侧:2)
//一排5个热门歌单,占整个页面的1 % 5 = 0.2份,总共 4 行,故 * 4
//Text{}文本高度:30,四行text{},故 * 4 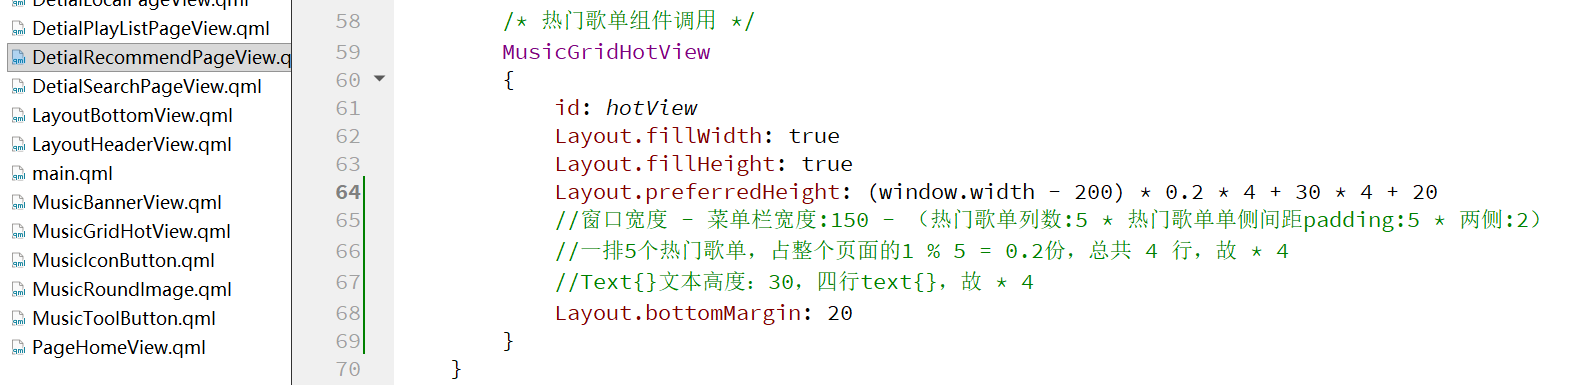
5.定义获取“热门歌单”数据的函数
将DetailRecommPageView.qml文件中的getBannerList()函数复制一份在下面,改名为“getHotList()”,并修改成对应接口地址:
http.connet("top/playlist/highquality?limit=20")将JSON数据转换中的banners改成对应地址中的 playlists (下图中第二行):
var playlists  = JSON.parse(reply).playlists       //将JSON字符串转换为String对象
hotView.list = playlists 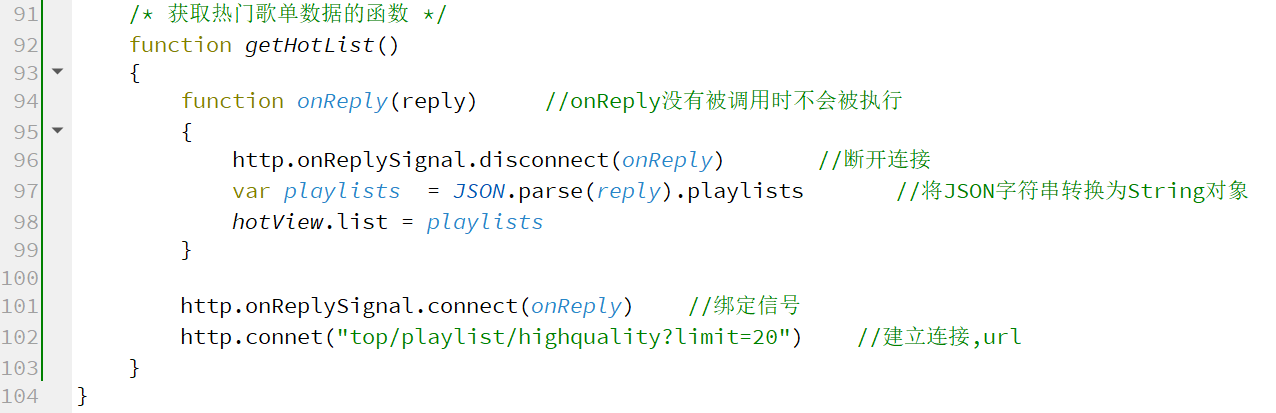
调用此函数:
注意:getBannerList()和getHotList()是异步请求,getHotList()函数不能再getBannerList()函数的调用下面直接调用:
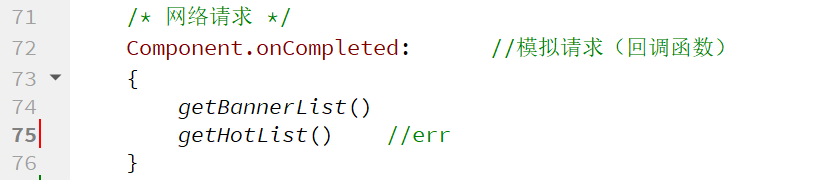
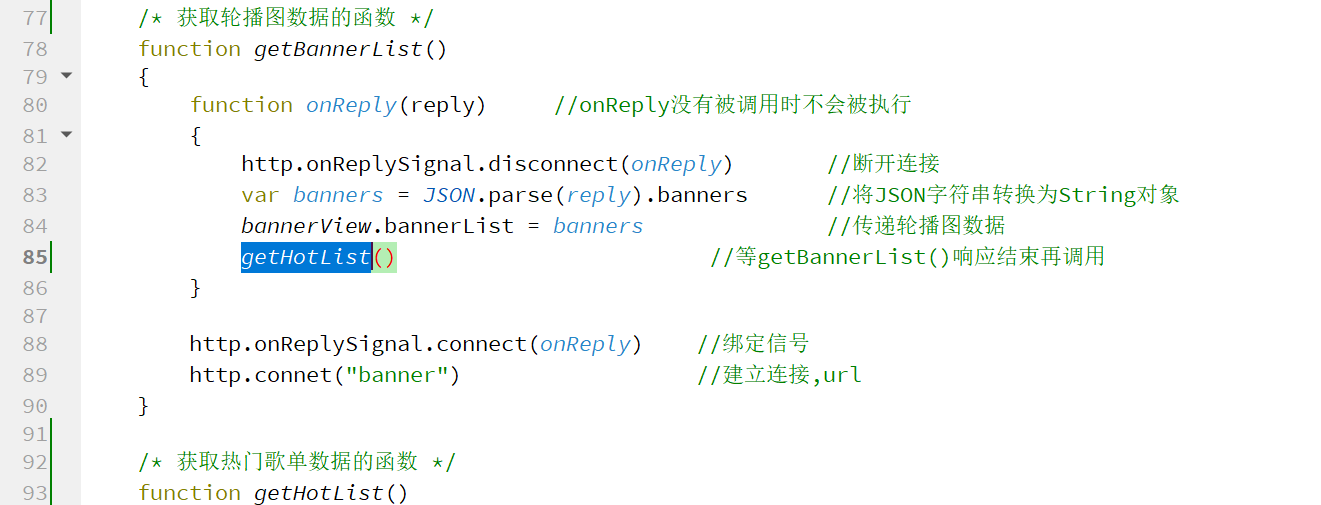
原因:onReply没有被调用时不会被执行,如果getBannerList()比getHotList()先结束,程序不会有影响;但如果getHotList()结束后getBannerList()仍未结束,就会造成onReplySignal.connect(onRrply)解绑,最终造成getBannerList()和getHotList()只有一个能拿到数据
正确调用方式:将getHotList()函数放在getBannerList()函数的onReply()中的末尾,等getBannerList()响应结束再调用getHotList()函数:
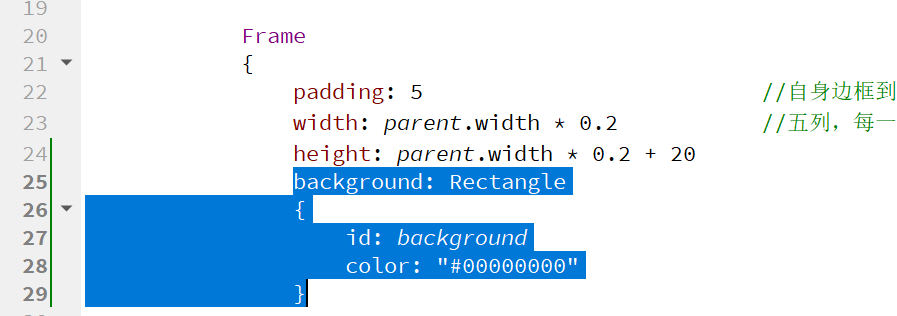
加上Frame{}的背景:
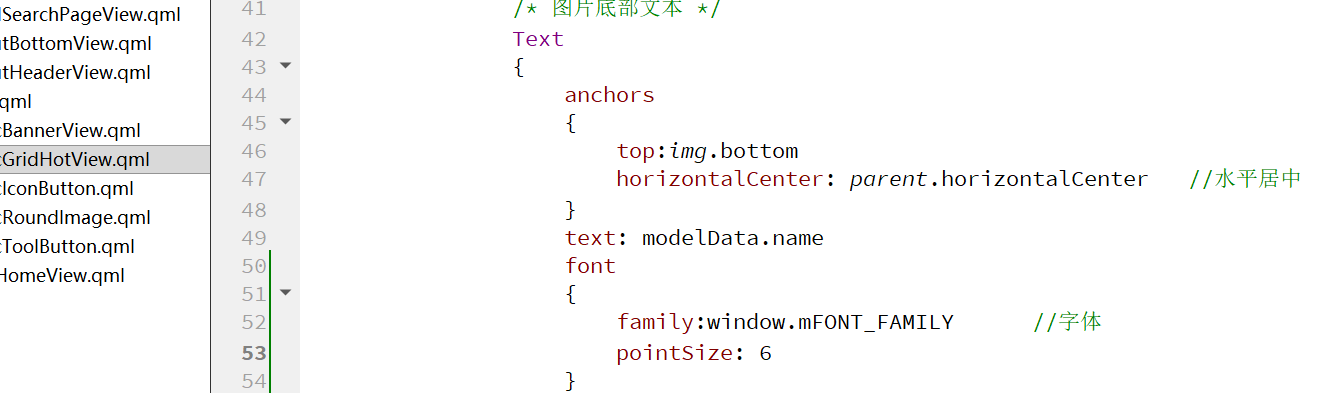
Ctrl+R运行:发现字体较大,超出边界,修改字体大小至“6”:
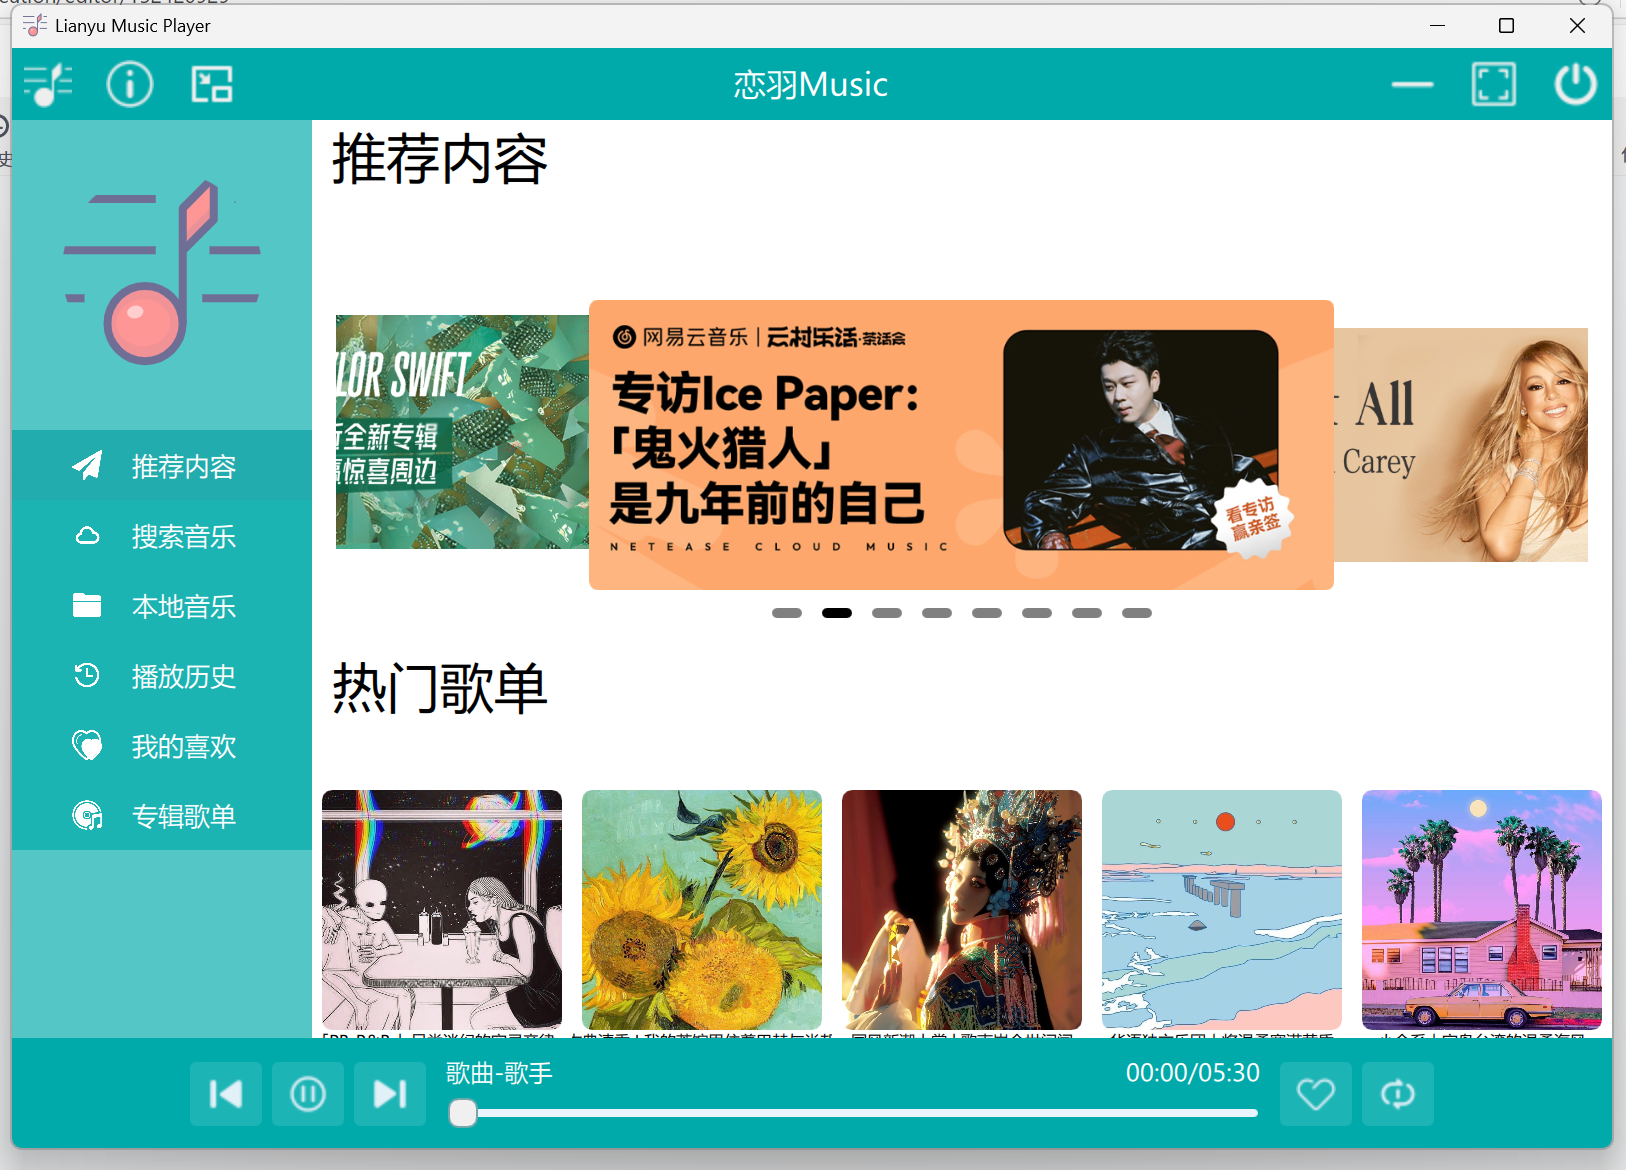
Ctrl+R运行:
向下滚动鼠标:
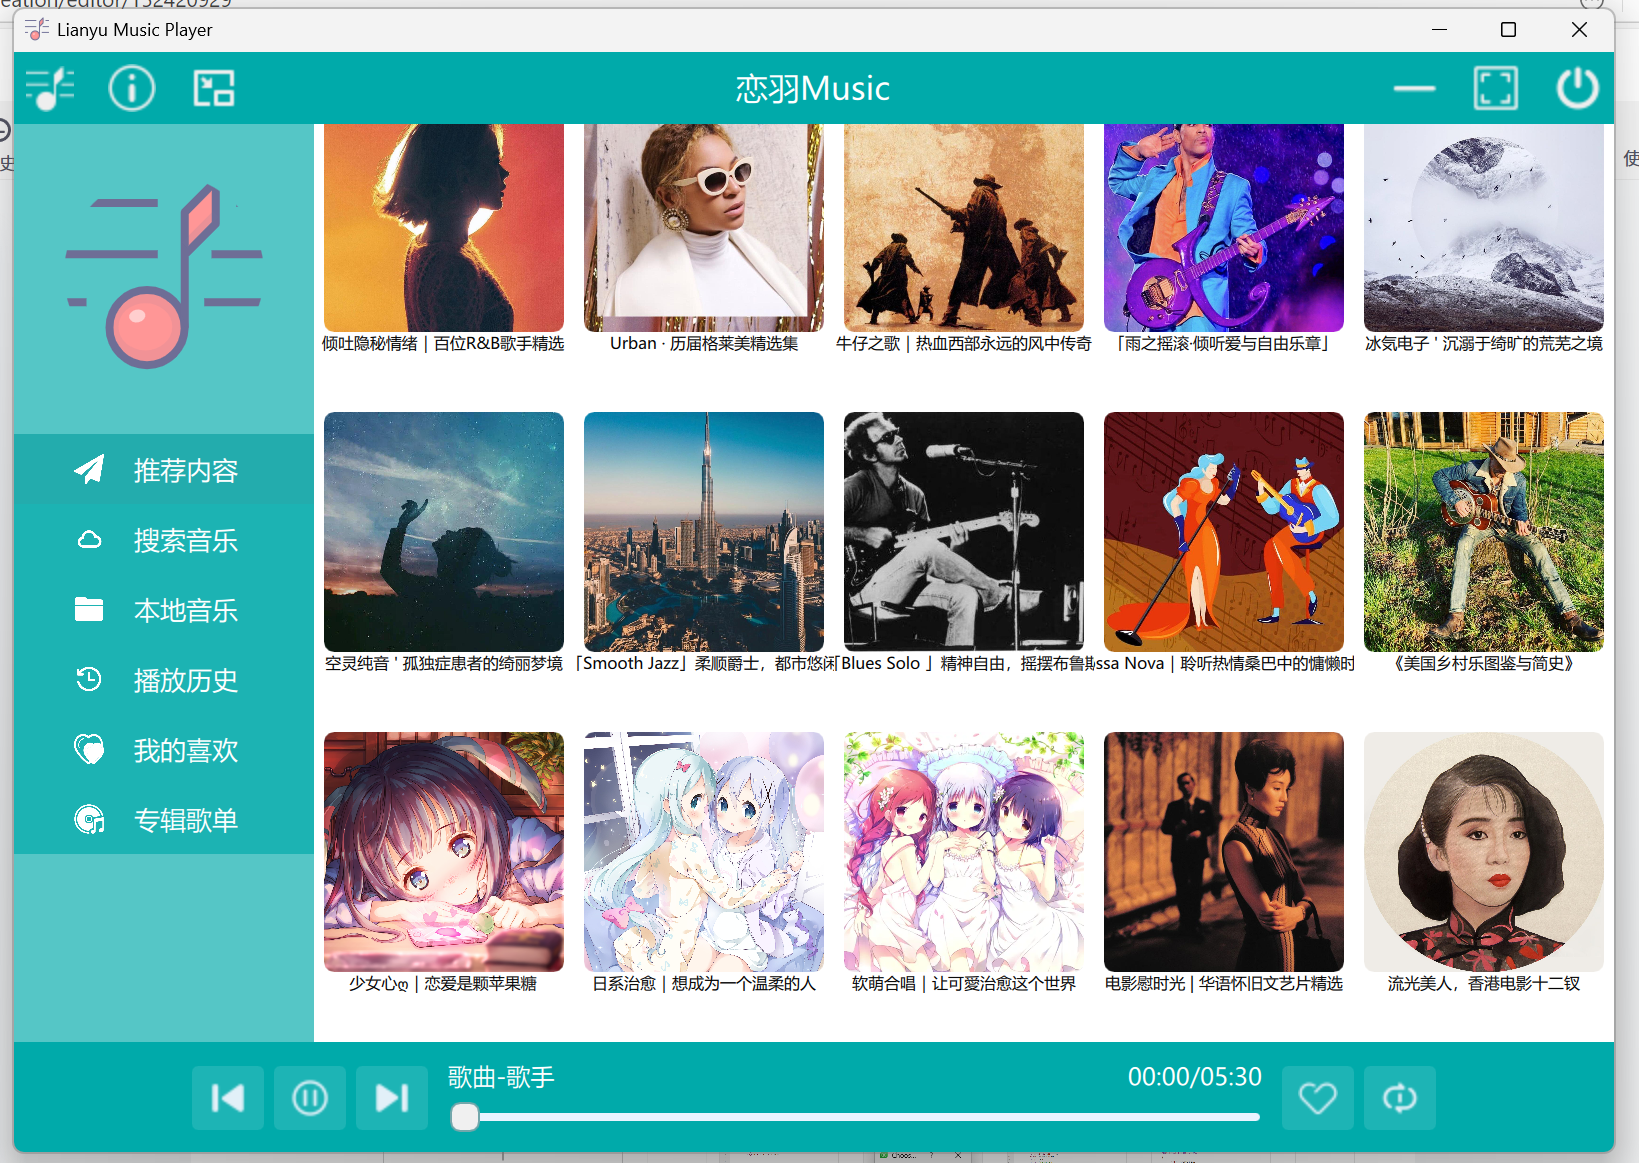
现在,字体合适
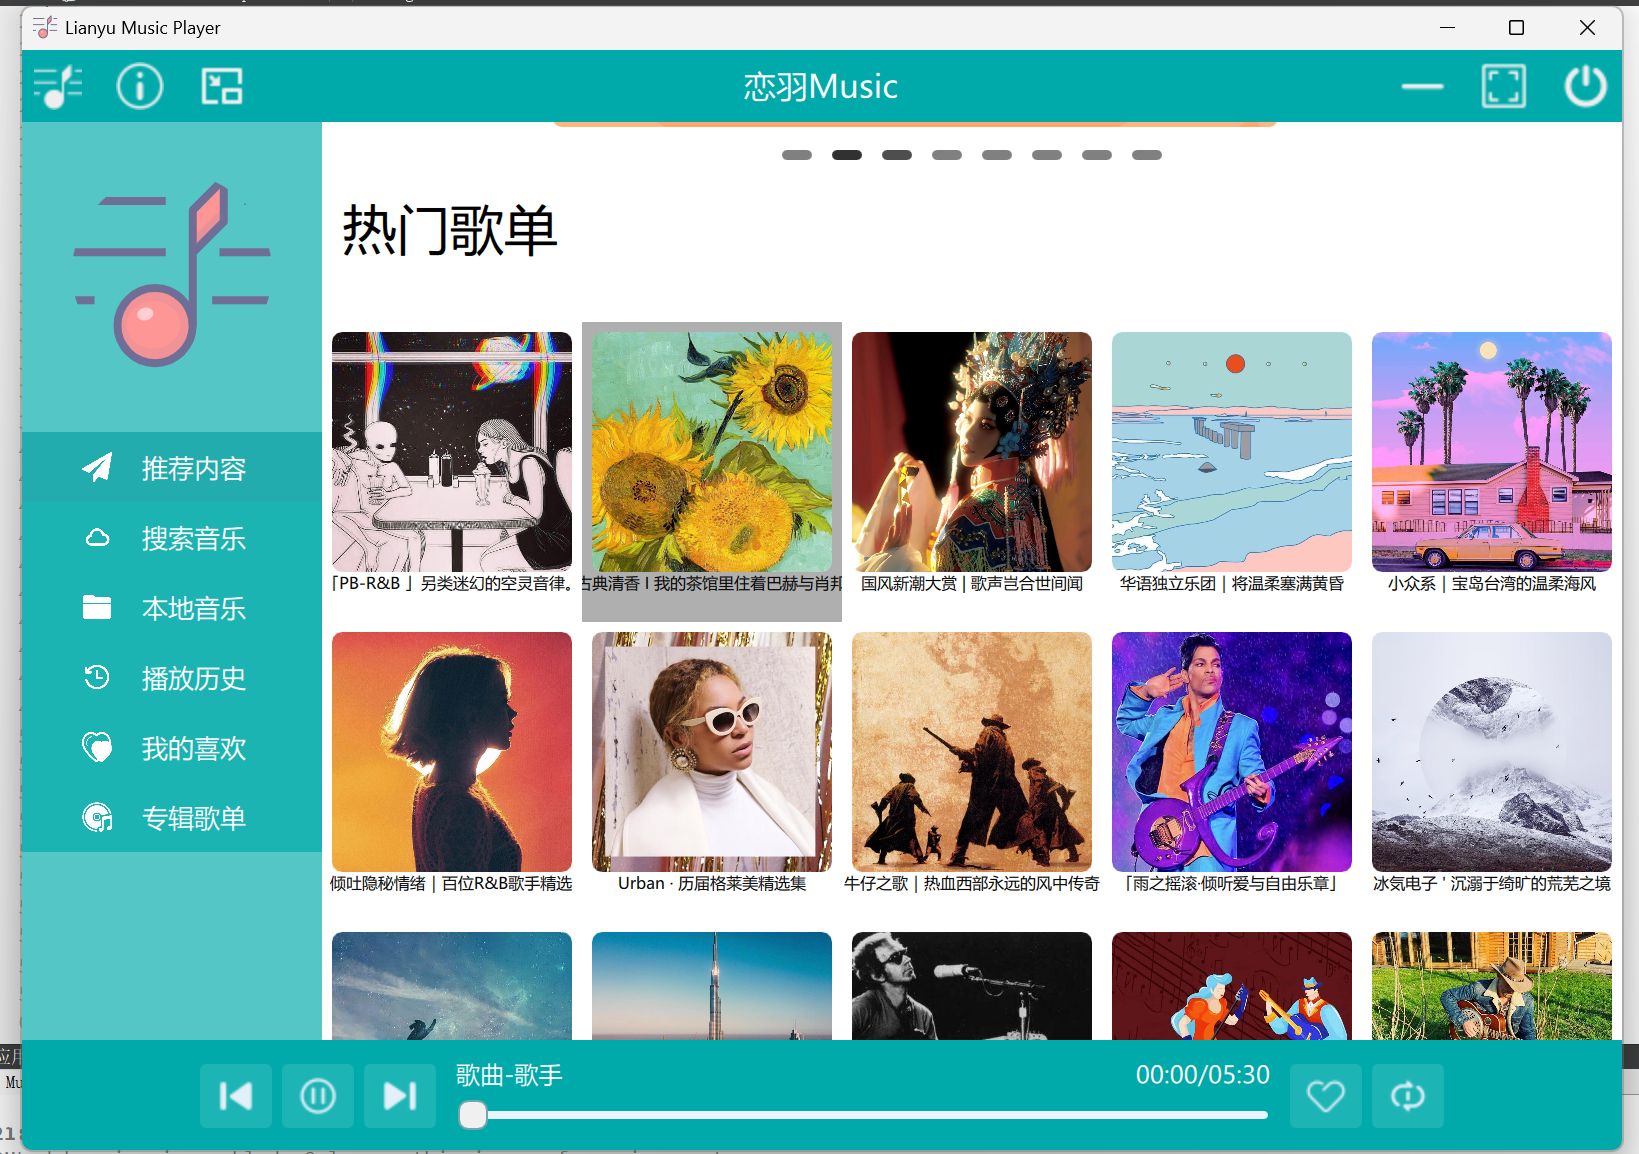
6.设置鼠标放在歌单image上时背景变化
给MusicGridHotView.qml的Frame{}的背景添加id:
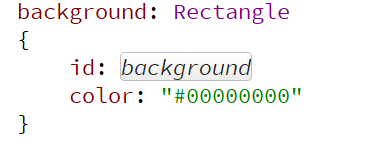
在Text{}下面添加MouseArea{}:
/* 鼠标放在歌单image上时背景变化 */
MouseArea
{
    anchors.fill: parent
    hoverEnabled: true
    cursorShape: Qt.PointingHandCursor  //鼠标形状变化
    onEntered:
    {
        background.color = "#50000000"
    }
    onExited:
    {
        background.color = "#00000000"
    }
}
Ctrl+R运行:
二、最新歌曲网格显示
现在来做“热门歌单”下方的网格布局的“新歌速递”:
1.添加“新歌速递”文本
进入DetailRecommendPageView.qml文件:
复制粘贴一个Rectangle{}到MusicGridHotView{}组件调用下方,修改文本内容为“新歌速递”:
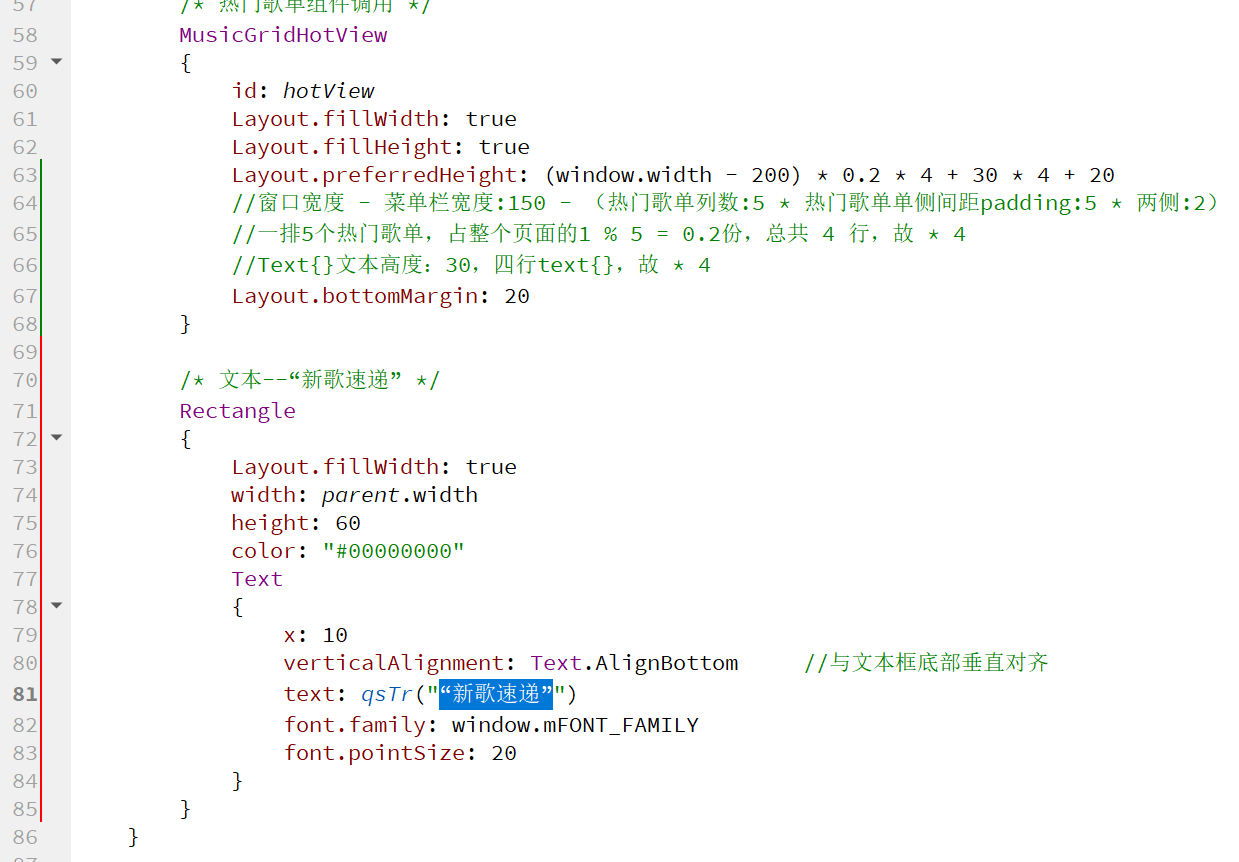
2.添加新组件“MusicGridLatestView.qml”
(1)与“推荐歌曲”相同,创建一个“MusicGridLatestView.qml”:
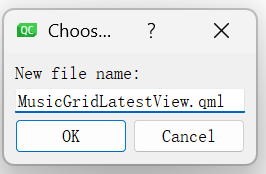
(2)组件调用:
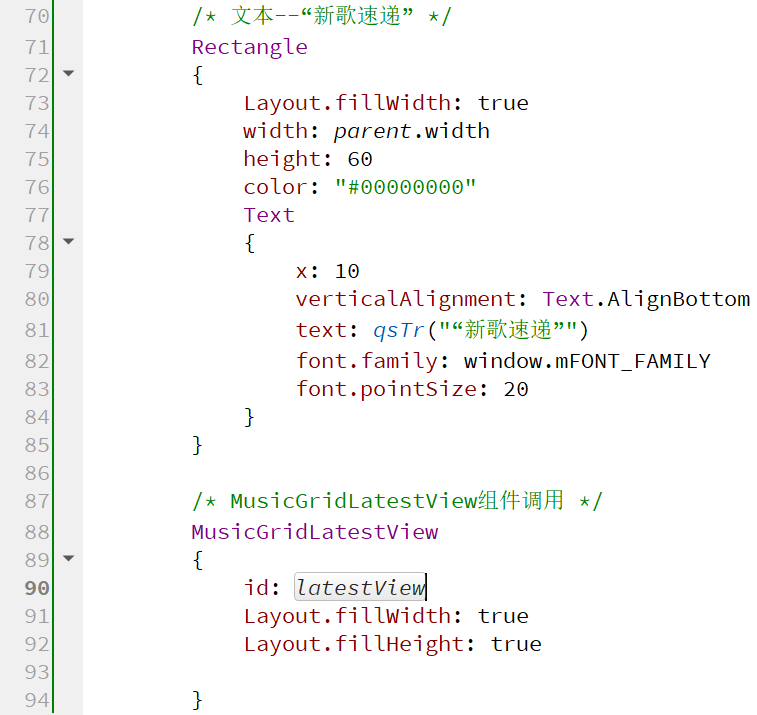
3.修改MusicGridLatestView.qml文件内容
Ctrl+鼠标左键进入MusicGridLatestView.qml文件
(1)修改列数column为“3”:
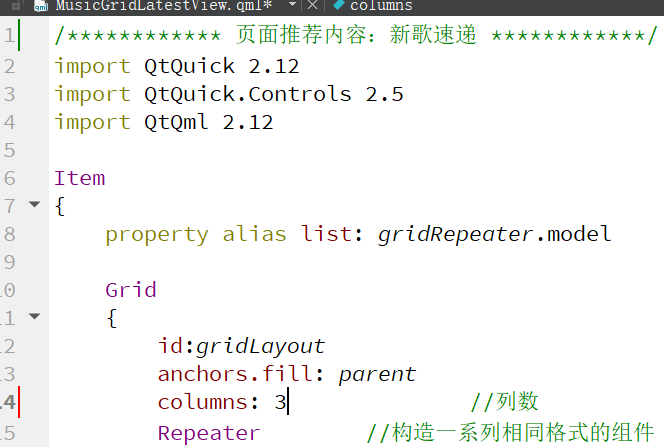
(2)对应修改Frame{}的width和height:

(3)修改MusicRoundImage{}图片显示的imgSrc地址和宽高:
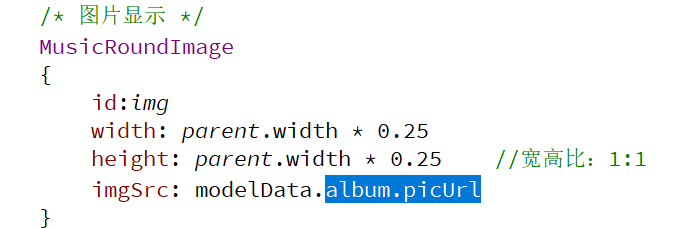
(4)修改图片对应文本
将图片对应文本多复制一份:
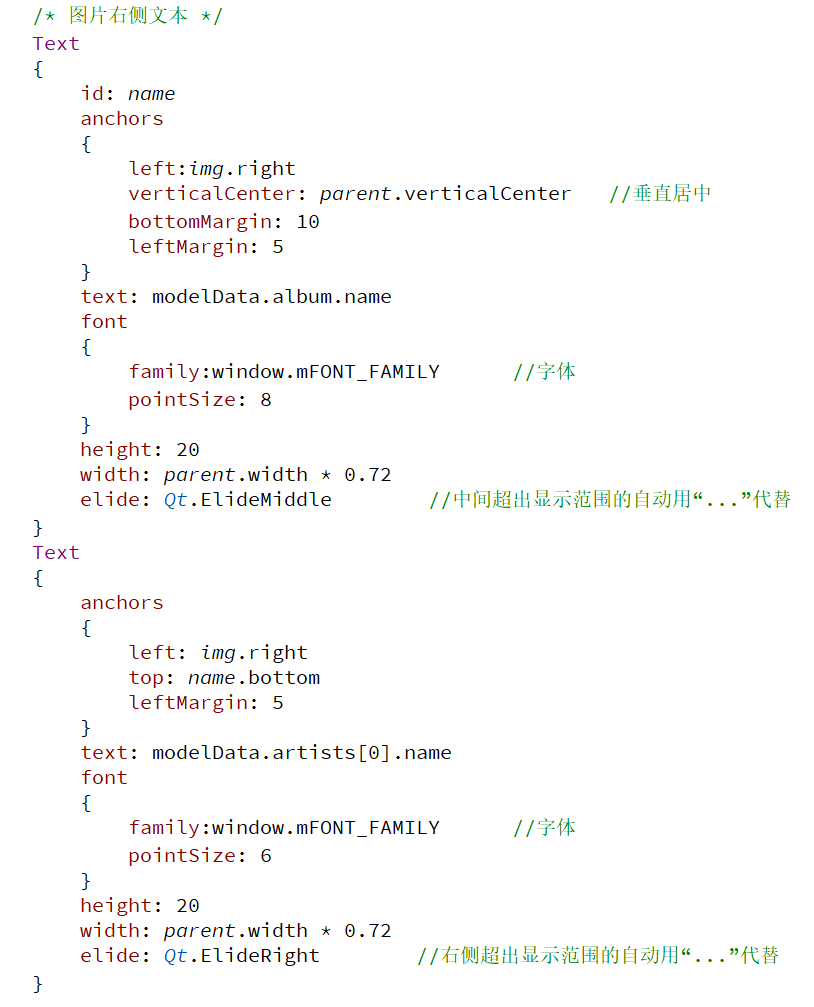
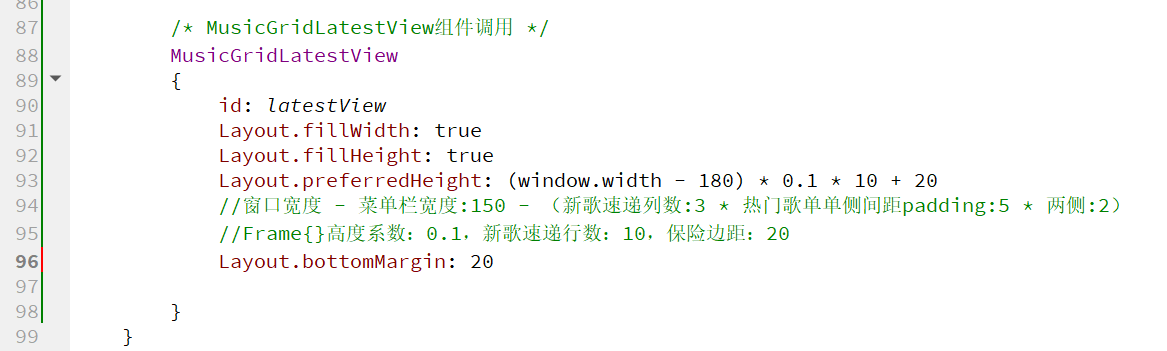
4.设置MusicGridLatestView组件调用的preferredHeight
进入DetailRecommendPageView.qml文件:
5.定义获取“新歌速递”数据的函数
将getHotList()函数复制粘贴一份,改名为“getLatestList()”:
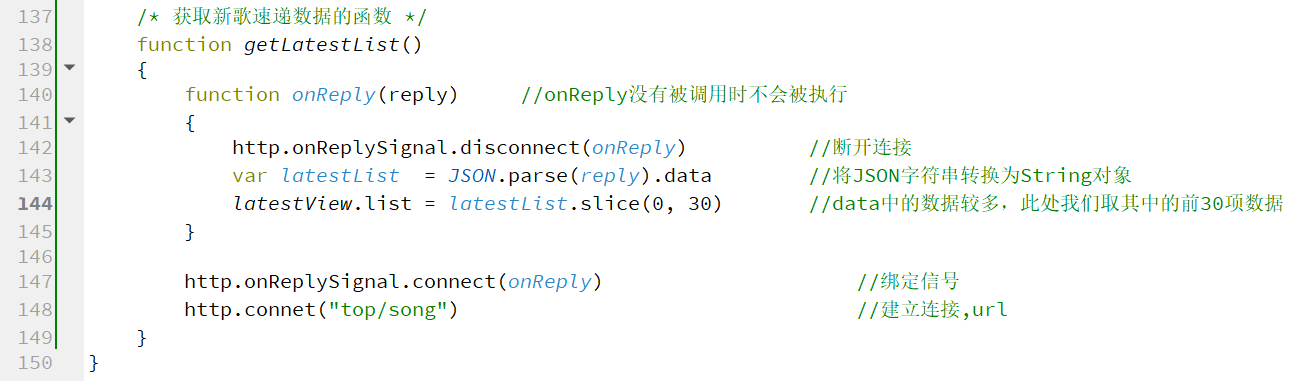
测试slice()函数:在localhost:3000/top/song页面使用“Ctrl + SHIFT + i”:
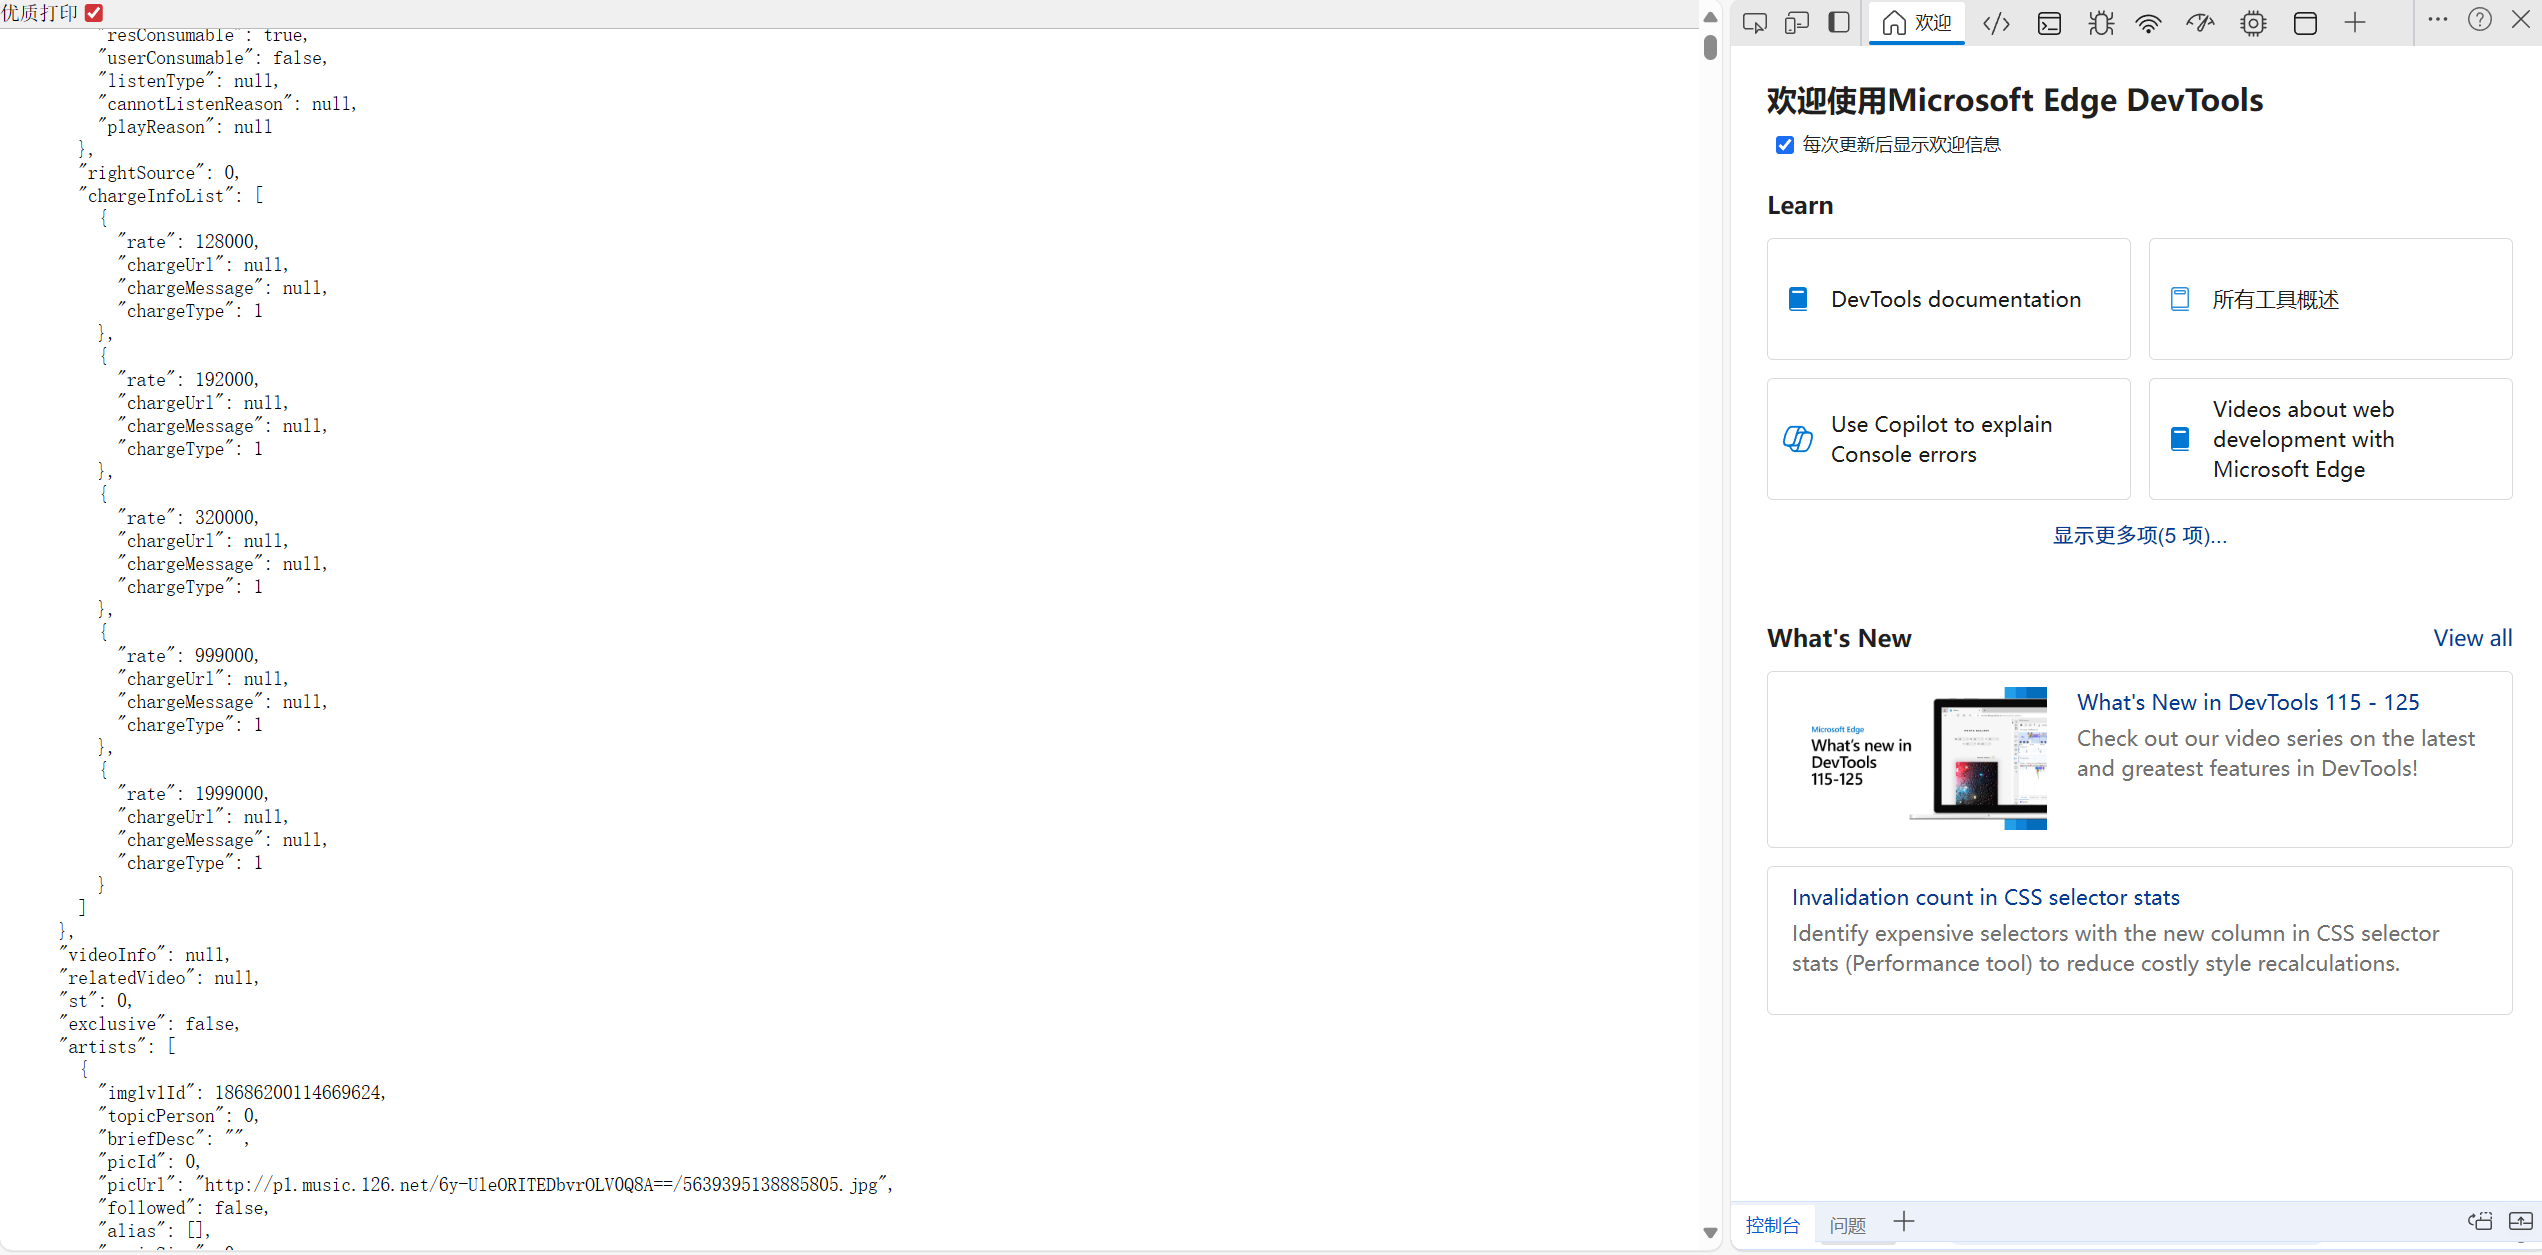
点击 打开控制台:
写入代码:
var arr = [1,2,3,4,5,6]
console.log(arr.slice(0,3))
回车,就打印出了从下标“0”开始的前三个数据:
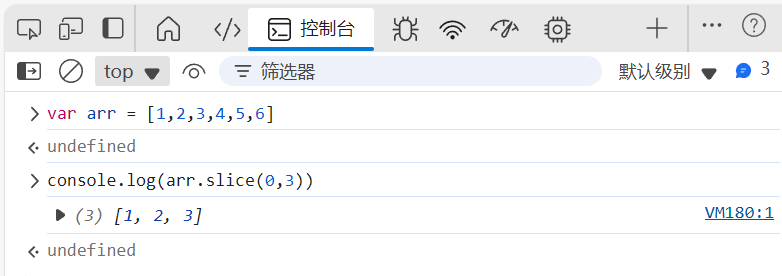 继续测试,可以得知slice函数的具体效果:
slice() 函数实现切片对象,主要用在切片操作函数里的参数传递。
语法
slice 语法:
class slice(stop)
class slice(start, stop[, step])参数说明:
start -- 起始位置
stop -- 结束位置
step -- 间距
返回值
返回一个切片对象。
实例
>>>myslice = slice(5) # 设置截取5个元素的切片
>>> myslice
slice(None, 5, None)
>>> arr = range(10)
>>> arr
[0, 1, 2, 3, 4, 5, 6, 7, 8, 9]
>>> arr[myslice] # 截取 5 个元素
[0, 1, 2, 3, 4]
在getHotList()的OnReply()中的末尾调用:
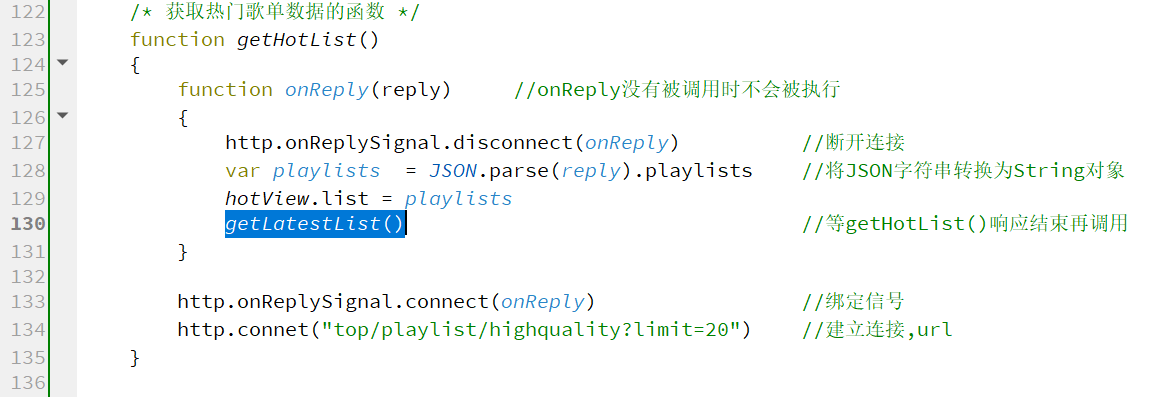
Ctrl+R运行,向下滑:
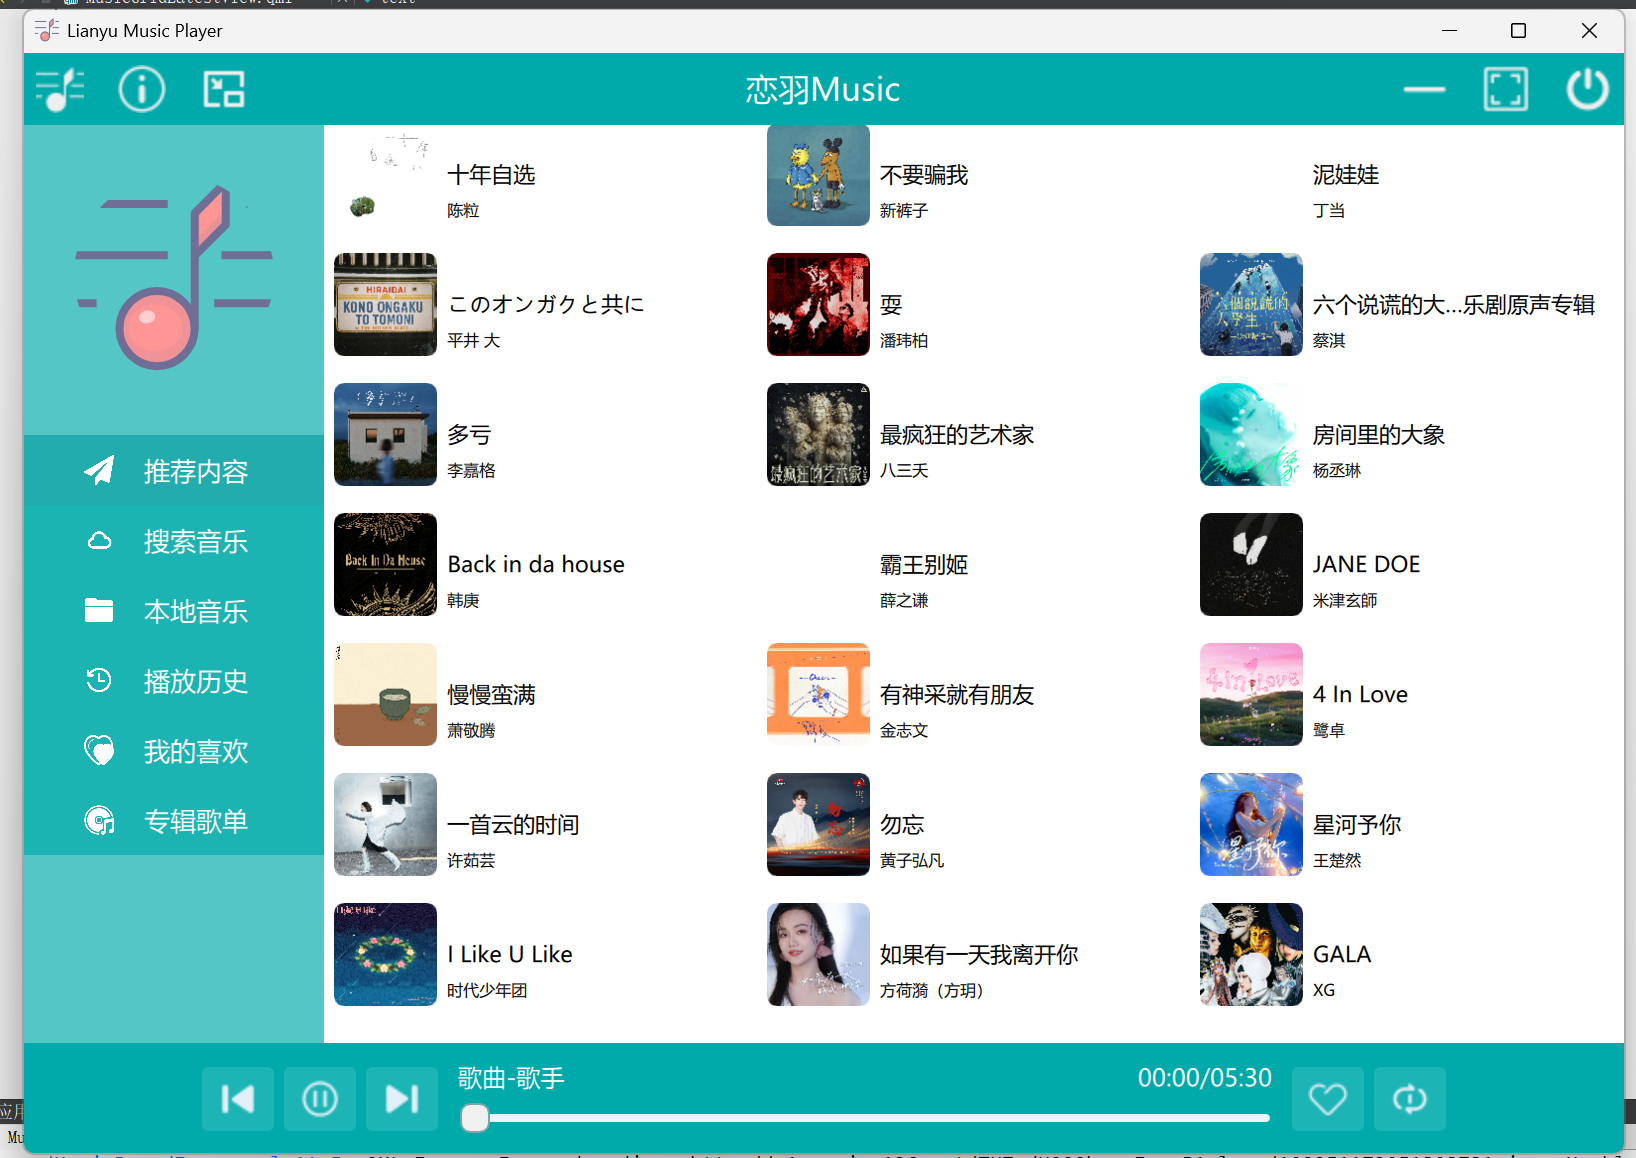
微调:
(1)MusicGridHotView,qml中Frame{}的间距padding给10:
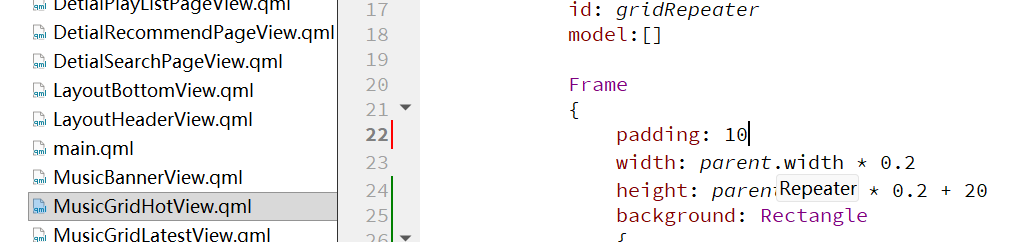
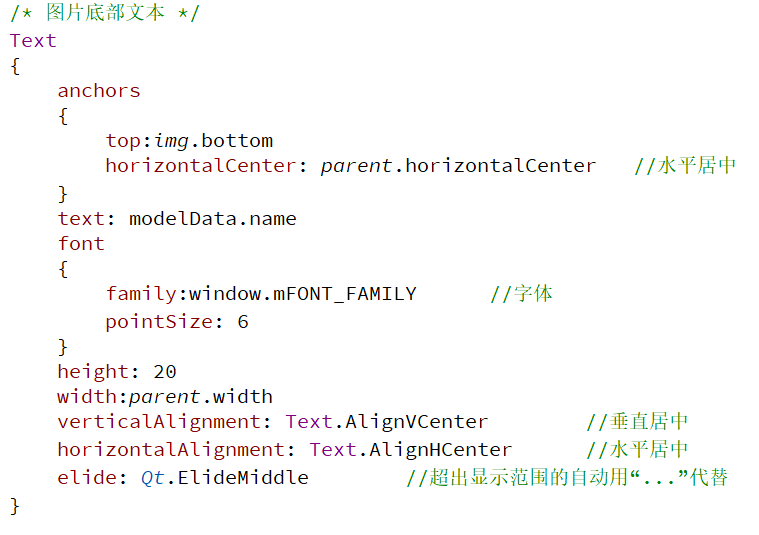
(2)优化MusicGridHotView,qml中的图片底部文本:
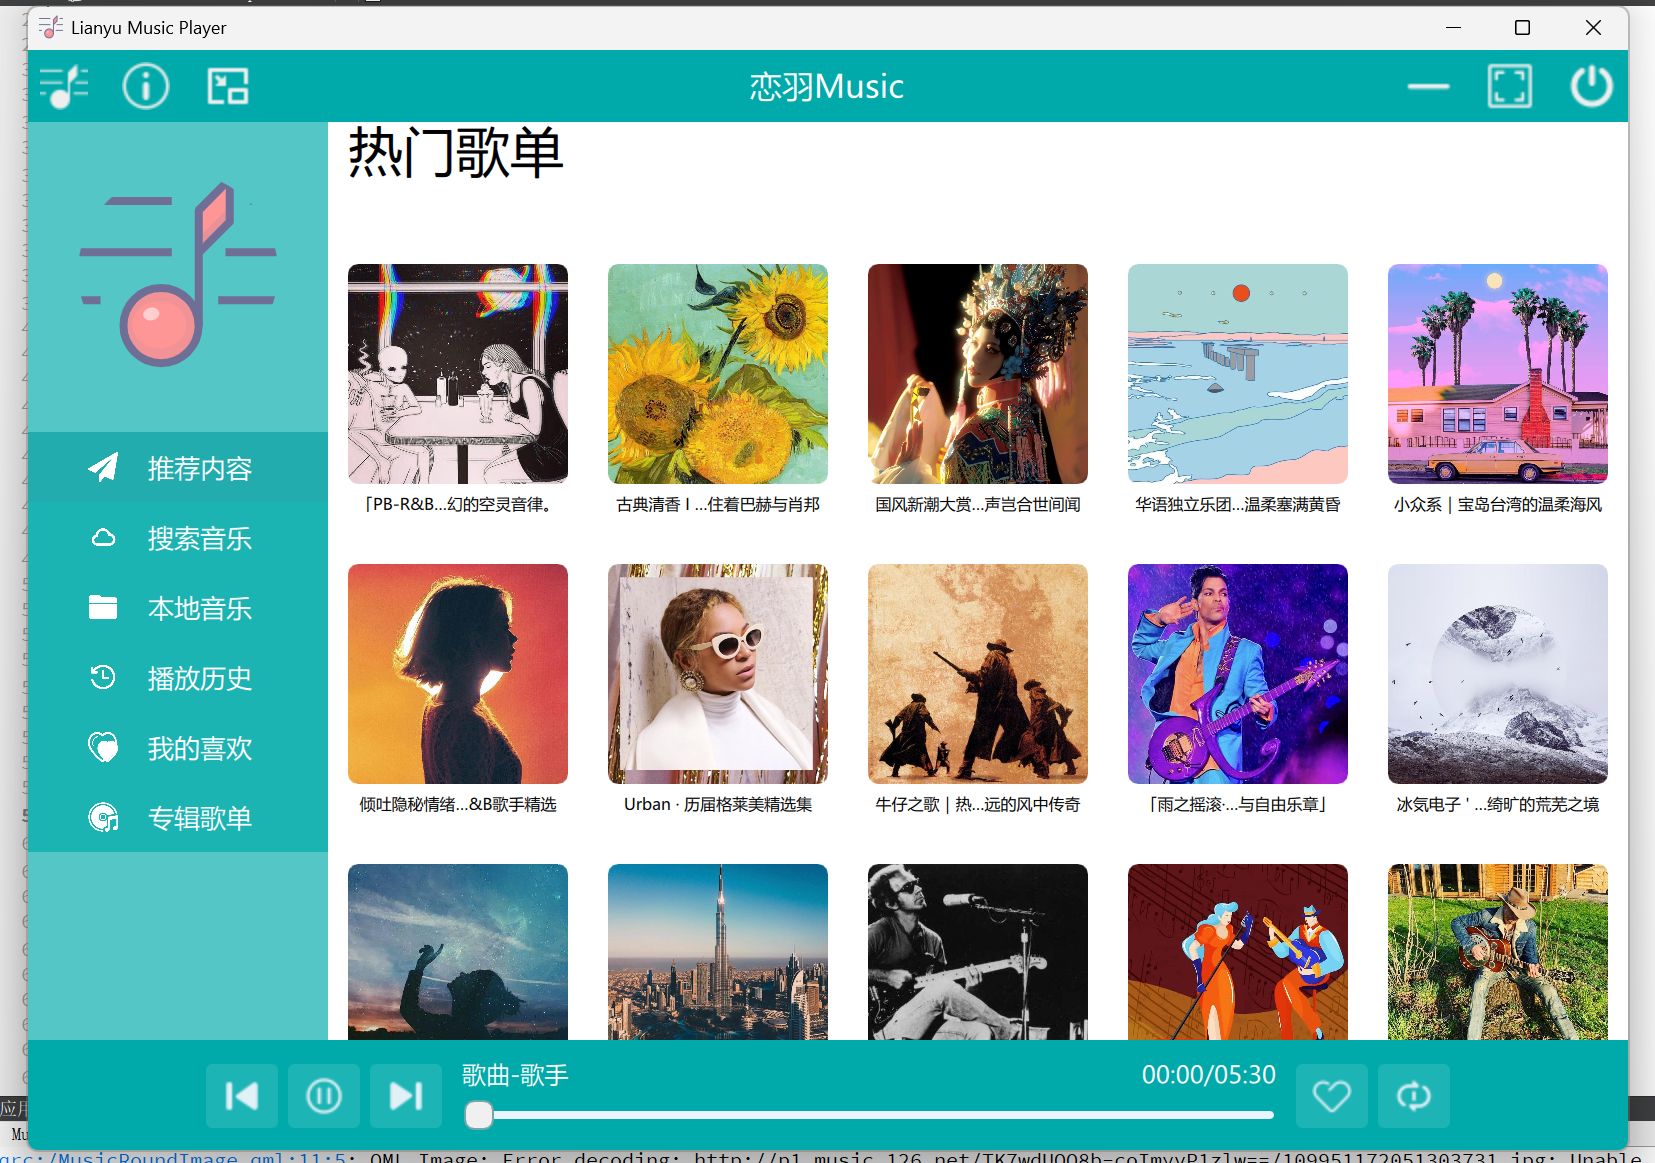
Ctrl+R运行:
三、“搜索音乐”页面布局
1.设置程序运行后自动打开”搜索音乐“页面
(1)进入PageHomeView,qml,修改默认打开页面,以便调试:
重新定义一个property:
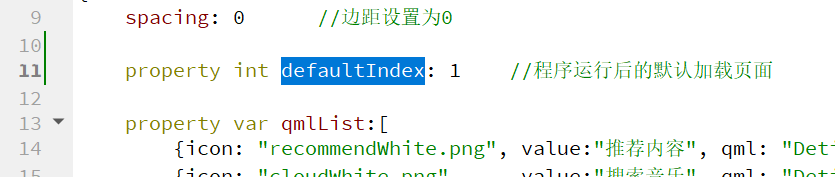
在组件加载中调用:修改第138行和140行的“0”为“defauIndex”

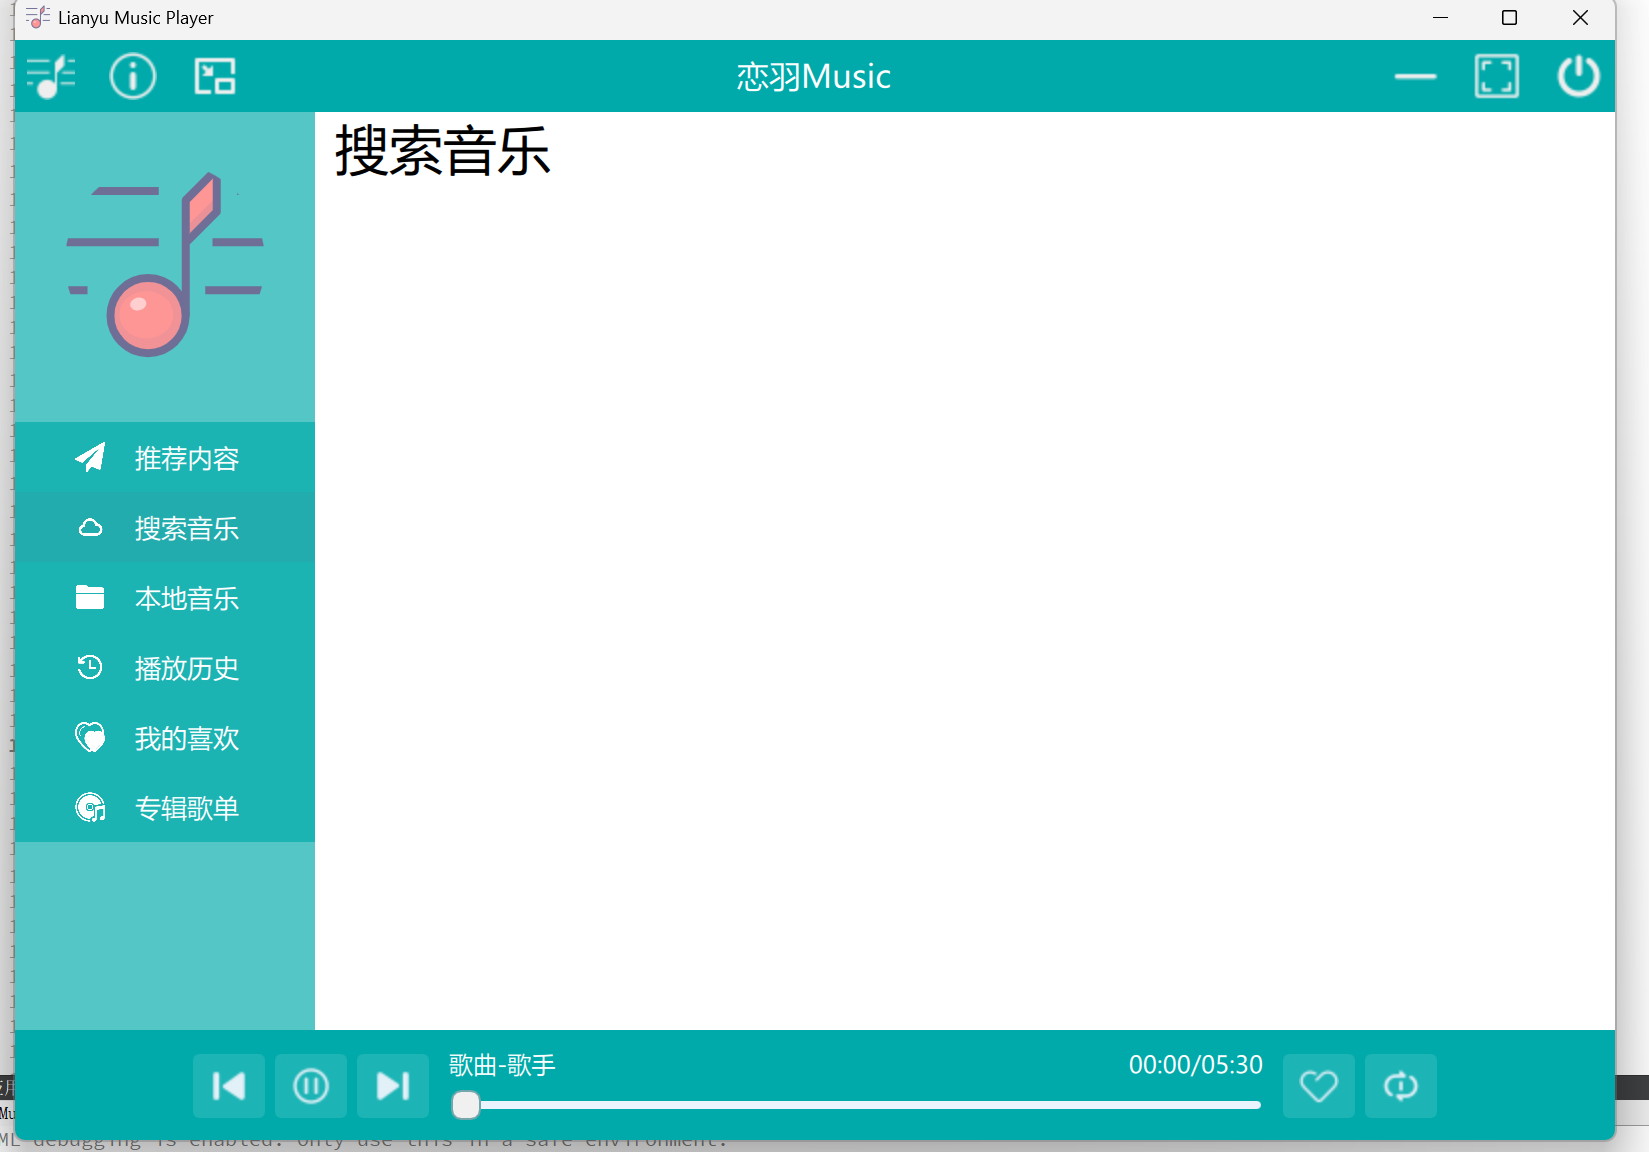
(2)修改菜单栏高亮显示与当前显示页面同步
添加以下代码:
menuView.currentIndex = defaultIndex //菜单栏高光与显示页面同步Ctrl+R运行:
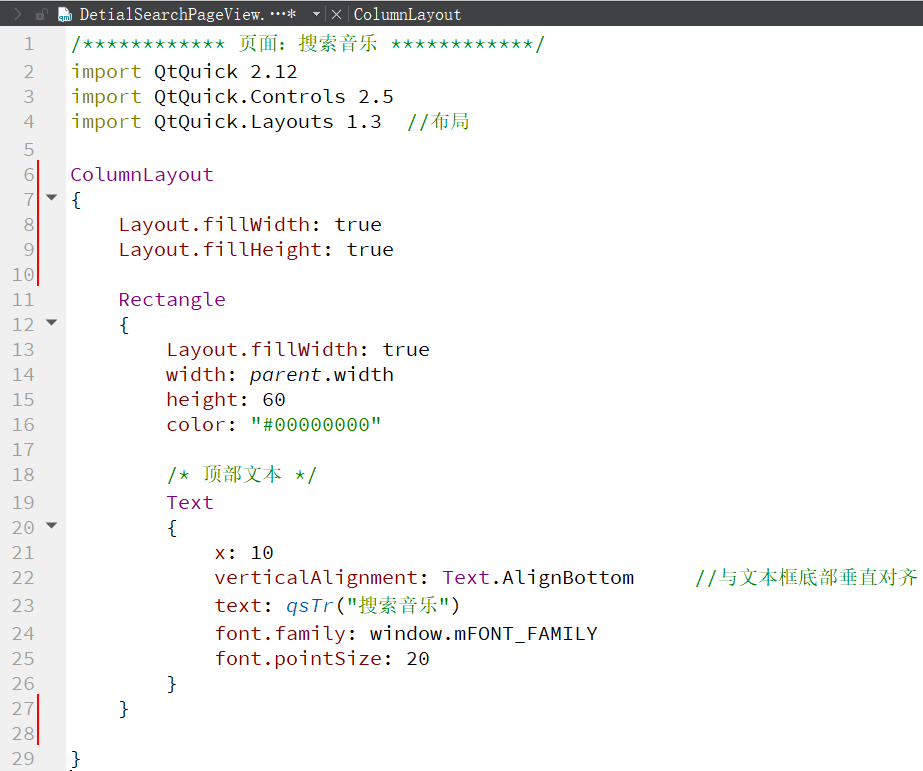
2.进行ColumnLayout布局
进入DetailSearchPageView.qml文件
进行ColumnLayout布局,并设置其属性:
3.新建左上角搜索框、搜索按键
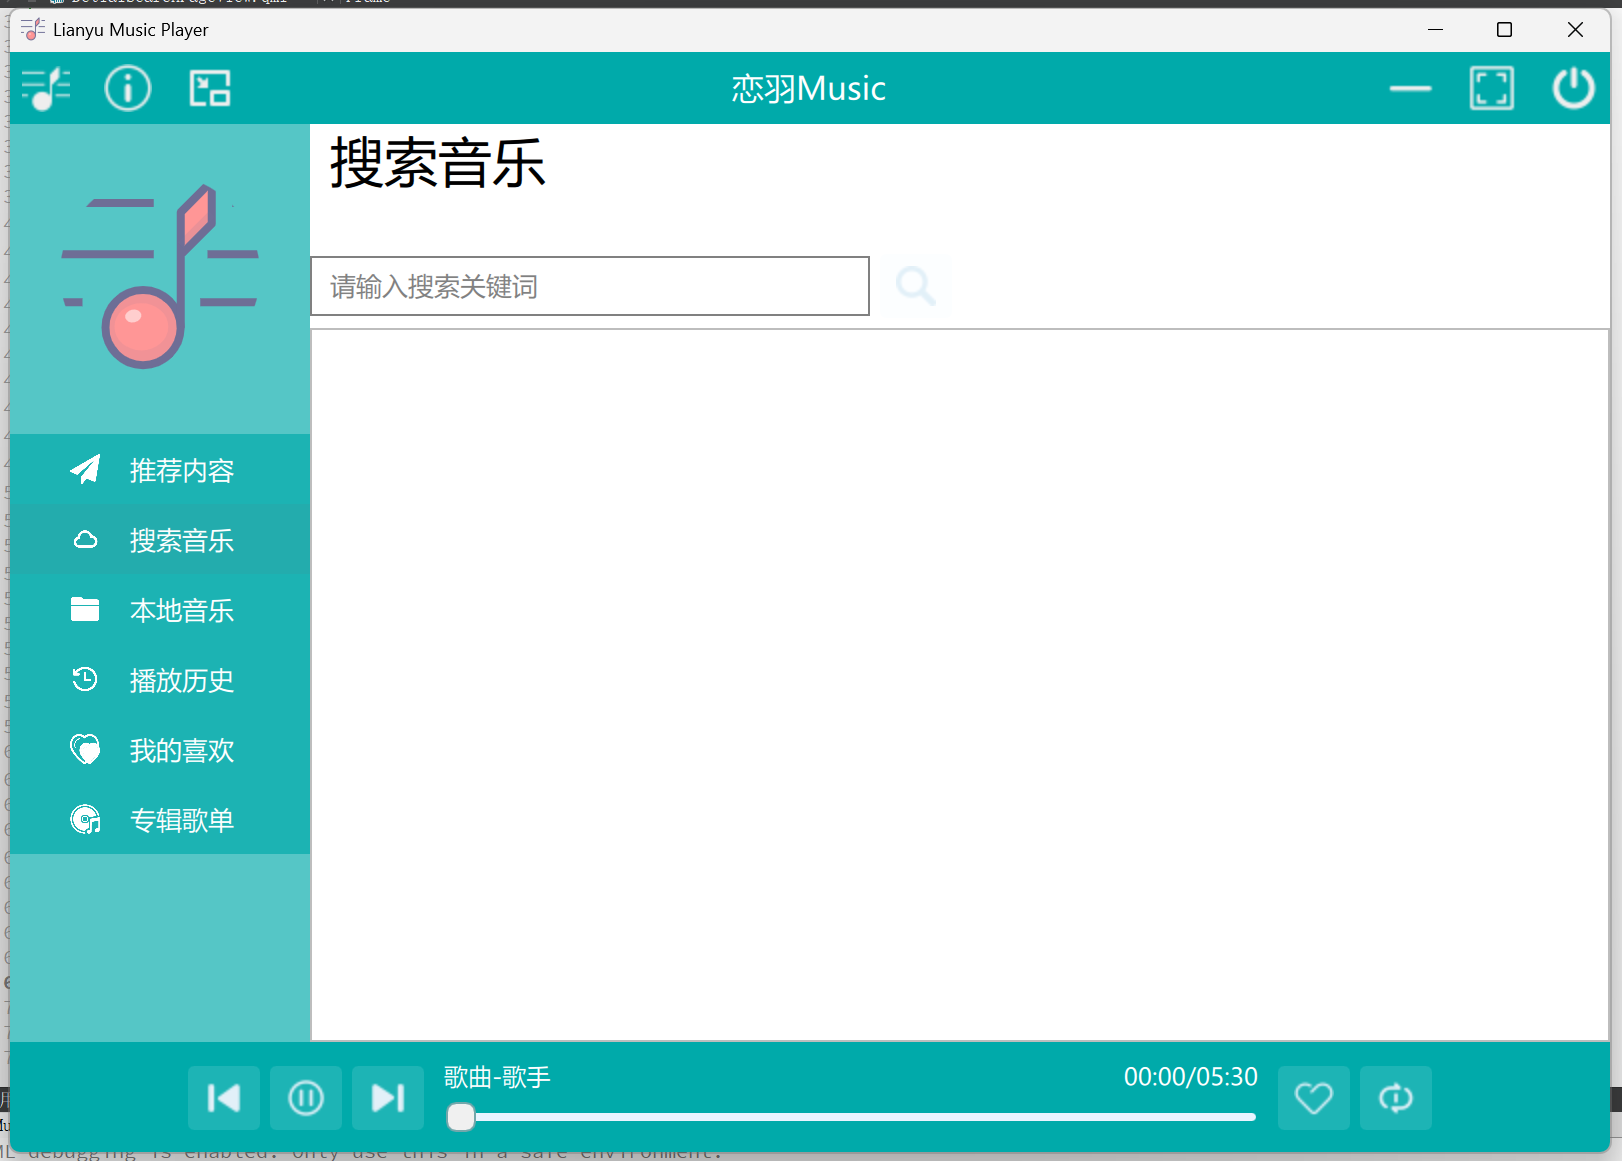
对搜索框和搜索按键进行行布局RowLayout{}
/* 顶部搜索框、搜索按键begin */
RowLayout
{
    Layout.fillWidth: true

    TextField
    {
        id: searchInput
        font.family: window.mFONT_FAMILY
        font.pointSize: 10
        selectByMouse: true                       //启用用鼠标选中功能
        selectionColor: "#999999"                 //被选中栏的背景色:灰色
        placeholderText: qsTr("请输入搜索关键词")    //提示词
        color: "#000000"
        background:Rectangle
        {
            color: "#00000000"
            border.color: "black"  //边框颜色
            border.width: 1        //边框厚度
            opacity: 0.5           //不透明度
            implicitHeight: 30     //隐式推荐高度
            implicitWidth: 280     //隐式推荐宽度(在没有明确指定width时,控件希望占据的大小;当设置width属性时,会忽略掉implicitWidth)
        }
        focus: true                //聚焦


    }

    MusicIconButton     //搜索按键
    {
        iconSource: "qrc:images/search"
        toolTip: "搜索"
    }
}
/* 顶部搜索框、搜索按键end */

Frame
{
    Layout.fillHeight: true
    Layout.fillWidth: true
}
Ctrl+R运行:
4.音乐列表组件MusicListView.qml
(1)新建MusicListView.qml文件
复制粘贴一份MusicGridLatestView.qml组件,重命名为“MusicListView.qml”:
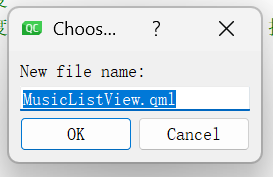
删除其中内容:
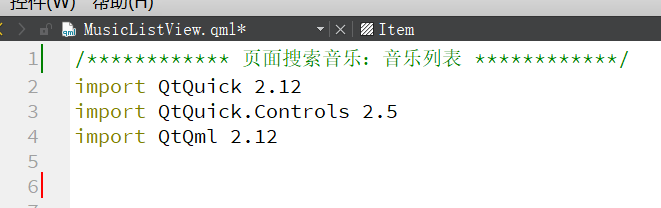
将DetailSearchDetailSearchPageView.qml中的Frame{}剪贴过来,并在该文件中调用MusicListView.qml组件:
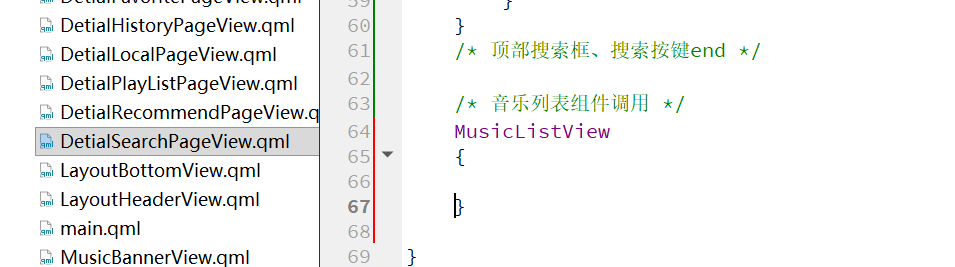
在MusicListView.qml中添加模块:
import QtQuick.Layouts 1.12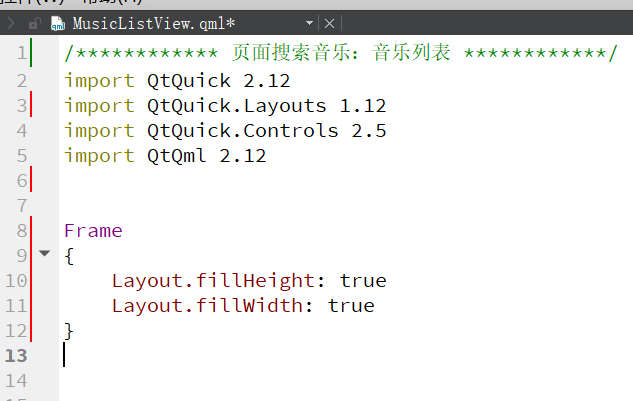
(2)添加组件ListView{}与其对应的component{}
表头部分listViewHeader:
 ListView
 {
     id:listView
     anchors.fill: parent
     model:ListModel
     {
         id: listViewModel
     }
     delegate: listViewDelegate
     ScrollBar.vertical: ScrollBar       //垂直交互式滚动条
     {
         anchors.right: parent.right
     }
     header: listViewHeader      //表格的表头
 }
 Component
 {
     id:listViewDelegate
     Rectangle
     {
         color: "#aaa"
         height: 32
         width: listView.width
         RowLayout
         {
             width: parent.width
             height: parent.height
             spacing: 10             //RowLayout的子元素间的间距
             x: 5                    //偏移量
             /* 序号 */
             Text
             {
                 text: "序号"
                 horizontalAlignment: Qt.AlignHCenter    //水平居中
                 Layout.preferredWidth:  parent.width * 0.05
                 font.family: window.mFONT_FAMILY
                 font.pointSize: 9
                 color: "black"
                 elide: Qt.ElideRight                    //右边超出部分自动用“...”代替
             }
             /* 歌名 */
             Text
             {
                 text: "歌名"
                 horizontalAlignment: Qt.AlignHCenter    //水平居中
                 Layout.preferredWidth: parent.width * 0.4
                 font.family: window.mFONT_FAMILY
                 font.pointSize: 9
                 color: "black"
                 elide: Qt.ElideRight                    //右边超出部分自动用“...”代替
             }
             /* 歌手 */
             Text
             {
                 text: "歌手"
                 horizontalAlignment: Qt.AlignHCenter    //水平居中
                 Layout.preferredWidth: parent.width * 0.15
                 font.family: window.mFONT_FAMILY
                 font.pointSize: 9
                 color: "black"
                 elide: Qt.ElideRight                    //右边超出部分自动用“...”代替
             }
             /* 专辑 */
             Text
             {
                 text: "专辑"
                 horizontalAlignment: Qt.AlignHCenter    //水平居中
                 Layout.preferredWidth: parent.width * 0.15
                 font.family: window.mFONT_FAMILY
                 font.pointSize: 9
                 color: "black"
                 elide: Qt.ElideRight                    //右边超出部分自动用“...”代替
             }
             /* 操作 */
             Text
             {
                 text: "操作"
                 horizontalAlignment: Qt.AlignHCenter    //水平居中
                 Layout.preferredWidth: parent.width * 0.15
                 font.family: window.mFONT_FAMILY
                 font.pointSize: 9
                 color: "black"
                 elide: Qt.ElideRight                    //右边超出部分自动用“...”代替
             }
         }
     }

 }
 Component       //表格表头
 {
     id:listViewHeader
     Rectangle
     {
         color: "#aaa"
         height: 32
         width: listView.width
         RowLayout
         {
             width: parent.width
             height: parent.height
             spacing: 10             //RowLayout的子元素间的间距
             x: 5                    //偏移量
             /* 序号 */
             Text
             {
                 text: "序号"
                 horizontalAlignment: Qt.AlignHCenter    //水平居中
                 Layout.preferredWidth: parent.width * 0.05
                 font.family: window.mFONT_FAMILY
                 font.pointSize: 9
                 color: "black"
                 elide: Qt.ElideRight                    //右边超出部分自动用“...”代替
             }
             /* 歌名 */
             Text
             {
                 text: "歌名"
                 horizontalAlignment: Qt.AlignHCenter    //水平居中
                 Layout.preferredWidth: parent.width * 0.4
                 font.family: window.mFONT_FAMILY
                 font.pointSize: 9
                 color: "black"
                 elide: Qt.ElideRight                    //右边超出部分自动用“...”代替
             }
             /* 歌手 */
             Text
             {
                 text: "歌手"
                 horizontalAlignment: Qt.AlignHCenter    //水平居中
                 Layout.preferredWidth: parent.width * 0.15
                 font.family: window.mFONT_FAMILY
                 font.pointSize: 9
                 color: "black"
                 elide: Qt.ElideRight                    //右边超出部分自动用“...”代替
             }
             /* 专辑 */
             Text
             {
                 text: "专辑"
                 horizontalAlignment: Qt.AlignHCenter    //水平居中
                 Layout.preferredWidth: parent.width * 0.15
                 font.family: window.mFONT_FAMILY
                 font.pointSize: 9
                 color: "black"
                 elide: Qt.ElideRight                    //右边超出部分自动用“...”代替
             }
             /* 操作 */
             Text
             {
                 text: "操作"
                 horizontalAlignment: Qt.AlignHCenter    //水平居中
                 Layout.preferredWidth: parent.width * 0.15
                 font.family: window.mFONT_FAMILY
                 font.pointSize: 9
                 color: "black"
                 elide: Qt.ElideRight                    //右边超出部分自动用“...”代替
             }
         }
     }
 }
Ctrl+R运行:
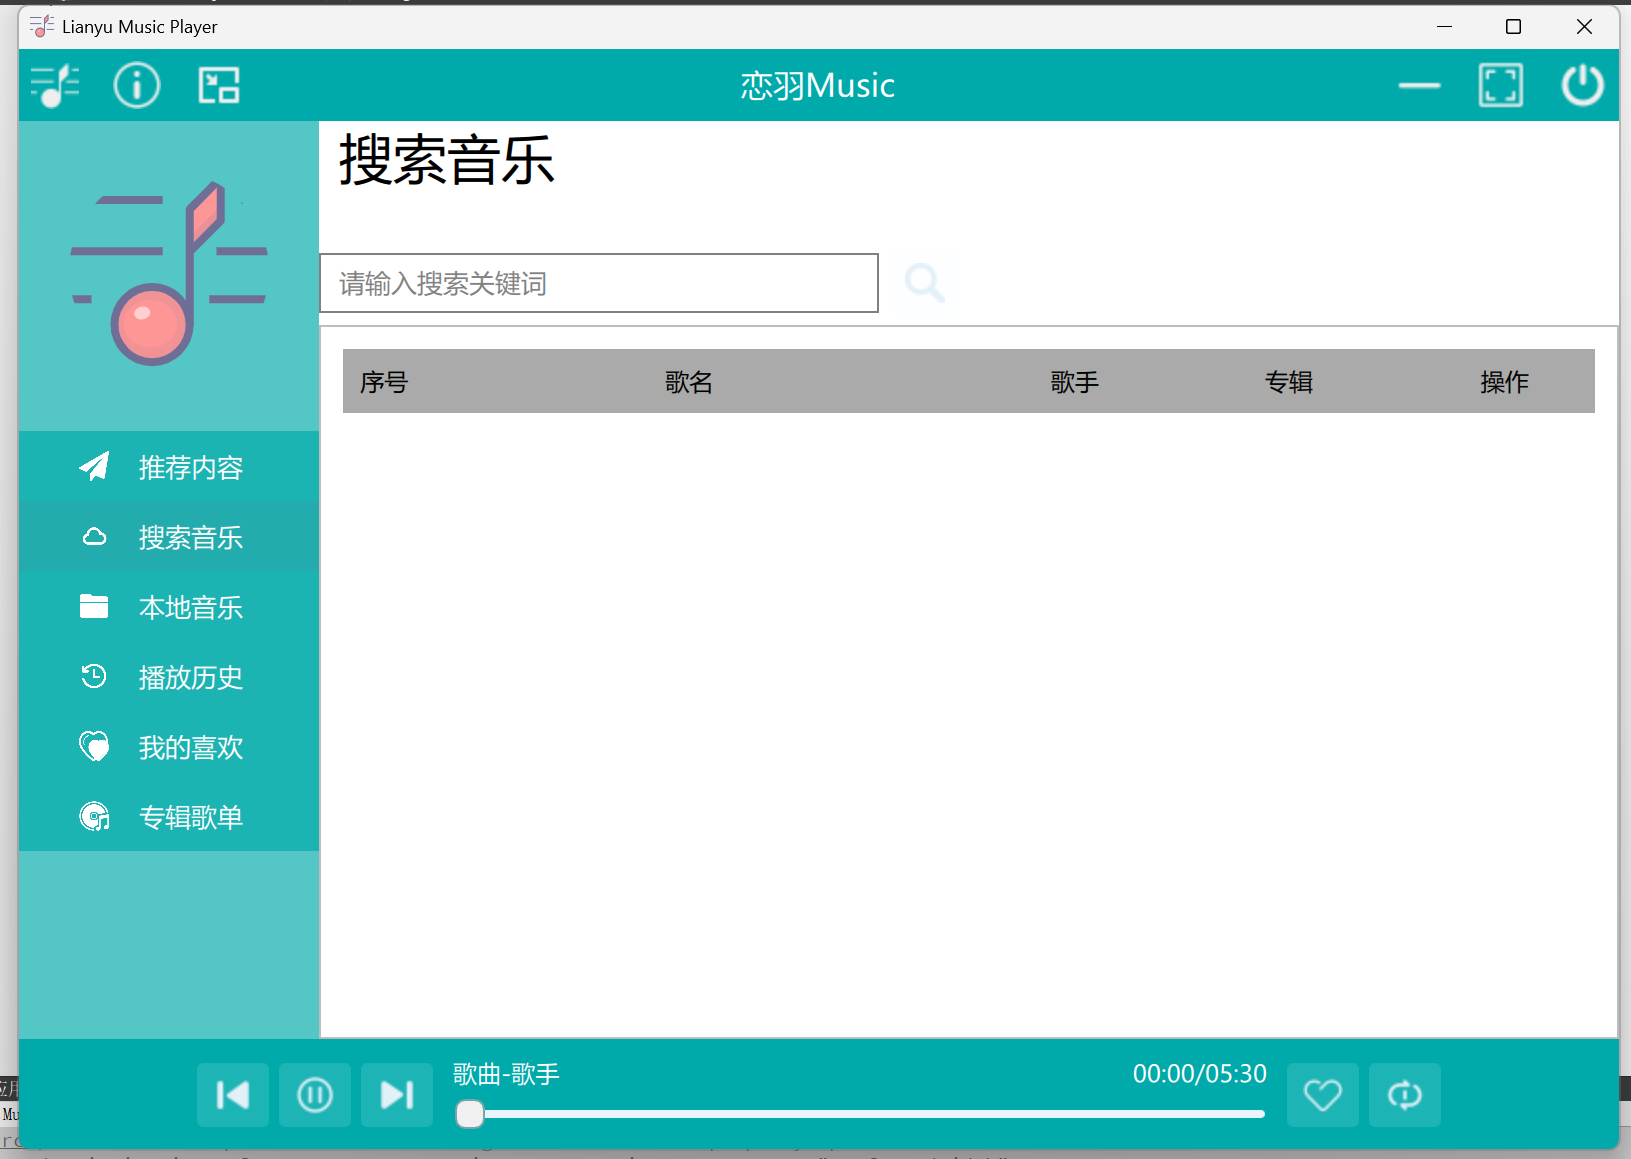
(3)搜索音乐功能
①进入DetailSearchPageView.qml文件,给MusicListView组件赋予id:
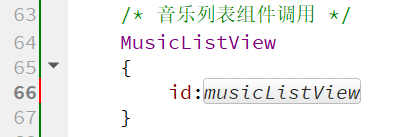
②定义搜索函数doSeach(),并在点击搜索按键MusicIconButton时调用:
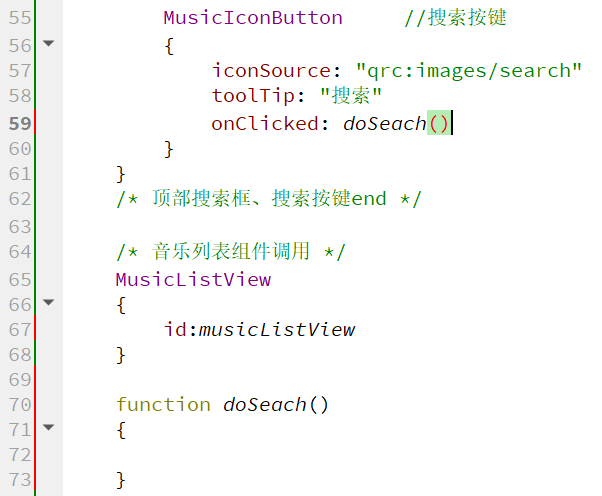
③给搜索框TextField添加搜索音乐快捷键:
/* 快捷键--搜索音乐 */
Keys.onPressed: if(event.key === Qt.Key_Enter || event.key === Qt.Key_Return ) doSeach()
其中:
Key_Return:对应标准键盘上的 回车键(通常是主键盘区域的 Enter 键)
Key_Enter:对应数字小键盘上的 Enter 键
④编辑doSeach()函数内容
在MusicListView.qml中定义一个接收音乐列表数据的数组musicList:
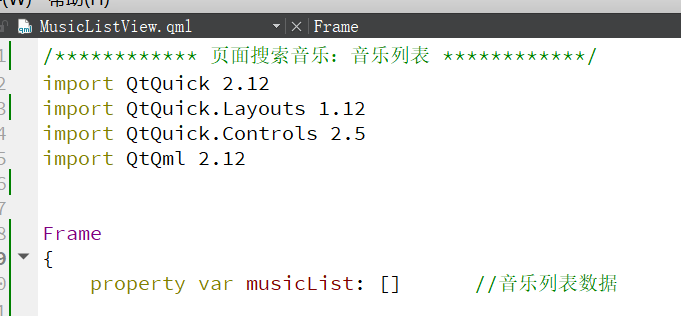
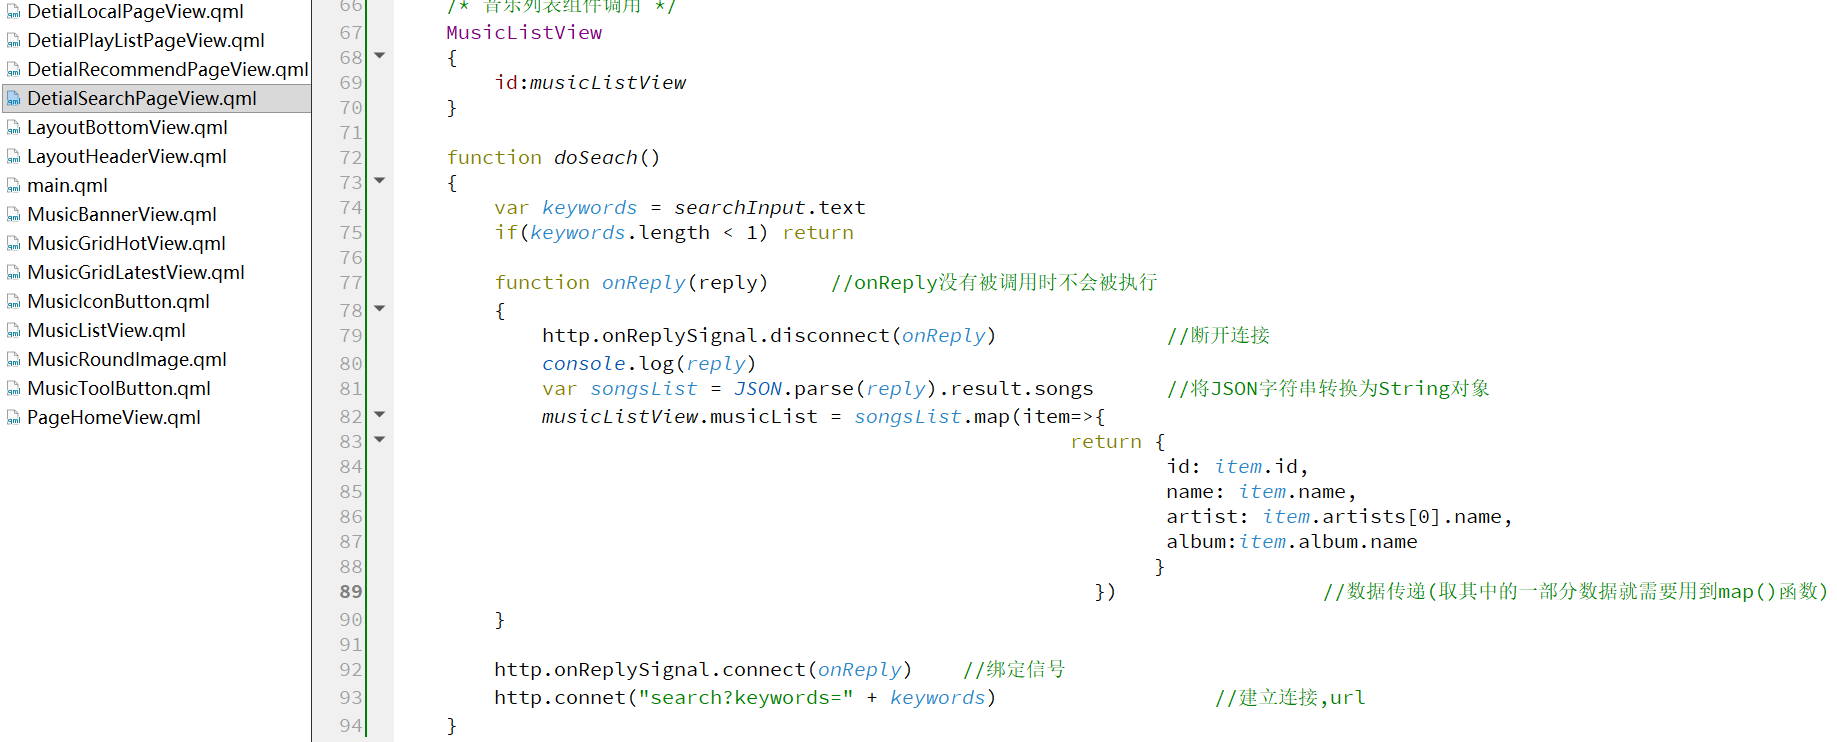
将DetialRecommendPageView.qml文件中的getBannerList{}的结构复制给doSearch()函数,并修改其中的参数:
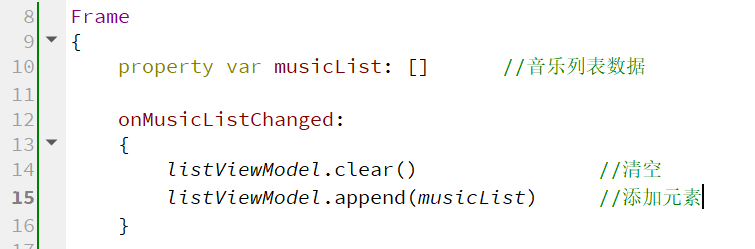
在MusicListView.qml中写音乐列表改变时的回调函数onMusicListChanged:{}:
给Frame{}添加clip属性:
clip: true
修改lComponent:listViewDelegate文本的属性:
修改文本:“序号”----Text{}的文本内容为 index + 1
修改文本:“歌名”----Text{}的文本内容为 name
修改文本:“歌手”----Text{}的文本内容为 artist
修改文本:“专辑”----Text{}的文本内容为 album
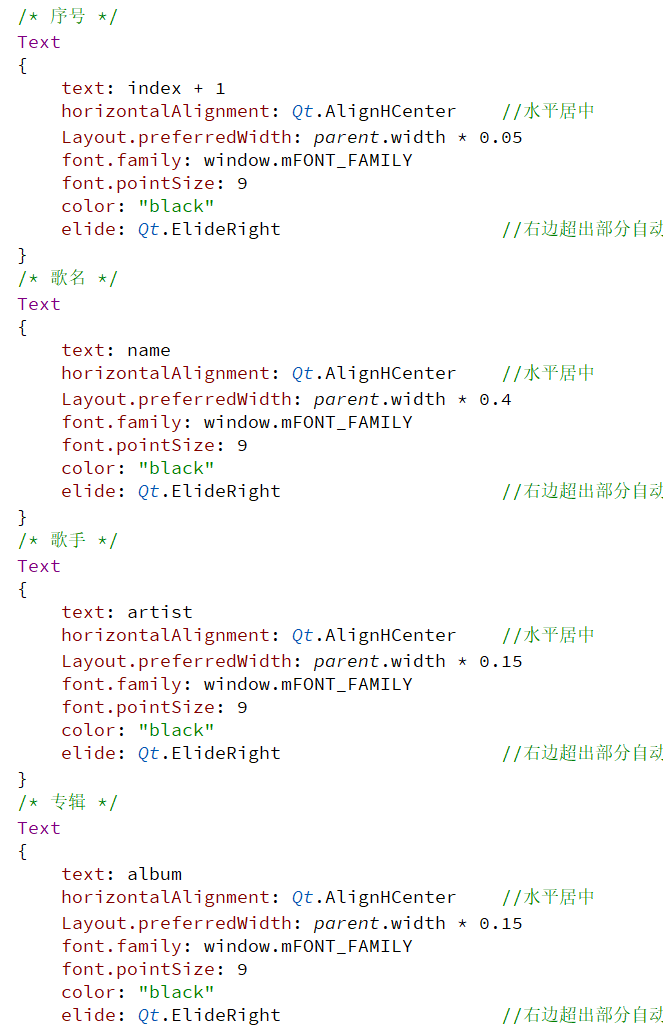
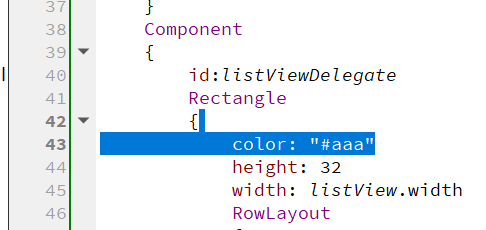
去掉Delegate的背景颜色:
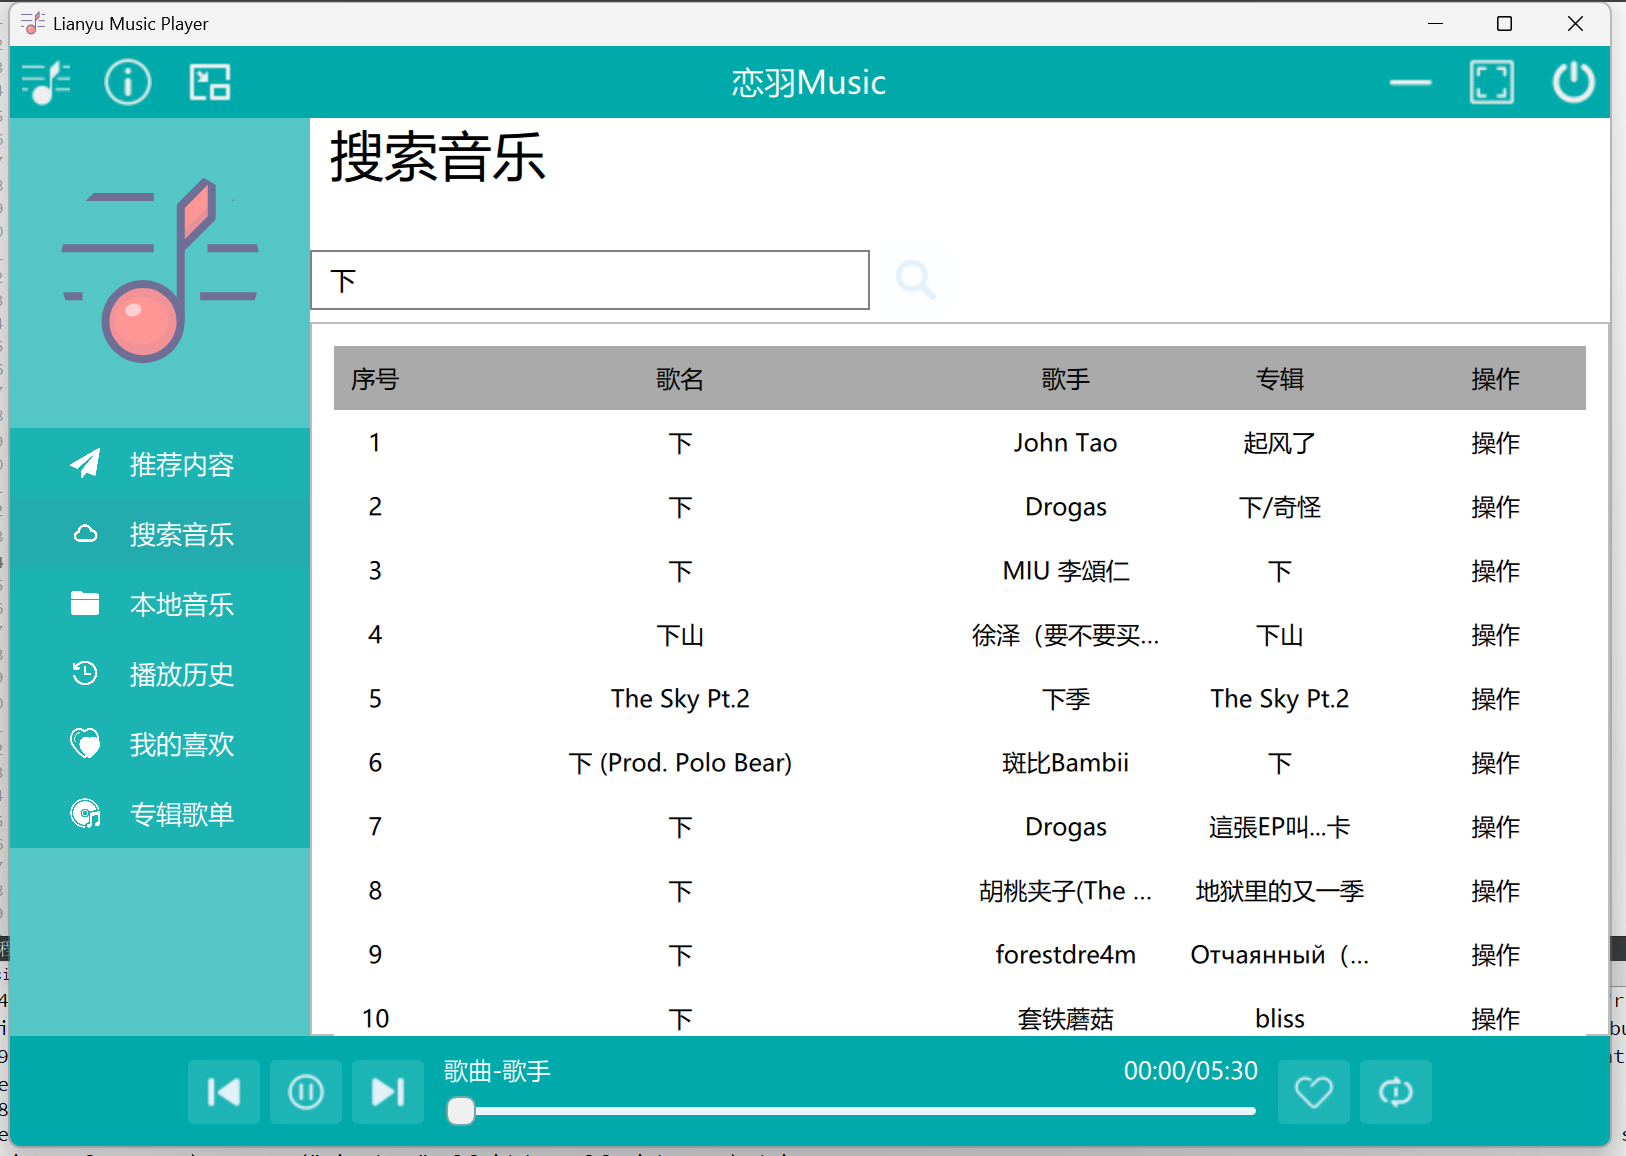
Ctrl+R运行,搜索任意关键词,回车:
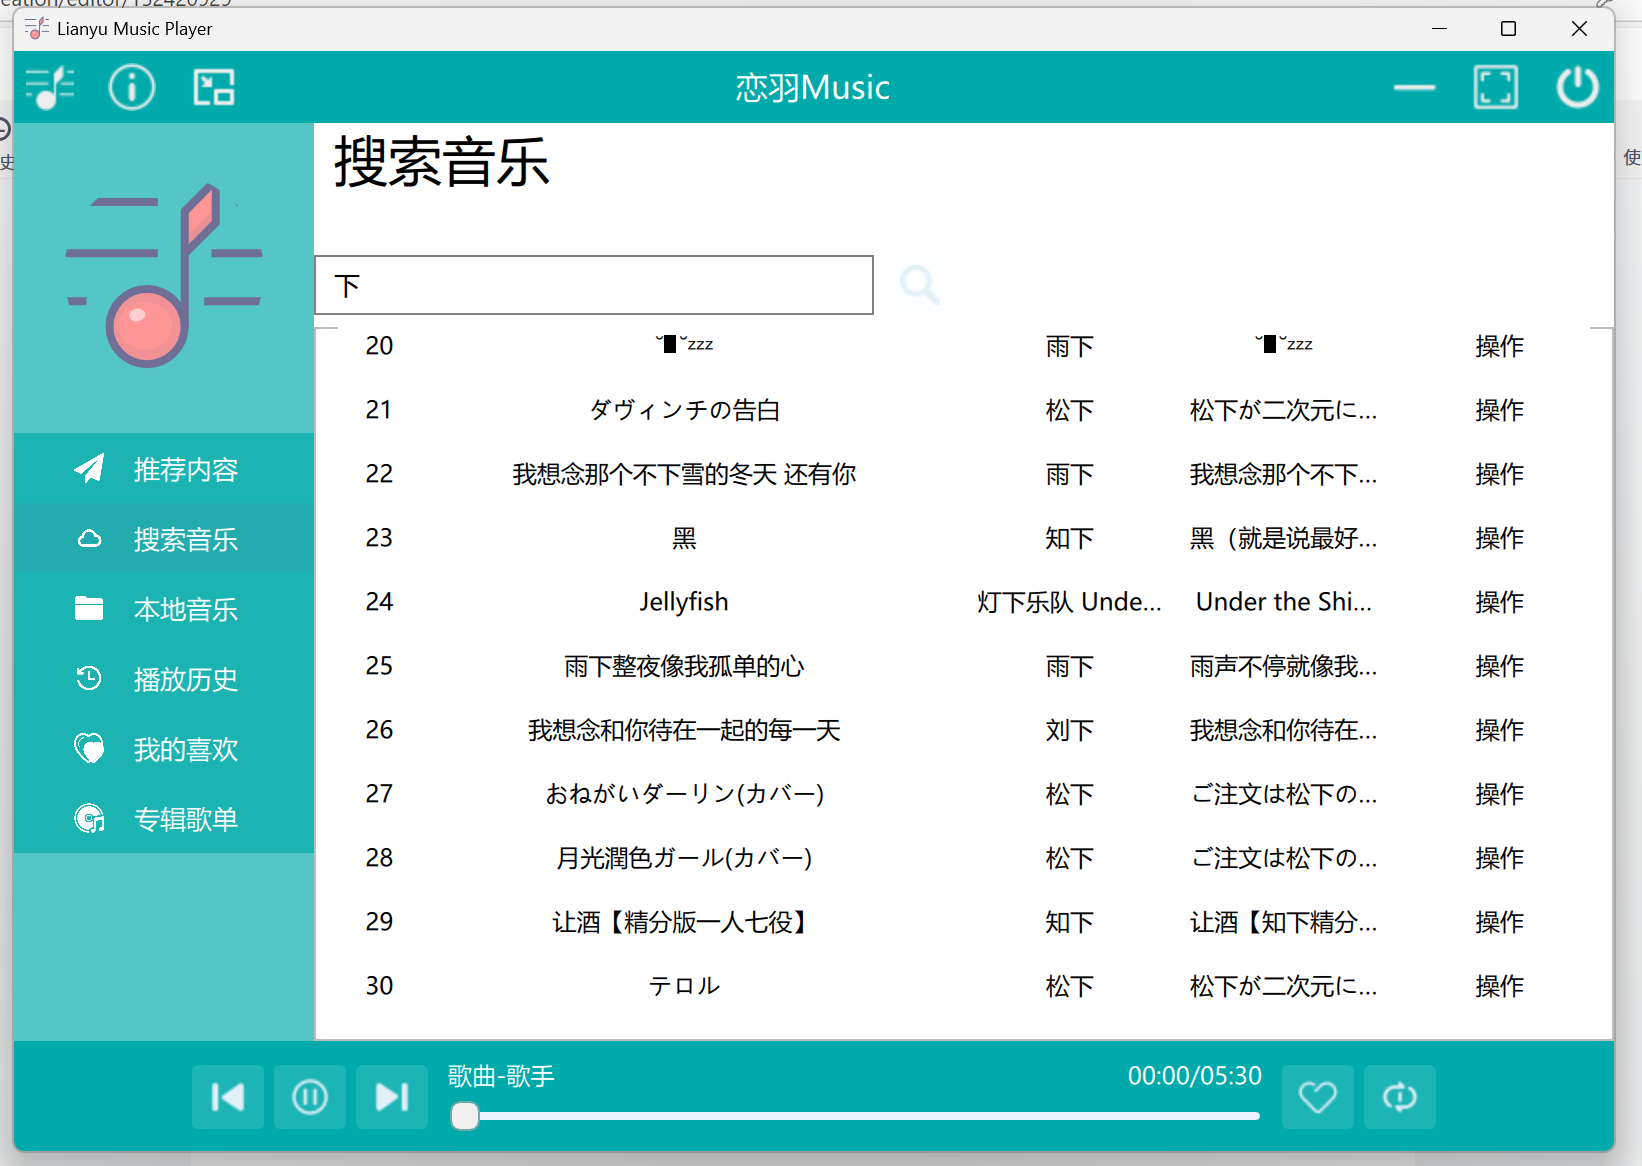
鼠标向下滚动,可以看到更多歌曲:
注意:此处如果搜索关键词时没有数据,并有以下报错:
TypeError: Cannot read property 'songs' of undefined
可能是网速问题,可以尝试换用别的网络代理,再重新运行程序,即可解决
设置歌名居中,其他元素不居中:
去掉文本--“歌名”的水平居中属性(表头和内容数据都要去掉此属性):
//horizontalAlignment: Qt.AlignHCenter //水平居中运行,搜索关键字,回车:
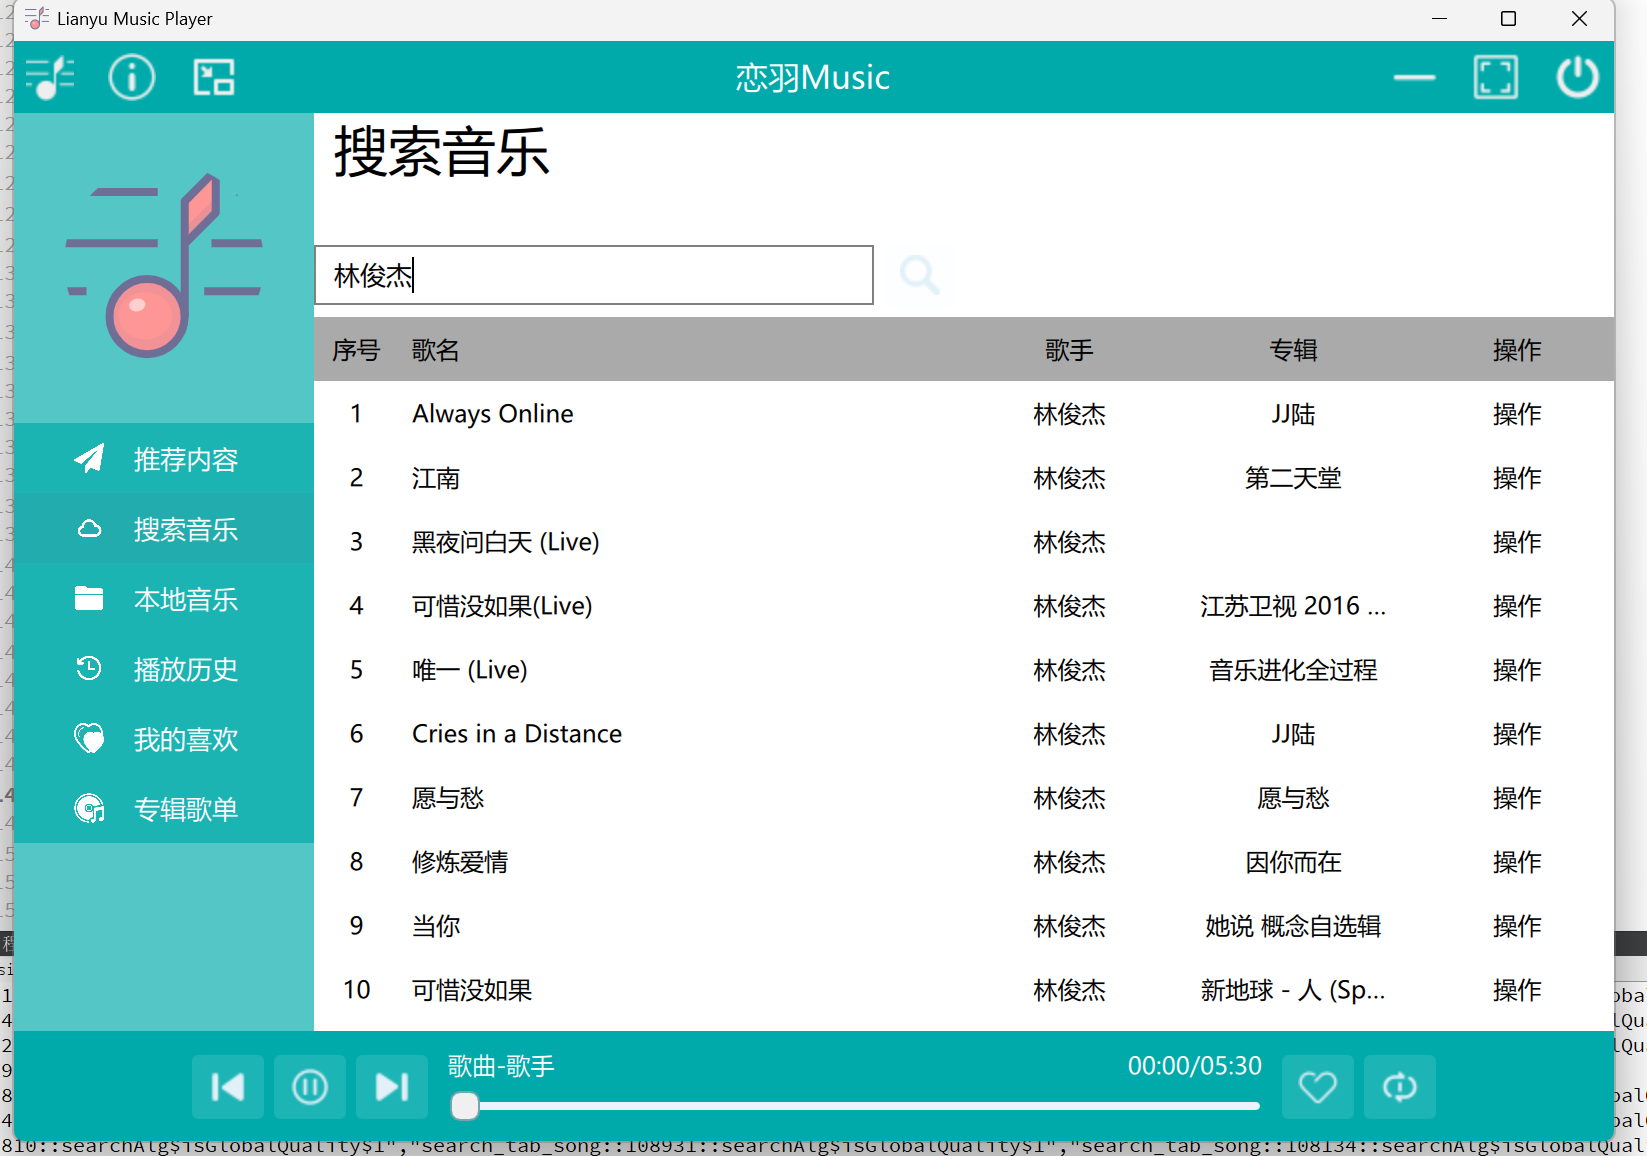
至此,QT Quick QML项目音乐播放器第八部分----热门歌单网格显示、最新歌曲网格显示、搜索音乐页面布局完结,感谢您的阅读!

开源鸿蒙跨平台开发社区汇聚开发者与厂商,共建“一次开发,多端部署”的开源生态,致力于降低跨端开发门槛,推动万物智联创新。
更多推荐


 31
31 0
0- 0


 已为社区贡献7条内容

所有评论(0)