Fultter简单使用
·
目录
一、文本Text
//引入库
import 'package:flutter/material.dart';

void main()=>runApp(MyApp()); //入口函数

class MyApp extends StatelessWidget{
  @override
  Widget build(BuildContext context){
    return MaterialApp( //返回Material
      title: 'Material标题',
      home: Scaffold(
        appBar: AppBar( //标题栏
          title: Text("页面标题"),
        ),
        body: Center( //页面主体
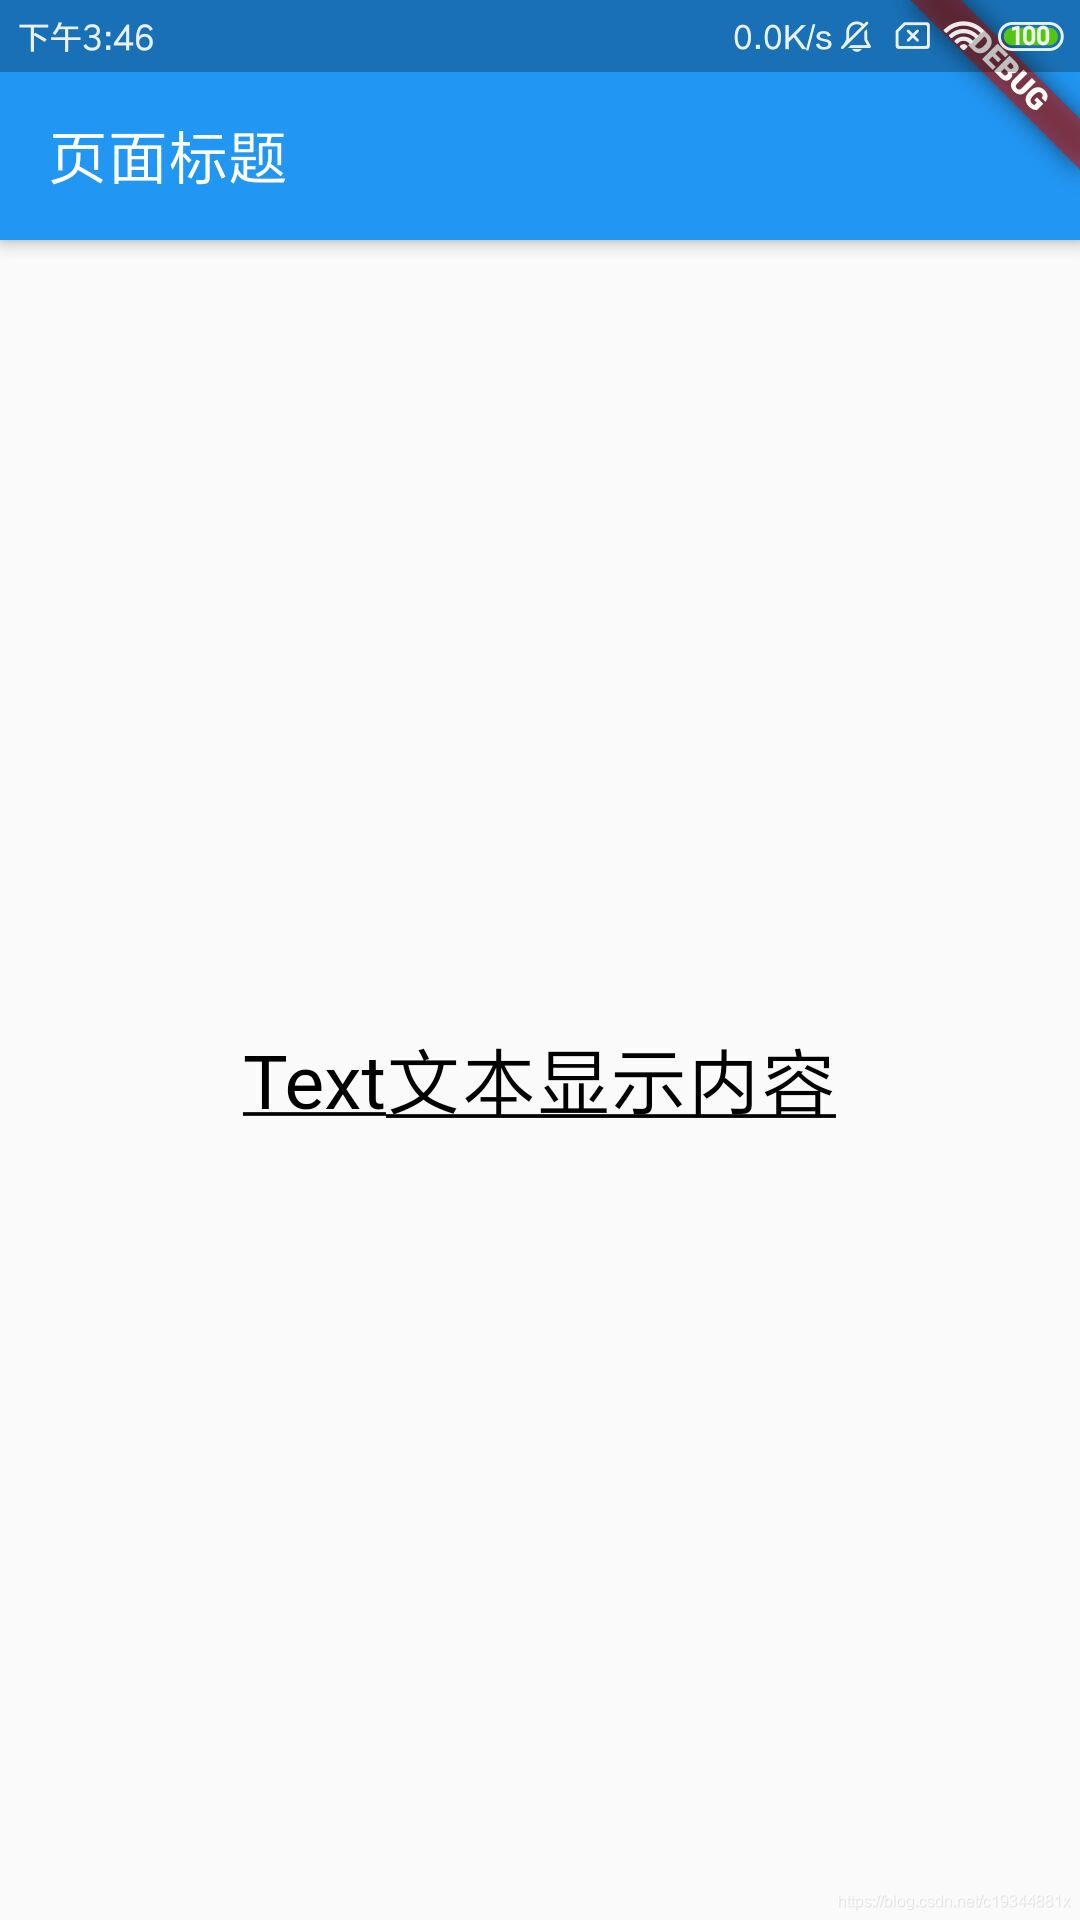
          child: new Text("Text文本显示内容",
            textAlign: TextAlign.left, //文本格式
            maxLines: 2, //文本最大行数
            overflow: TextOverflow.ellipsis, //末尾加省略
            style: TextStyle( //文本样式
                fontSize: 25, //字体大小
                color: Color.fromARGB(255, 0, 0, 0), //字体颜色
                decoration: TextDecoration.underline,//下划线
                decorationStyle: TextDecorationStyle.solid // 下划线样式
            ),
          ),
        ),
      ),
    );
  }
}
运行结果:
二、容器Container
//引入库
import 'package:flutter/material.dart';

void main()=>runApp(MyApp()); //入口函数

class MyApp extends StatelessWidget{
  @override
  Widget build(BuildContext context){
    return MaterialApp( //返回Material
      title: 'Material标题',
      home: Scaffold(
        appBar: AppBar( //标题栏
          title: Text("页面标题"),
        ),
        body: Center( //页面主体
          child: Container(
            child: new Text("Text文本显示内容",
              style: TextStyle( //文本样式
                  fontSize: 25, //字体大小
              ),
            ),
            alignment: Alignment.topCenter, //对齐方式
            width: 400, //容器宽度
            height: 400, //容器高度
//            color: Colors.lightBlue, //容器背景颜色
            padding: const EdgeInsets.fromLTRB(10, 30, 40, 10), //内边距
            margin: const EdgeInsets.all(10), //外边距
            decoration: new BoxDecoration( //修饰器
              gradient: const LinearGradient( //容器渐变背景
                  colors: [
                    Colors.lightBlue,
                    Colors.greenAccent,
                    Colors.purple
                  ]
              ),
            ),
          )
        ),
      ),
    );
  }
}
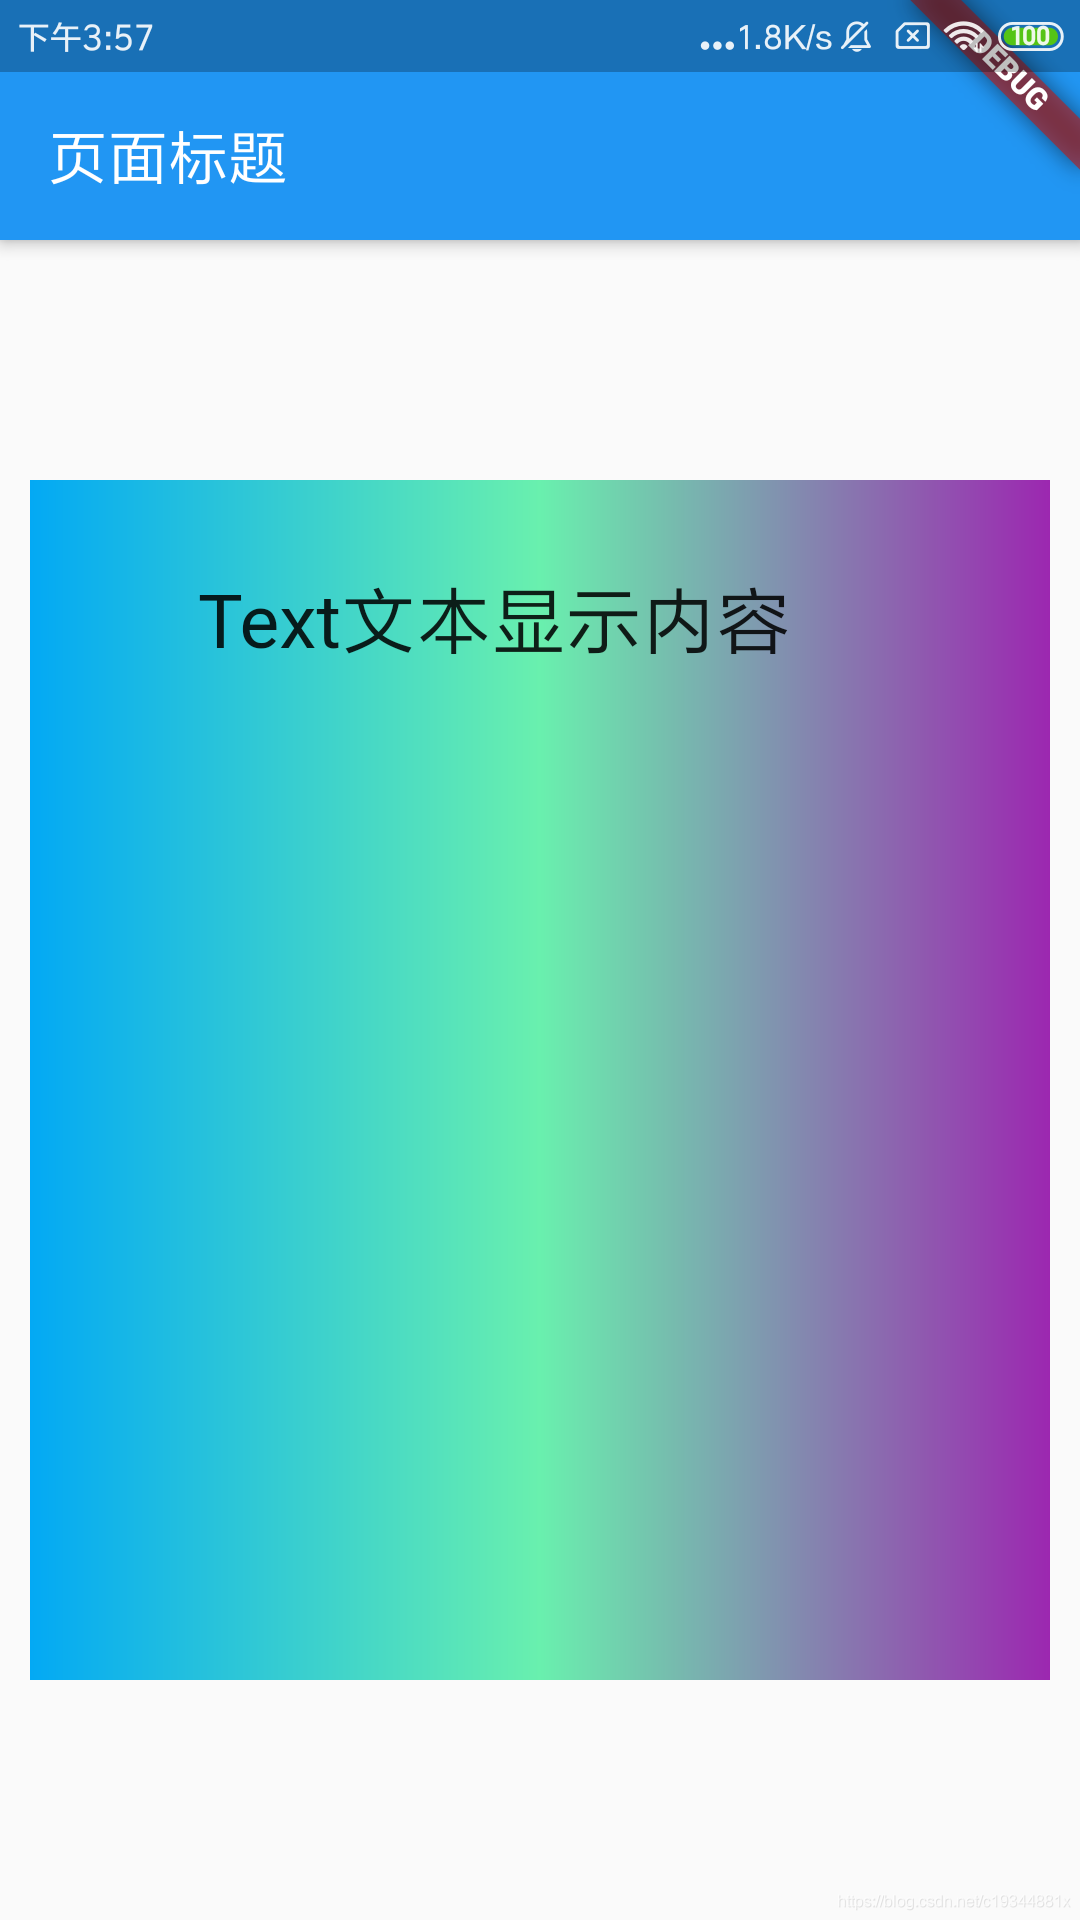
ps:背景和渐变效果只能存在一个,同时存在会产生冲突。
运行效果:
三、图片Image
//引入库
import 'package:flutter/material.dart';

void main()=>runApp(MyApp()); //入口函数

class MyApp extends StatelessWidget{
  @override
  Widget build(BuildContext context){
    return MaterialApp( //返回Material
      title: 'Material标题',
      home: Scaffold(
        appBar: AppBar( //标题栏
          title: Text("页面标题"),
        ),
        body: Center( //页面主体
          child: Container(
            /*
            * Image.asset:加载资源图片,会使打包时包体过大
            * Image.network:网络资源图片,经常更换或动态图片
            * Image.file:本地sd卡中的图片
            * Image.memory:加载到内存中的图片,不常用
            * */
            child: new Image.network( //加载网络图片
              'https://img3.doubanio.com/view/photo/s_ratio_poster/public/p2551353482.webp',
              scale: 2.0, //图片缩放比例
//              fit: BoxFit.contain, //图片显示属性
              color: Colors.greenAccent, //图片要混合的颜色
              colorBlendMode: BlendMode.overlay, //混合模式
              repeat: ImageRepeat.repeat, //图片重复显示,横向repeatX,纵向repeatY
            ),
            width: 300,
            height: 400,
            color: Colors.lightBlue,
          )
        ),
      ),
    );
  }
}
运行结果:

四、列表ListView
//引入库
import 'package:flutter/material.dart';

void main() => runApp(MyApp()); //入口函数

class MyApp extends StatelessWidget{
  @override
  Widget build(BuildContext context) {
    return MaterialApp( //返回Material
      title: 'Material标题',
      home: Scaffold(
        appBar: new AppBar( //标题栏
          title: new Text('ListView列表'),
        ),
        body: new ListView( //页面主体ListView
          children: <Widget>[ //返回数组
            new ListTile( //列表瓦片
              leading: new Icon(Icons.assignment_ind), //左侧图标
              title: new Text('assignment_ind'), //文本内容
            ),
            new ListTile(
              leading: new Icon(Icons.android),
              title: new Text('android'),
            ),
            new ListTile(
              leading: new Icon(Icons.alarm_on),
              title: new Text('alarm_on'),
            ),
          ],
        ),
      ),
    );
  }
}
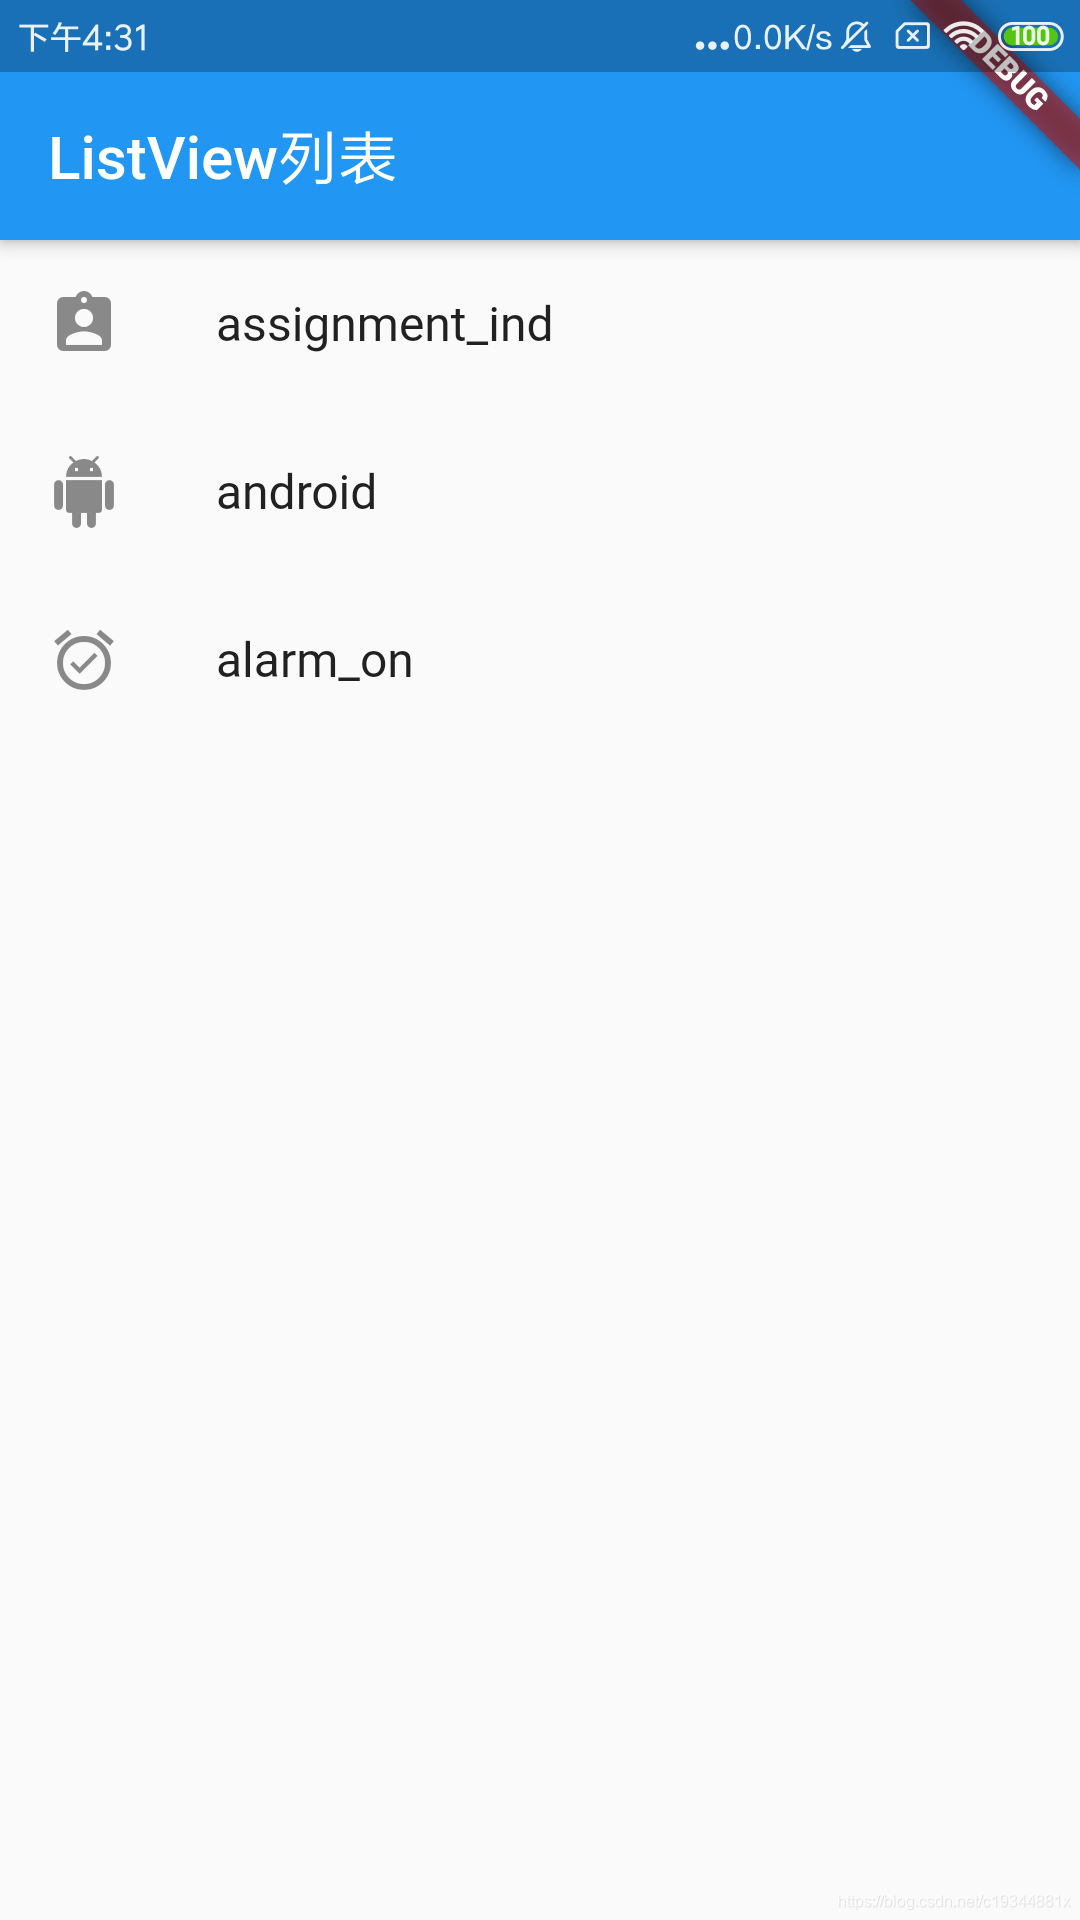
运行效果:
五、横向列表
//引入库
import 'package:flutter/material.dart';

void main() => runApp(MyApp()); //入口函数

class MyApp extends StatelessWidget{
  @override
  Widget build(BuildContext context) {
    return MaterialApp( //返回Material
      title: 'Material标题',
      home: Scaffold(
        appBar: new AppBar( //标题栏
          title: new Text('横向列表'),
        ),
        body: Center(
          child: Container(
            height: 200, //高度
            child: new ListView(
              scrollDirection: Axis.horizontal, //设置ListView为横向
              children: <Widget>[
                new Container(
                  width: 180, //宽度
                  color: Colors.lightBlue, //颜色
                ),
                new Container(
                  width: 180,
                  color: Colors.purple,
                ),
                new Container(
                  width: 180,
                  color: Colors.tealAccent,
                ),
                new Container(
                  width: 180,
                  color: Colors.amberAccent,
                )
              ],
            ),
          ),
        )
      ),
    );
  }
}
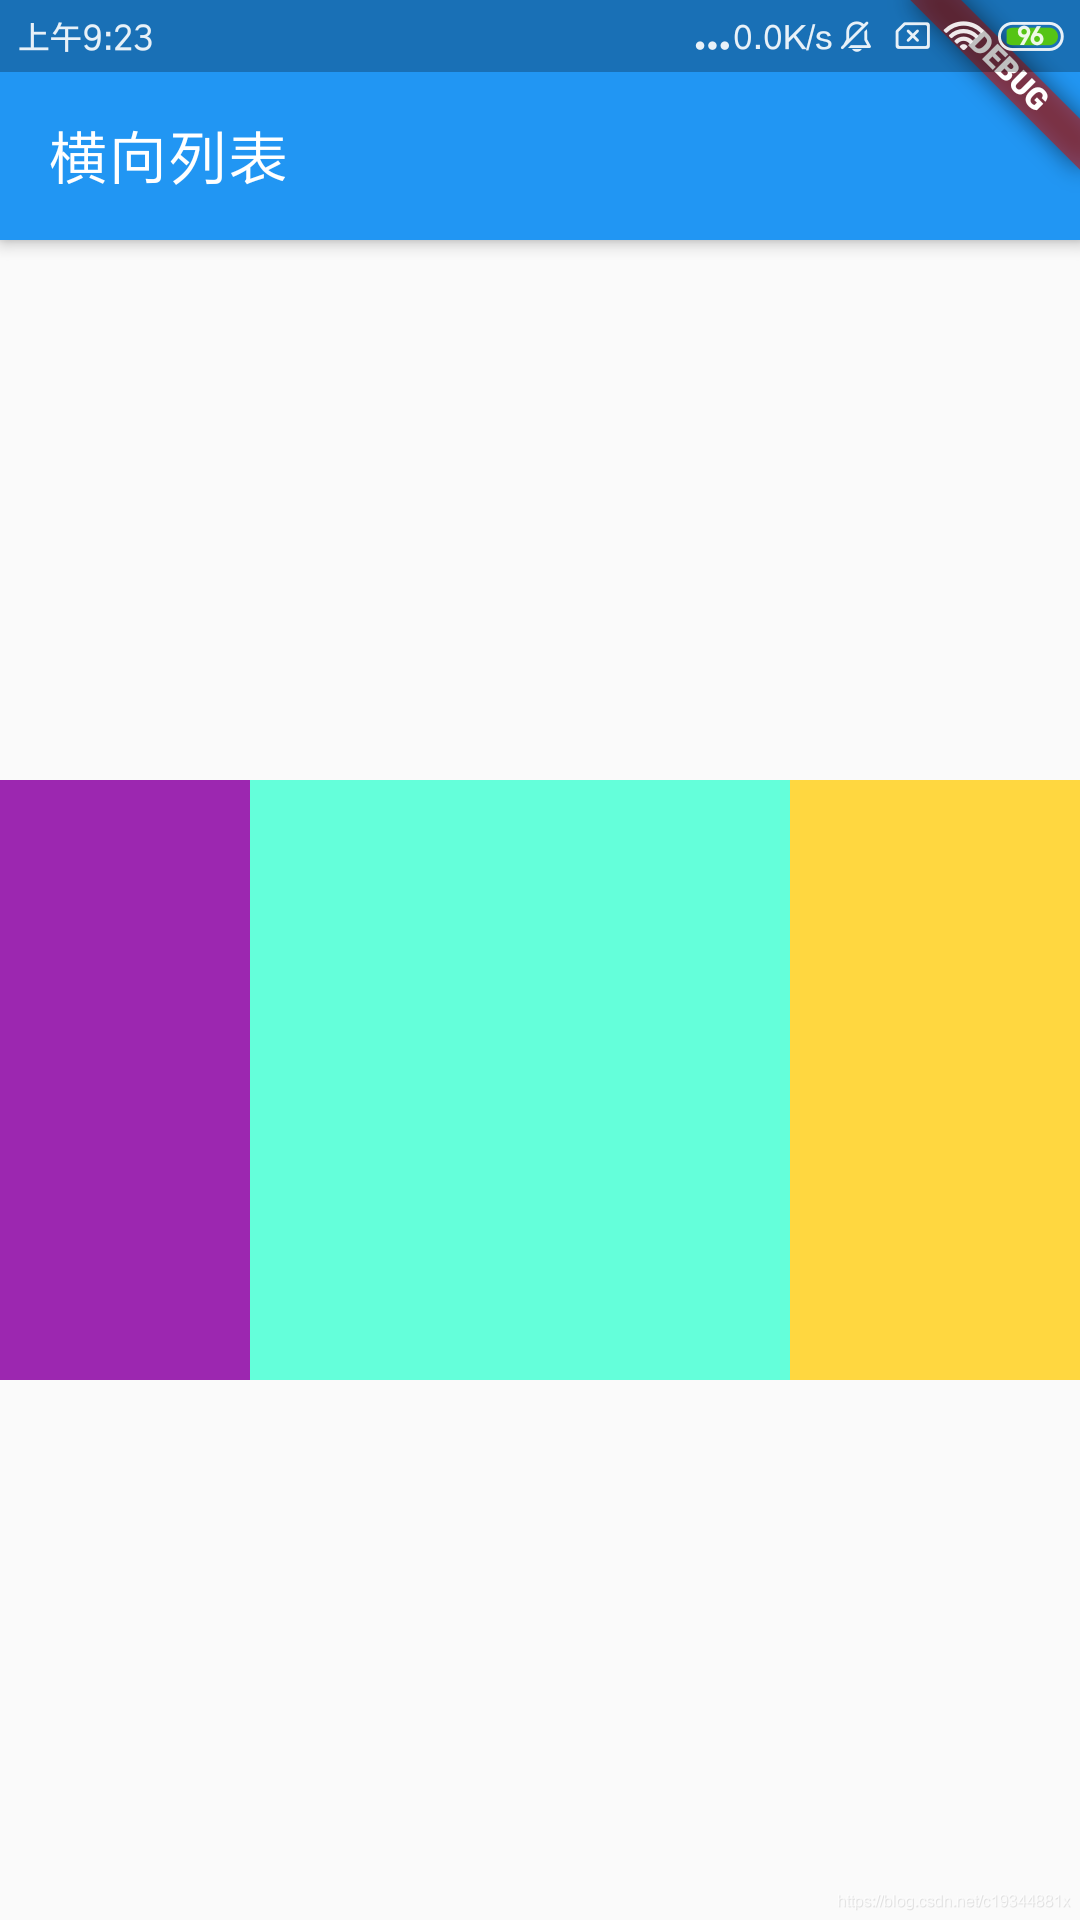
运行效果:
六、自定义组件
上面的代码看起来嵌套的层次比较深,那么如何将列表组件提取出来呢。
//引入库
import 'package:flutter/material.dart';

void main() => runApp(MyApp()); //入口函数

class MyApp extends StatelessWidget{
  @override
  Widget build(BuildContext context) {
    return MaterialApp( //返回Material
      title: 'Material标题',
      home: Scaffold(
        appBar: new AppBar( //标题栏
          title: new Text('横向列表'),
        ),
        body: Center(
          child: Container(
            height: 200, //高度
            child: MyList() //自定义ListView
          ),
        )
      ),
    );
  }
}

/*
 * 自定义LIstView
 */
class MyList extends StatelessWidget{
  @override
  Widget build(BuildContext context) {
    return ListView(
      scrollDirection: Axis.horizontal, //设置ListView为横向
      children: <Widget>[
        new Container(
          width: 180, //宽度
          color: Colors.lightBlue, //颜色
        ),
        new Container(
          width: 180,
          color: Colors.purple,
        ),
        new Container(
          width: 180,
          color: Colors.tealAccent,
        ),
        new Container(
          width: 180,
          color: Colors.amberAccent,
        )
      ],
    );
  }
}
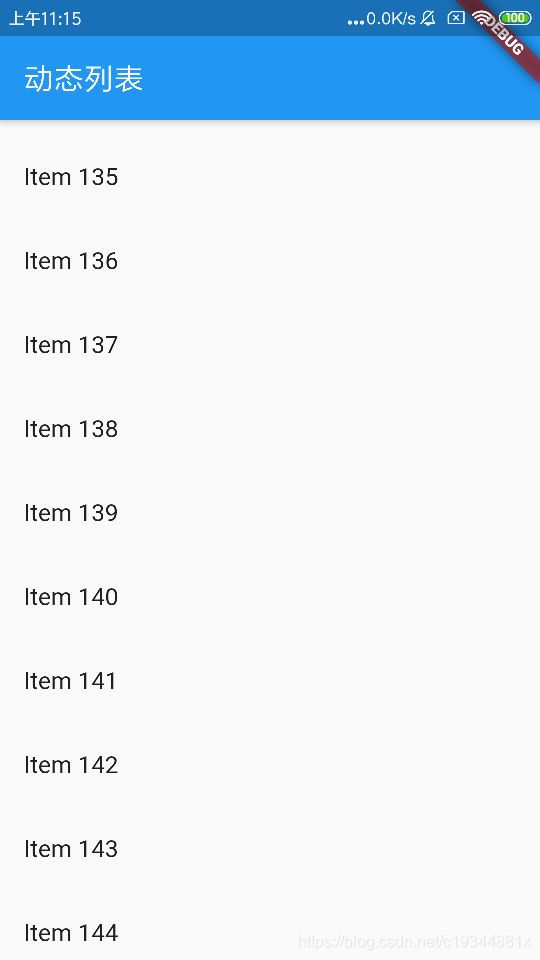
七、动态列表
//引入库
import 'package:flutter/material.dart';

void main() => runApp(MyApp(
  items:new List<String>.generate(1000, (i)=>"Item $i") //传入参数(1000条数据,内容Item 0-Item 999)
)); //入口函数

class MyApp extends StatelessWidget{

  final List<String> items;
  MyApp({Key key, @required this.items}):super(key:key);

  @override
  Widget build(BuildContext context) {
    return MaterialApp( //返回Material
      title: 'Material标题',
      home: Scaffold(
        appBar: new AppBar( //标题栏
          title: new Text('动态列表'),
        ),
        body: new ListView.builder(
          itemCount: items.length, //item数
          itemBuilder: (context,index){ //item内容
            return new ListTile(
              title: new Text('${items[index]}'),
            );
          },
        )
      ),
    );
  }
}
运行效果:
八、网格GridView
import 'package:flutter/material.dart';

void main()=>runApp(MyApp());

class MyApp extends StatelessWidget{
  @override
  Widget build(BuildContext context) {
    return MaterialApp(
      title: 'Materia标题',
      home: Scaffold(
        appBar: AppBar(
          title: Text('网格列表'),
        ),
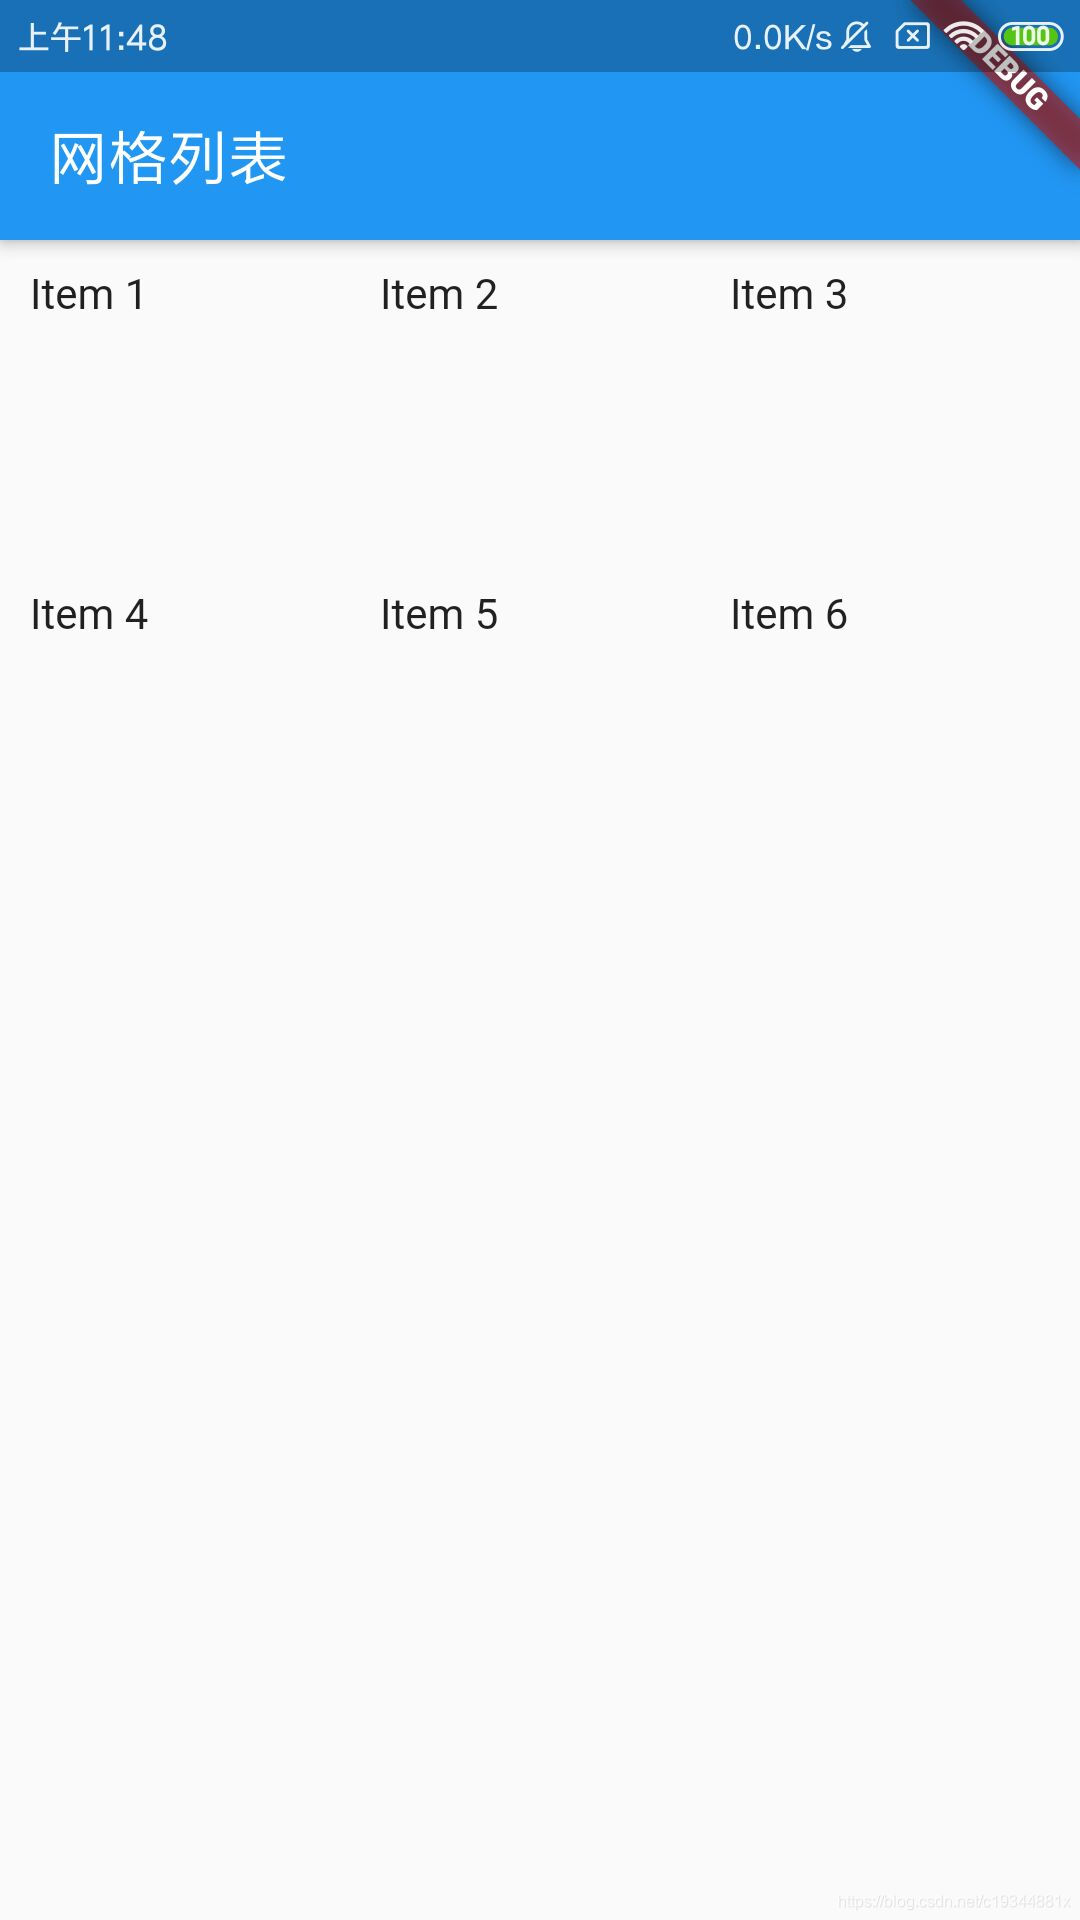
        body: GridView.count(
          padding: const EdgeInsets.all(10), //内边距
          crossAxisSpacing: 10, //外边距
          crossAxisCount: 3, //列数
          children: <Widget>[ //填充数据
            const Text('Item 1'),
            const Text('Item 2'),
            const Text('Item 3'),
            const Text('Item 4'),
            const Text('Item 5'),
            const Text('Item 6'),
          ],
        ),
      ),
    );
  }
}
运行结果:
使用列表显示图片
import 'package:flutter/material.dart';

void main()=>runApp(MyApp());

class MyApp extends StatelessWidget{
  @override
  Widget build(BuildContext context) {
    return MaterialApp(
      title: 'Materia标题',
      home: Scaffold(
        appBar: AppBar(
          title: Text('网格列表'),
        ),
        body: GridView.count(
          padding: const EdgeInsets.all(2), //内边距
          crossAxisSpacing: 2, //网格列边距
          mainAxisSpacing: 2, //网格行边距
          crossAxisCount: 3, //列数
          childAspectRatio: 0.7,
          children: <Widget>[ //填充数据
            new Image.network('http://img5.mtime.cn/mg/2019/03/21/105842.67810645_170X256X4.jpg',fit: BoxFit.cover,),
            new Image.network('http://img5.mtime.cn/mg/2019/04/10/102844.93012572_170X256X4.jpg',fit: BoxFit.cover,),
            new Image.network('http://img5.mtime.cn/mg/2019/04/19/092928.24468397_170X256X4.jpg',fit: BoxFit.cover,),
            new Image.network('http://img5.mtime.cn/mg/2019/03/29/095612.14234221_170X256X4.jpg',fit: BoxFit.cover,),
            new Image.network('http://img5.mtime.cn/mg/2019/04/01/170857.92282290_170X256X4.jpg',fit: BoxFit.cover,),
            new Image.network('http://img5.mtime.cn/mg/2019/04/16/103242.17522323_170X256X4.jpg',fit: BoxFit.cover,),
            new Image.network('http://img5.mtime.cn/mg/2019/04/04/092846.29725044_1280X720X2.jpg',fit: BoxFit.cover,),
            new Image.network('http://img5.mtime.cn/mg/2019/01/31/100731.93352385_1280X720X2.jpg',fit: BoxFit.cover,),
            new Image.network('http://img5.mtime.cn/mg/2019/04/15/095157.26388695_1280X720X2.jpg',fit: BoxFit.cover,),
            new Image.network('http://img5.mtime.cn/mg/2019/03/21/105842.67810645_170X256X4.jpg',fit: BoxFit.cover,),
            new Image.network('http://img5.mtime.cn/mg/2019/04/10/102844.93012572_170X256X4.jpg',fit: BoxFit.cover,),
            new Image.network('http://img5.mtime.cn/mg/2019/04/19/092928.24468397_170X256X4.jpg',fit: BoxFit.cover,)
          ],
        ),
      ),
    );
  }
}
运行结果:

九、横纵布局
//引入库
import 'package:flutter/material.dart';

void main()=>runApp(MyApp()); //入口函数

class MyApp extends StatelessWidget{
  @override
  Widget build(BuildContext context){
    return MaterialApp( //返回Material
      home: Scaffold(
        appBar: AppBar( //标题栏
          title: Text("页面标题"),
        ),
        body:new Column(
          children: <Widget>[
            MyColumn(),
            MyRow(),
          ],
        )
      ),
    );
  }
}

/*
 * 横向布局
 */
class MyRow extends StatelessWidget{
  @override
  Widget build(BuildContext context) {
    return new Row(
      children: <Widget>[
        new Text("Text 1 ",style: TextStyle(
            color: Colors.black
        )),
        new Text("Text 1 ",style: TextStyle(
            color: Colors.lightBlue
        )),
        new Text("Text 1 ",style: TextStyle(
            color: Colors.deepOrange
        )),
      ],
    );
  }
}

/*
 * 纵向向布局
 */
class MyColumn extends StatelessWidget{
  @override
  Widget build(BuildContext context) {
    return new Column(
      children: <Widget>[
        new Text("Text 1 ",style: TextStyle(
            color: Colors.black
        )),
        new Text("Text 1 ",style: TextStyle(
            color: Colors.lightBlue
        )),
        new Text("Text 1 ",style: TextStyle(
            color: Colors.deepOrange
        )),
      ],
    );
  }
}
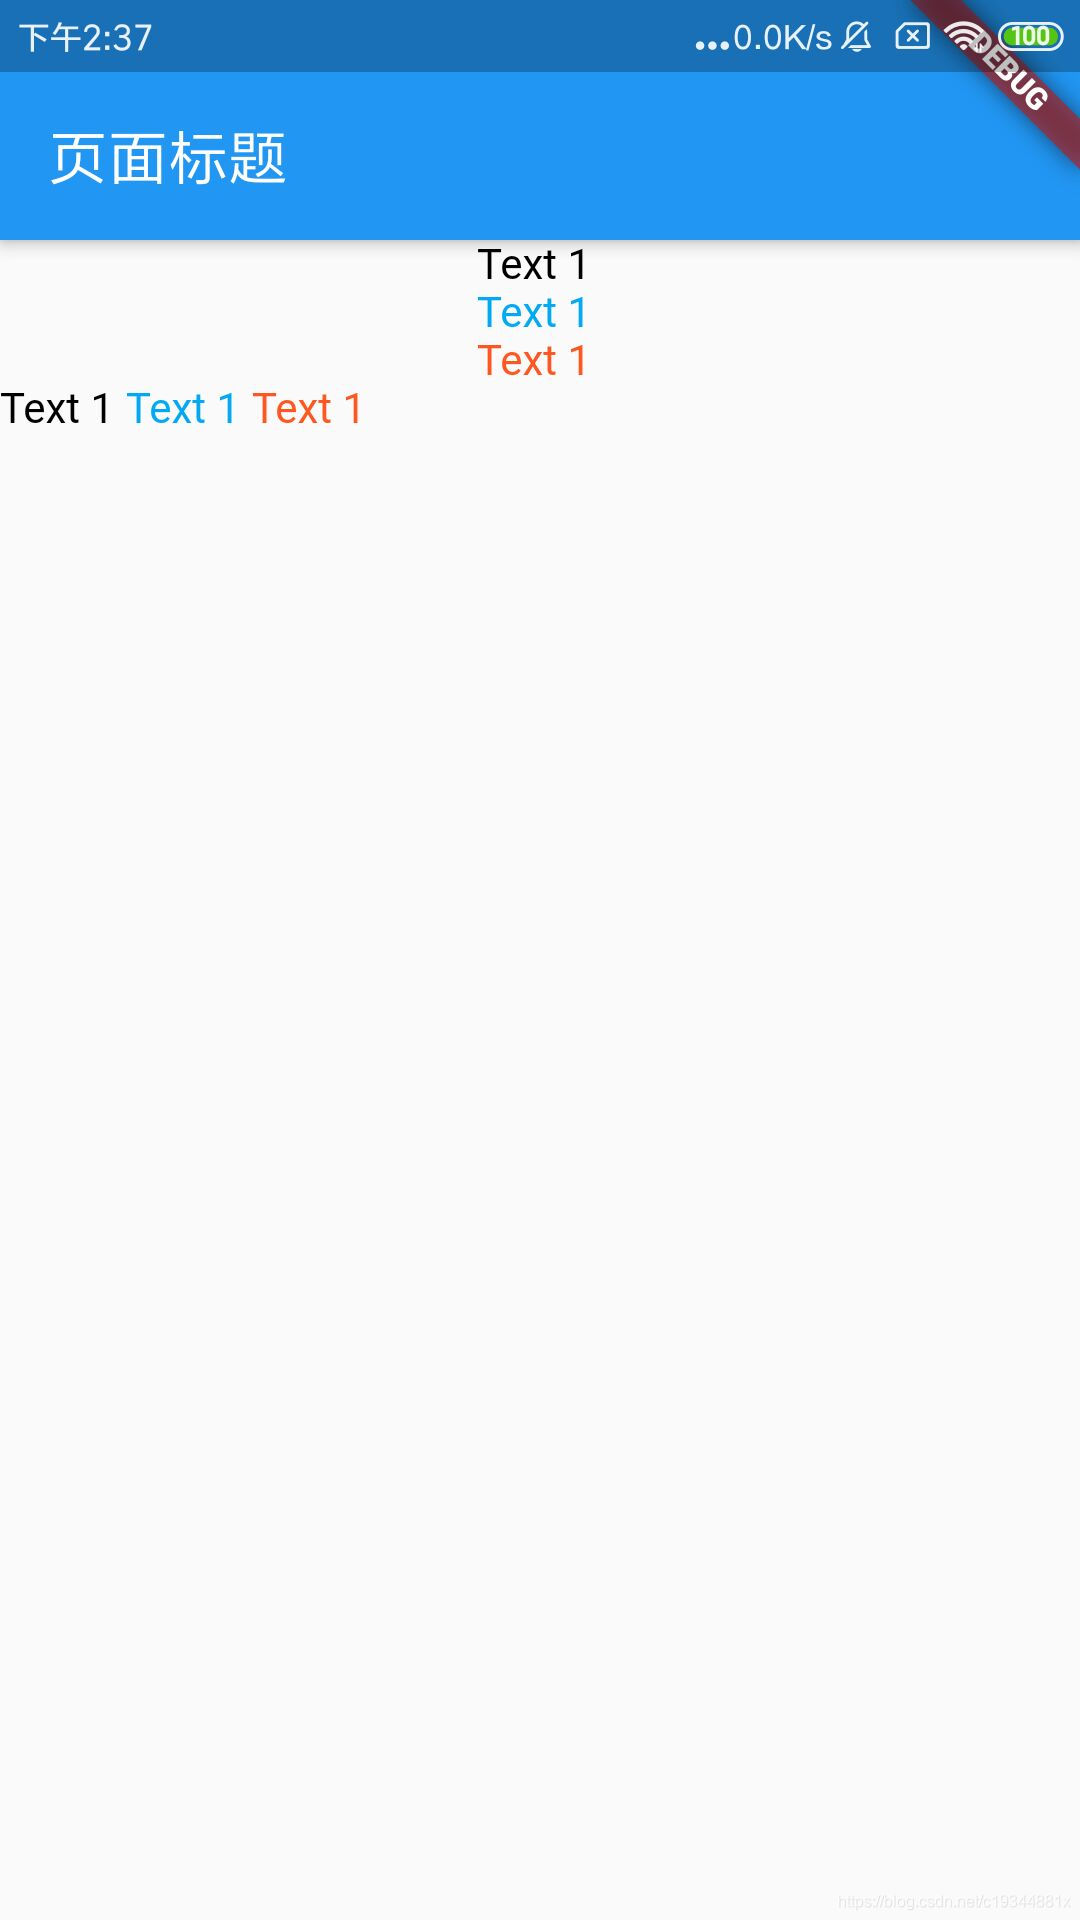
运行效果:
十、页面跳转
//引入库
import 'package:flutter/material.dart';

void main()=>runApp(MyApp()); //入口函数

class MyApp extends StatelessWidget{
  @override
  Widget build(BuildContext context){
    return MaterialApp( //返回Material
      home: Scaffold(
        appBar: AppBar( //标题栏
          title: Text("页面标题"),
        ),
        body:new Center(
          child: new RaisedButton(
            child: new Text("登录"),
            onPressed: () {
              //跳转到新的 页面我们需要调用 navigator.push方法
              Navigator.push(context,
                new MaterialPageRoute(builder: (context) => new Second())
              );
            }
          ),
        )
      ),
    );
  }
}

/*
 * 第二个页面
 */
class Second extends StatelessWidget {
  @override
  Widget build(BuildContext context) {
    return new Scaffold(
      appBar: new AppBar(
        title: new Text("Flutter"),
      ),
      body: new Center(
        //onPressed  点击事件
        child: new RaisedButton(
          child: new Text("注销"),
          onPressed: () {
            //回到上一个页面 该pop将Route从导航器管理的路由栈中移除当前路径
            Navigator.pop(context);
          }
        ),
      ),
    );
  }
}
上面的代码找不到问题,但是在运行的时候会报错。
错误日志:Navigator operation requested with a context that does not include a Navigator。
错误原因:context不能为用户构建widget最根部的context
解决方案:把MyApp代码中抽出放在新建的HomePage里,这样context 获取的就不是MyApp里的context了。
import 'package:flutter/material.dart';

void main()=>runApp(MyApp()); //入口函数

class MyApp extends StatelessWidget{
  @override
  Widget build(BuildContext context){
    return MaterialApp( //返回Material
      home: HomePages()
    );
  }
}

class HomePages extends StatelessWidget {
  @override
  Widget build(BuildContext context) {
    // TODO: implement build
    return Scaffold(
        appBar: AppBar( //标题栏
          title: Text("页面标题"),
        ),
        body:new Center(
          child: new RaisedButton(
              child: new Text("登录"),
              onPressed: () {
                //跳转到新的 页面我们需要调用 navigator.push方法
                Navigator.push(context,
                    new MaterialPageRoute(builder: (context) => new Second())
                );
              }
          ),
        )
    );
  }
}

/*
 * 第二个页面
 */
class Second extends StatelessWidget {
  @override
  Widget build(BuildContext context) {
    return new Scaffold(
      appBar: new AppBar(
        title: new Text("Flutter"),
      ),
      body: new Center(
        //onPressed  点击事件
        child: new RaisedButton(
          child: new Text("注销"),
          onPressed: () {
            //回到上一个页面 该pop将Route从导航器管理的路由栈中移除当前路径
            Navigator.pop(context);
          }
        ),
      ),
    );
  }
}
十一、网络请求
首先在项目的pubspec.yaml文件中添加依赖http: ^0.12.0+1
dependencies:
  flutter:
    sdk: flutter
  http: ^0.12.0+1
实现网络请求:
import 'package:flutter/material.dart';
import 'package:http/http.dart' as http;
import 'dart:convert' show json;
import 'dart:convert';
import 'dart:io';

void main()=>runApp(HttpMain()); //入口函数

class HttpMain extends StatefulWidget {
  @override
  createState() => new HttpPage();
}

class HttpPage extends State<HttpMain> {

  var data;

  _fetchGet() async {
    Map newTitle;
    final response =
    await http.get('https://jsonplaceholder.typicode.com/posts/1');
    final responseJson = json.decode(response.body);
    print("请求成功 ---------- "+responseJson.toString());
    newTitle = responseJson;

    setState(() {
      data = newTitle['title'];
      print("title====" + data);
    });
  }

  void _httpPost() async {
    //头部
    var headers = Map<String, String>();
    headers["loginSource"] = "IOS";
    headers["useVersion"] = "3.1.0";
    headers["isEncoded"] = "1";
    headers["bundleId"] = "com.nongfadai.iospro";
    headers["loginSource"] = "IOS";
    headers["Content-Type"] = "application/json";

    //参数

    Map params = {'v': '1.0','month':'7','day':'25','key':'bd6e35a2691ae5bb8425c8631e475c2a'};

    // 嵌套两层都可以,但是具体哪个好还有待确认????
    var jsonParams = utf8.encode(json.encode(params));
    // var jsonParams = json.encode(params);

    var httpClient = http.Client();

    var uri = Uri.parse("http://api.juheapi.com/japi/toh");

    http.Response response =
    await httpClient.post(uri, body: jsonParams, headers: headers);

    if (response.statusCode == HttpStatus.ok) {
      print('请求成功');
      print(response.headers);//打印头部信息
      print("post------${response.body}");
    } else {
      print('请求失败 code 码${response.statusCode}');
    }
  }

  @override
  Widget build(BuildContext context) {
    if(data == null){
      _fetchGet();
      _httpPost();
    }
    return new MaterialApp(
      title: 'Fetch Data Example',
      theme: new ThemeData(
        primarySwatch: Colors.blue,
      ),
      home: new Scaffold(
        appBar: new AppBar(
          title: new Text('Fetch Data Example'),
        ),
        body: new Center(
          child: new Text("$data"),
        ),
      ),
    );
  }
}
开源鸿蒙跨平台开发社区汇聚开发者与厂商,共建“一次开发,多端部署”的开源生态,致力于降低跨端开发门槛,推动万物智联创新。
更多推荐
 0
0 0
0- 0


 已为社区贡献1条内容

所有评论(0)