Flutter之资源和媒体
·
1、加载资源和图片
指定资源
Flutter 使用 pubspec.yaml 文件,位于项目根目录,来识别应用程序所需的资源。
flutter:
  assets:
    - assets/my_icon.png
    - assets/background.png
flutter:
  assets:
    - directory/
    - directory/subdirectory/
import 'package:flutter/services.dart' show rootBundle;

Future<String> loadAsset() async {
  return await rootBundle.loadString('assets/config.json');
}
return const Image(image: AssetImage('assets/background.png'));
2、分辨率自适应图片资源
Flutter 可以为当前设备加载适合其 设备像素比 的图像。
AssetImage 可以将请求资源映射到最接近当前 设备像素比 的资源。
为了使这种映射起作用,资源应该根据特定的目录结构来保存:
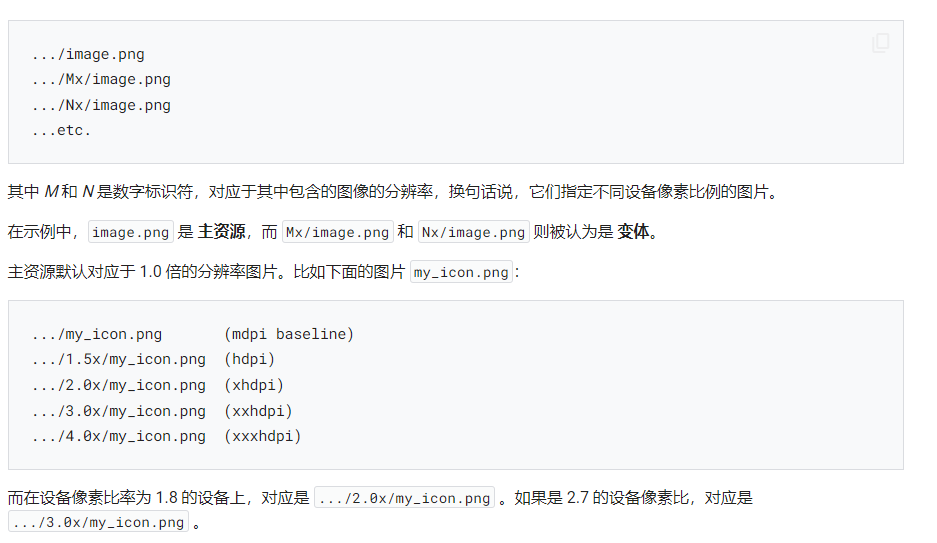
你只需要在 pubspec.yaml 的 assets 部分指定主要资源, Flutter 会自动帮你绑定其他变体。在 pubspec.yaml 中资源部分的每一项都应与实际文件相对应,除过主资源节点。当主资源缺少某个文件时,会按分辨率从低到高的顺序去选择,也就是说 1x 中没有的话会在 2x 中找,2x 中还没有的话就在 3x 中找。该条目需要在 pubspec.yaml 中指定。
使用默认的资源 bundle 加载资源时,系统会自动处理分辨率等。(如果你使用一些更低级别的类,如 ImageStream 或 ImageCache,你需要注意 scale 相关的参数)。
然后加载 image, 使用:
return const AssetImage('icons/heart.png', package: 'my_icons');
package 使用本身的 Assets 也需要加上 package 参数来获取。
3、显示网络上的远程图片
使用 Image.network() 构造函数来处理来自 URL 的图片。
Image.network('https://picsum.photos/250?image=9'),
4、占位符和网络图片淡入
1、从内存加载占位符
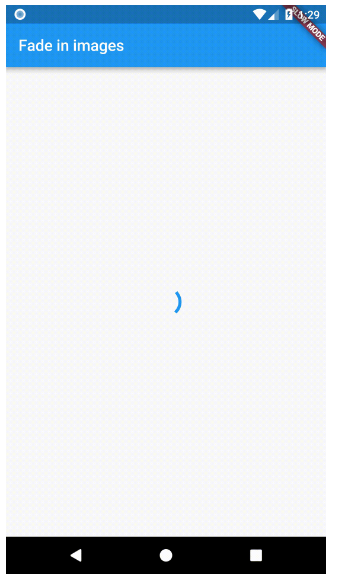
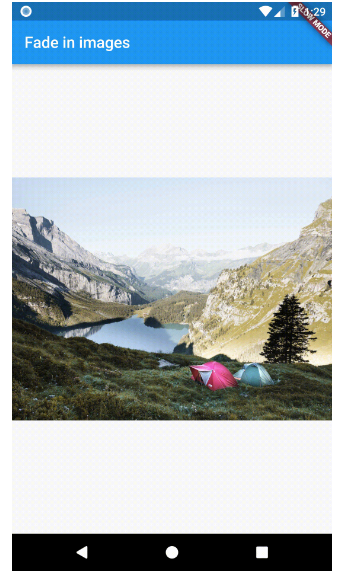
import 'package:flutter/material.dart';
import 'package:transparent_image/transparent_image.dart';
void main() {
runApp(const MyApp());
}
class MyApp extends StatelessWidget {
const MyApp({super.key});
Widget build(BuildContext context) {
const title = 'Fade in images';
return MaterialApp(
title: title,
home: Scaffold(
appBar: AppBar(title: const Text(title)),
body: Stack(
children: <Widget>[
const Center(child: CircularProgressIndicator()),
Center(
child: FadeInImage.memoryNetwork(
placeholder: kTransparentImage,
image: 'https://picsum.photos/250?image=9',
),
),
],
),
),
);
}
}
2、从本地存储加载占位符
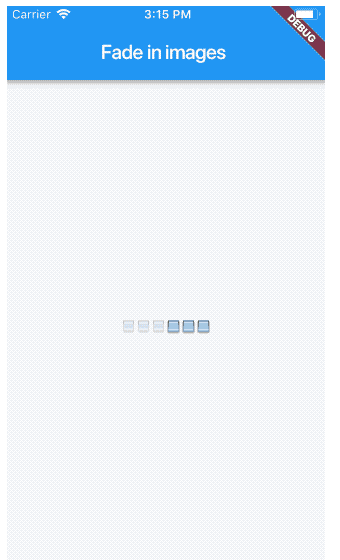
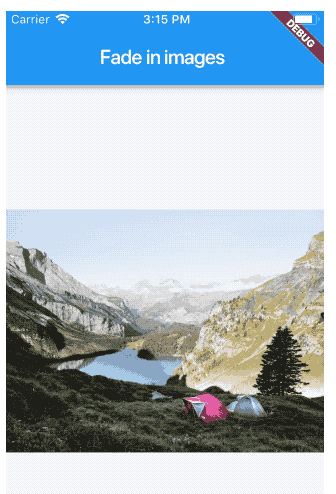
import 'package:flutter/material.dart';
import 'package:transparent_image/transparent_image.dart';
void main() {
runApp(const MyApp());
}
class MyApp extends StatelessWidget {
const MyApp({super.key});
Widget build(BuildContext context) {
const title = 'Fade in images';
return MaterialApp(
title: title,
home: Scaffold(
appBar: AppBar(title: const Text(title)),
body: Stack(
children: <Widget>[
const Center(child: CircularProgressIndicator()),
Center(
child: FadeInImage.memoryNetwork(
placeholder: kTransparentImage,
image: 'https://picsum.photos/250?image=9',
),
),
],
),
),
);
}
}
5、视频的播放和暂停

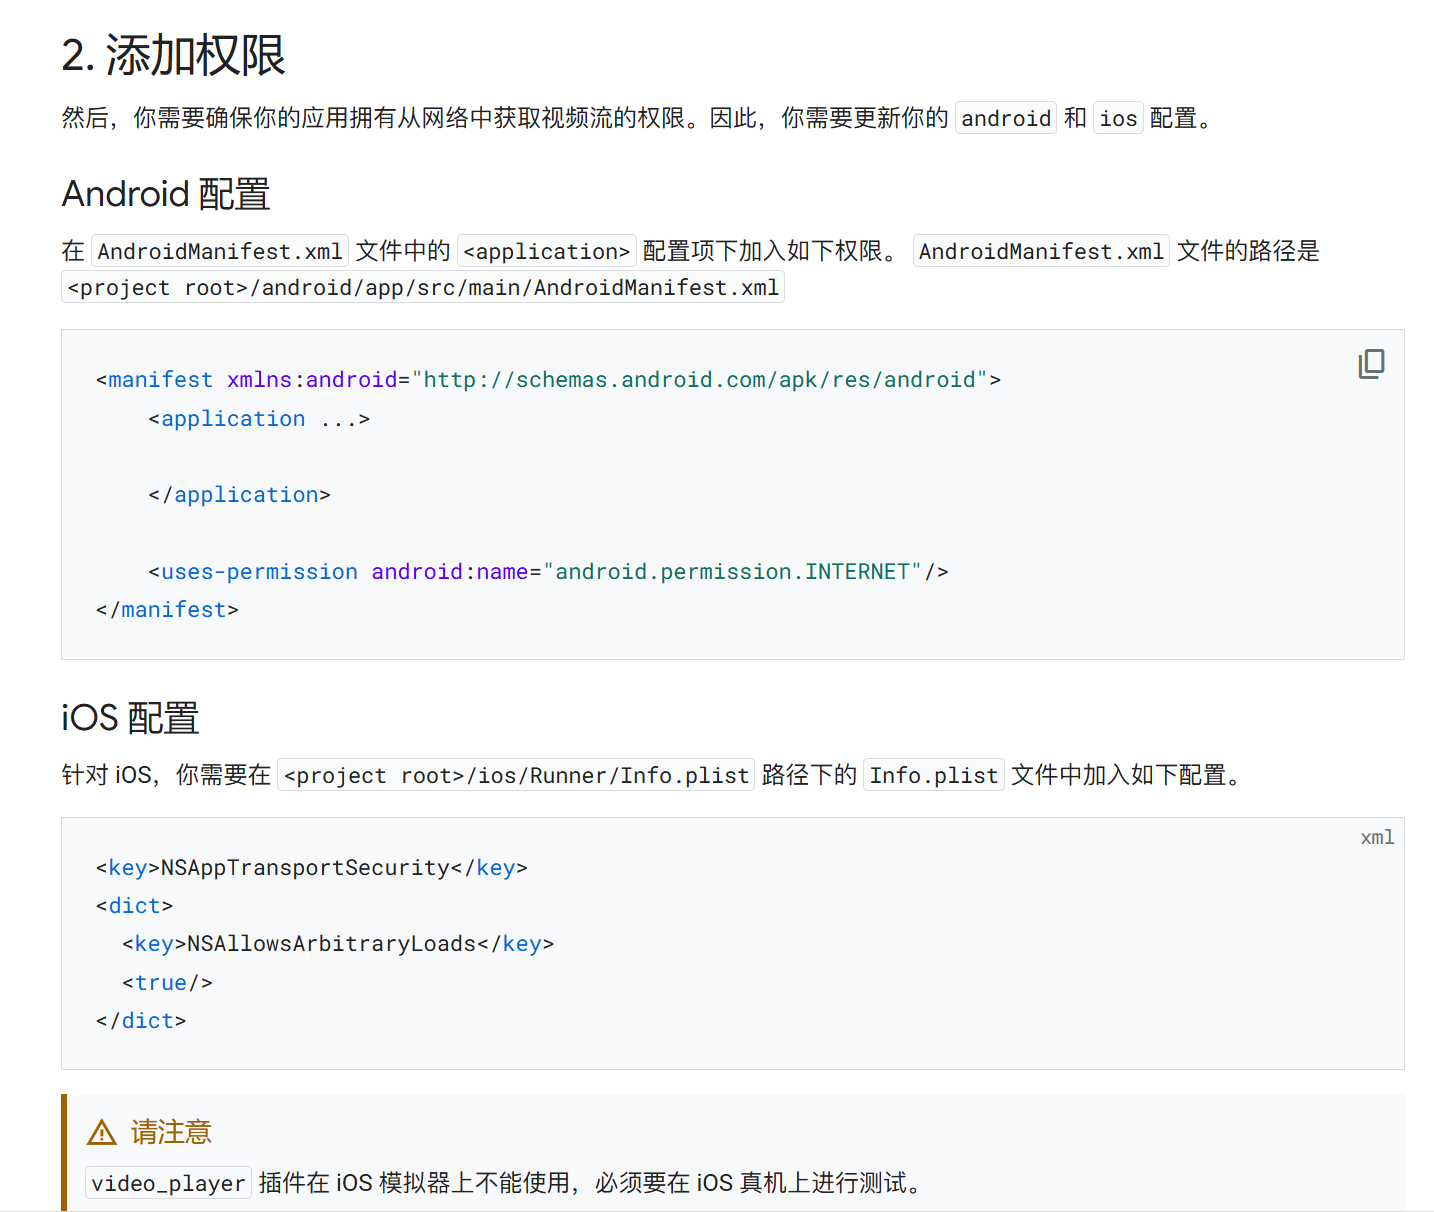
import 'dart:async';
import 'package:flutter/material.dart';
import 'package:video_player/video_player.dart';
void main() => runApp(const VideoPlayerApp());
class VideoPlayerApp extends StatelessWidget {
const VideoPlayerApp({super.key});
Widget build(BuildContext context) {
return const MaterialApp(
title: 'Video Player Demo',
home: VideoPlayerScreen(),
);
}
}
class VideoPlayerScreen extends StatefulWidget {
const VideoPlayerScreen({super.key});
State<VideoPlayerScreen> createState() => _VideoPlayerScreenState();
}
class _VideoPlayerScreenState extends State<VideoPlayerScreen> {
late VideoPlayerController _controller;
late Future<void> _initializeVideoPlayerFuture;
void initState() {
super.initState();
// Create and store the VideoPlayerController. The VideoPlayerController
// offers several different constructors to play videos from assets, files,
// or the internet.
_controller = VideoPlayerController.networkUrl(
Uri.parse(
'https://flutter.github.io/assets-for-api-docs/assets/videos/butterfly.mp4',
),
);
// Initialize the controller and store the Future for later use.
_initializeVideoPlayerFuture = _controller.initialize();
// Use the controller to loop the video.
_controller.setLooping(true);
}
void dispose() {
// Ensure disposing of the VideoPlayerController to free up resources.
_controller.dispose();
super.dispose();
}
Widget build(BuildContext context) {
return Scaffold(
appBar: AppBar(title: const Text('Butterfly Video')),
// Use a FutureBuilder to display a loading spinner while waiting for the
// VideoPlayerController to finish initializing.
body: FutureBuilder(
future: _initializeVideoPlayerFuture,
builder: (context, snapshot) {
if (snapshot.connectionState == ConnectionState.done) {
// If the VideoPlayerController has finished initialization, use
// the data it provides to limit the aspect ratio of the video.
return AspectRatio(
aspectRatio: _controller.value.aspectRatio,
// Use the VideoPlayer widget to display the video.
child: VideoPlayer(_controller),
);
} else {
// If the VideoPlayerController is still initializing, show a
// loading spinner.
return const Center(child: CircularProgressIndicator());
}
},
),
floatingActionButton: FloatingActionButton(
onPressed: () {
// Wrap the play or pause in a call to `setState`. This ensures the
// correct icon is shown.
setState(() {
// If the video is playing, pause it.
if (_controller.value.isPlaying) {
_controller.pause();
} else {
// If the video is paused, play it.
_controller.play();
}
});
},
// Display the correct icon depending on the state of the player.
child: Icon(
_controller.value.isPlaying ? Icons.pause : Icons.play_arrow,
),
),
);
}
}

开源鸿蒙跨平台开发社区汇聚开发者与厂商,共建“一次开发,多端部署”的开源生态,致力于降低跨端开发门槛,推动万物智联创新。
更多推荐
 3
3 0
0- 0


 已为社区贡献3条内容

所有评论(0)