Flutter使用记录
一.环境安装安装教程:https://flutterchina.club/get-started/install/github地址:https://github.com/flutter/flutter/releases接入的稳定版本为v1.9.1+hotfix.6Android studio插件安装二.Flutter基础pubspec.yaml:负责配置flutter使用的相关依赖...
一.环境安装
安装教程:https://flutterchina.club/get-started/install/
github地址:https://github.com/flutter/flutter/releases
接入的稳定版本为v1.9.1+hotfix.6
Android studio插件安装

二.Flutter基础
pubspec.yaml:负责配置flutter使用的相关依赖。
三.混合开发
1.基本配置
flutter官方文档中有介绍,可以参考。我就简单写下:
- settings.gradle中
setBinding(new Binding([gradle: this]))
evaluate(new File('/Users/yuhan/Documents/CampusWorkSpace/CampusFlutter/campus_flutter/.android/include_flutter.groovy'))
- build.gradle中增加:implementation project(’:flutter’)
2 使用FlutterMainActivity加载所有flutter页面
创建activity,onCrete中添加flutterView,
有实现的插件的话,需要在setContentView前注册。
        mFlutterView = Flutter.createView(this, getLifecycle(), router);
        NetworkPlugin.registerWith(this, mFlutterView);
        RouterPlugin.registerWith(this, mFlutterView);
        ToastPlugin.registerWith(this, mFlutterView);
        SharedPreferencesPlugin.registerWith(this, mFlutterView);
        DataLogPlugin.registerWith(this, mFlutterView);
        setContentView(mFlutterView);
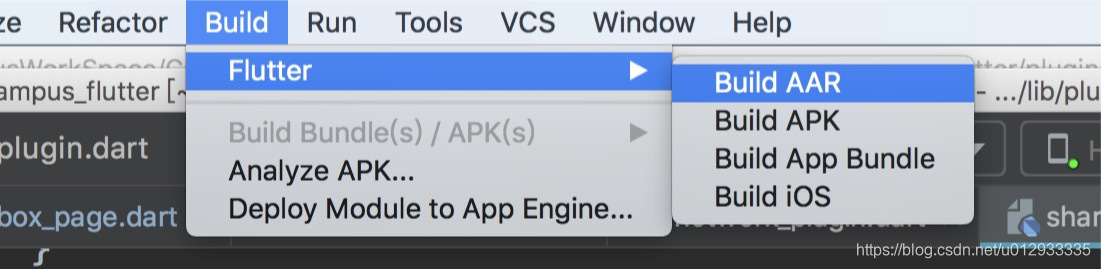
3.将flutter项目当成aar,放到现有工程中
打出来的aar路径在build/host/outputs/repo/package name/
aar,若引用的插件中有native依赖,则插件中native打出来的aar也会在此目录下,记得copy到主项目工程。
4.使用插件实现flutter与native交互
不可避免,在业务开发过程中flutter需要与native进行交互。
实现双方交互,基本分为两步,以实现sharedPreference插件为例。当然,sharedPreference已经有写好的插件了(https://github.com/flutter/plugins)。
1.flutter中定义shared_preferences_plugin
先上代码
class SharedPreferences {
  static SharedPreferences _instance;

  factory SharedPreferences() {
    if (_instance == null) {
      final MethodChannel methodChannel = const MethodChannel(
          'com.yuhan.demo.flutterplugin.sharedpreferences');
      _instance = SharedPreferences.private(methodChannel);
    }
    return _instance;
  }

  SharedPreferences.private(this._methodChannel);

  final MethodChannel _methodChannel;

  void setBool(String key, bool value) {
    _methodChannel.invokeMethod('setBool', [key, value]);
  }

  void setString(String key, String value) {
    _methodChannel.invokeMethod('setString', [key, value]);
  }

  Future<bool> getBool(String key) {
    return _methodChannel
        .invokeMethod('getBool', key)
        .then<bool>((dynamic result) => result);
  }

  Future<String> getString(String key) {
    return _methodChannel
        .invokeMethod('getString', key)
        .then<String>((dynamic result) => result);
  }
}
解决此问题,主要靠的就是MethodChannel类,
首先MethodChannel构造函数中的name就是用来去native方法中寻找对应插件。
其次,调用方法_methodChannel
.invokeMethod(‘getBool’, key)
.then((dynamic result) => result);
"setBool"为调用native方法名;
[key,value]表明传入了key的参数;
then((dynamic result) => result): 说明返回结果为bool值。
2.nativie中定义SharedPreferencesPlugin
先上代码
public class SharedPreferencesPlugin implements MethodChannel.MethodCallHandler, FlutterPlugin {

    private MethodChannel mMethodChannel;

    /**
     * 插件注册
     */
    public static void registerWith(Activity activity, FlutterView flutterView) {
        final SharedPreferencesPlugin plugin = new SharedPreferencesPlugin();
        plugin.onAttachedToEngine(activity, flutterView);
    }

    @Override
    public void onAttachedToEngine(@NonNull FlutterPluginBinding binding) {
        onAttachedToEngine(binding.getApplicationContext(), binding.getFlutterEngine().getDartExecutor());
    }

    private void onAttachedToEngine(Context mContext, BinaryMessenger messenger) {
        mMethodChannel = new MethodChannel(messenger, "com.yuhan.demo.flutterplugin.sharedpreferences");
        mMethodChannel.setMethodCallHandler(this);
    }

    @Override
    public void onDetachedFromEngine(@NonNull FlutterPluginBinding binding) {
        mMethodChannel.setMethodCallHandler(null);
        mMethodChannel = null;
    }

    @Override
    public void onMethodCall(@NonNull MethodCall methodCall, @NonNull MethodChannel.Result result) {
        switch (methodCall.method) {
            case "setBool":
                List list = (List) methodCall.arguments;
                SpCommon.setBoolean((String)list.get(0), (boolean)list.get(1));
                break;
            case "setString":
                List stringList = (List) methodCall.arguments;
                SpCommon.setValue((String)stringList.get(0), (String)stringList.get(1));
                break;
            case "getBool":
                result.success(SpCommon.getBoolean((String) methodCall.arguments));
                break;
            case "getString":
                result.success(SpCommon.getValue((String) methodCall.arguments));
                break;
            default:
                break;
        }
    }
}
- onAttachedToEngine,初始化MethodChannel,设置与flutter相同的name:com.yuhan.demo.flutterplugin.sharedpreferences
- onMethodCall,methodCall.method就是flutter中定义的方法名,实现对应逻辑。若需要返回值的话,则通过result.success()方法返回即可。
四.遇到的问题
问题一:开发中使用的插件如toast,sharedPreference,path_router等包含了Android源码,在编译过程中始终会报错:
Android tasks have already been created.
This happens when calling android.applicationVariants,
android.libraryVariants or android.testVariants.
Once these methods are called, it is not possible to
continue configuring the model.
解决方案:
打开flutter.gradle文件,(路径:~/flutter/packages/flutter_tools/gradle/flutter.gradle
                       pluginProject.android.buildTypes {
                            profile {
                                initWith debug
                            }
                        }
行数:663行,将此段代码注释即可,根据代码分析原因为:编译过程中,会去初始化插件项目的buildType下面的debug配置,而插件项目下并未配置debug,导致报错。
问题二:如何debug?
开两个窗口,在打包成功安装apk后,在flutter窗口,点击run—>
flutter attach即可。
问题三:经常编译不成功,多编译几次就好,另外就是有时候编译后进入flutter会一直处于黑屏,也是多编译几次就好。感觉flutter编译的插件还不是很稳定。
有问题再补充。。。
后续再写一些关于flutter各种组件的内容~

开源鸿蒙跨平台开发社区汇聚开发者与厂商,共建“一次开发,多端部署”的开源生态,致力于降低跨端开发门槛,推动万物智联创新。
更多推荐
 0
0 0
0- 0


 已为社区贡献1条内容

所有评论(0)