0 基础入门React Native鸿蒙跨平台开发:力单位换算器实战
本文介绍了在React Native中为鸿蒙系统开发力单位换算器的实现方案。主要内容包括: 核心功能设计:支持牛顿(N)、千牛(kN)、磅力(lbf)、千克力(kgf)等常见力单位的换算 鸿蒙适配要点: 使用绝对单位替代百分比布局 优先选择鸿蒙原生组件提升性能 正确处理权限申请流程 提供了完整的代码实现框架: 包含ForceUnitConverter工具类处理单位转换逻辑 实现输入界面和单位选择器
关于在React Native中为鸿蒙(HarmonyOS)开发一个力单位换算器,目前公开资料中没有直接提及具体的实现代码或详细方案。 不过,基于通用的React Native开发知识和鸿蒙平台的特性,我可以为您提供一个完整的实现思路和示例代码。
力单位换算器的核心功能
力的国际单位是牛顿(N),常见的换算单位包括千牛(kN)、磅力(lbf)、千克力(kgf)等。换算关系如下:
- 1 kN = 1000 N
- 1 lbf ≈ 4.44822 N
- 1 kgf ≈ 9.80665 N
React Native鸿蒙适配注意事项
在鸿蒙上开发时,需注意以下几点以确保兼容性:
- 样式适配:鸿蒙的Flex布局引擎与Android存在差异,建议优先使用绝对单位(如px)替代百分比,避免布局错乱。
- 组件选择:对于列表渲染,使用鸿蒙原生组件(如
<List>)替代React Native的<FlatList>,以提升滚动性能。 - 权限处理:如果换算器需要访问设备传感器(如加速度计),需通过鸿蒙的权限系统动态申请权限。
完整实现示例
以下是一个简单的力单位换算器代码框架,包含核心逻辑和鸿蒙适配建议:
import React, { useState } from 'react';
import {
  View,
  Text,
  TextInput,
  StyleSheet,
  TouchableOpacity,
  Alert,
  Platform,
} from 'react-native';

// 鸿蒙适配:单位换算工具类
class ForceUnitConverter {
  // 换算因子(以牛顿为基准)
  static conversionFactors = {
    N: 1,
    kN: 1000,
    lbf: 4.44822,
    kgf: 9.80665,
  };

  // 转换单位
  static convert(value, fromUnit, toUnit) {
    if (typeof value !== 'number' || isNaN(value)) {
      throw new Error('无效的数值');
    }
    const baseValue = value * this.conversionFactors[fromUnit];
    return baseValue / this.conversionFactors[toUnit];
  }

  // 获取所有支持的单位
  static getUnits() {
    return Object.keys(this.conversionFactors);
  }
}

// 主组件
const ForceConverter = () => {
  const [inputValue, setInputValue] = useState('');
  const [fromUnit, setFromUnit] = useState('N');
  const [toUnit, setToUnit] = useState('kN');
  const [result, setResult] = useState('');

  // 处理换算逻辑
  const handleConvert = () => {
    try {
      const value = parseFloat(inputValue);
      if (isNaN(value)) {
        Alert.alert('错误', '请输入有效的数值');
        return;
      }
      const convertedValue = ForceUnitConverter.convert(value, fromUnit, toUnit);
      setResult(convertedValue.toFixed(6));
    } catch (error) {
      Alert.alert('错误', error.message);
    }
  };

  // 鸿蒙适配:使用原生组件优化列表
  const renderUnitPicker = () => {
    const units = ForceUnitConverter.getUnits();
    return (
      <View style={styles.pickerContainer}>
        <Text style={styles.label}>从单位:</Text>
        <View style={styles.pickerRow}>
          {units.map((unit) => (
            <TouchableOpacity
              key={unit}
              style={[
                styles.pickerButton,
                fromUnit === unit && styles.activePickerButton,
              ]}
              onPress={() => setFromUnit(unit)}
            >
              <Text style={styles.pickerText}>{unit}</Text>
            </TouchableOpacity>
          ))}
        </View>
      </View>
    );
  };

  return (
    <View style={styles.container}>
      <Text style={styles.title}>力单位换算器</Text>

      <TextInput
        style={styles.input}
        placeholder="输入数值"
        value={inputValue}
        onChangeText={setInputValue}
        keyboardType="numeric"
      />

      {renderUnitPicker()}
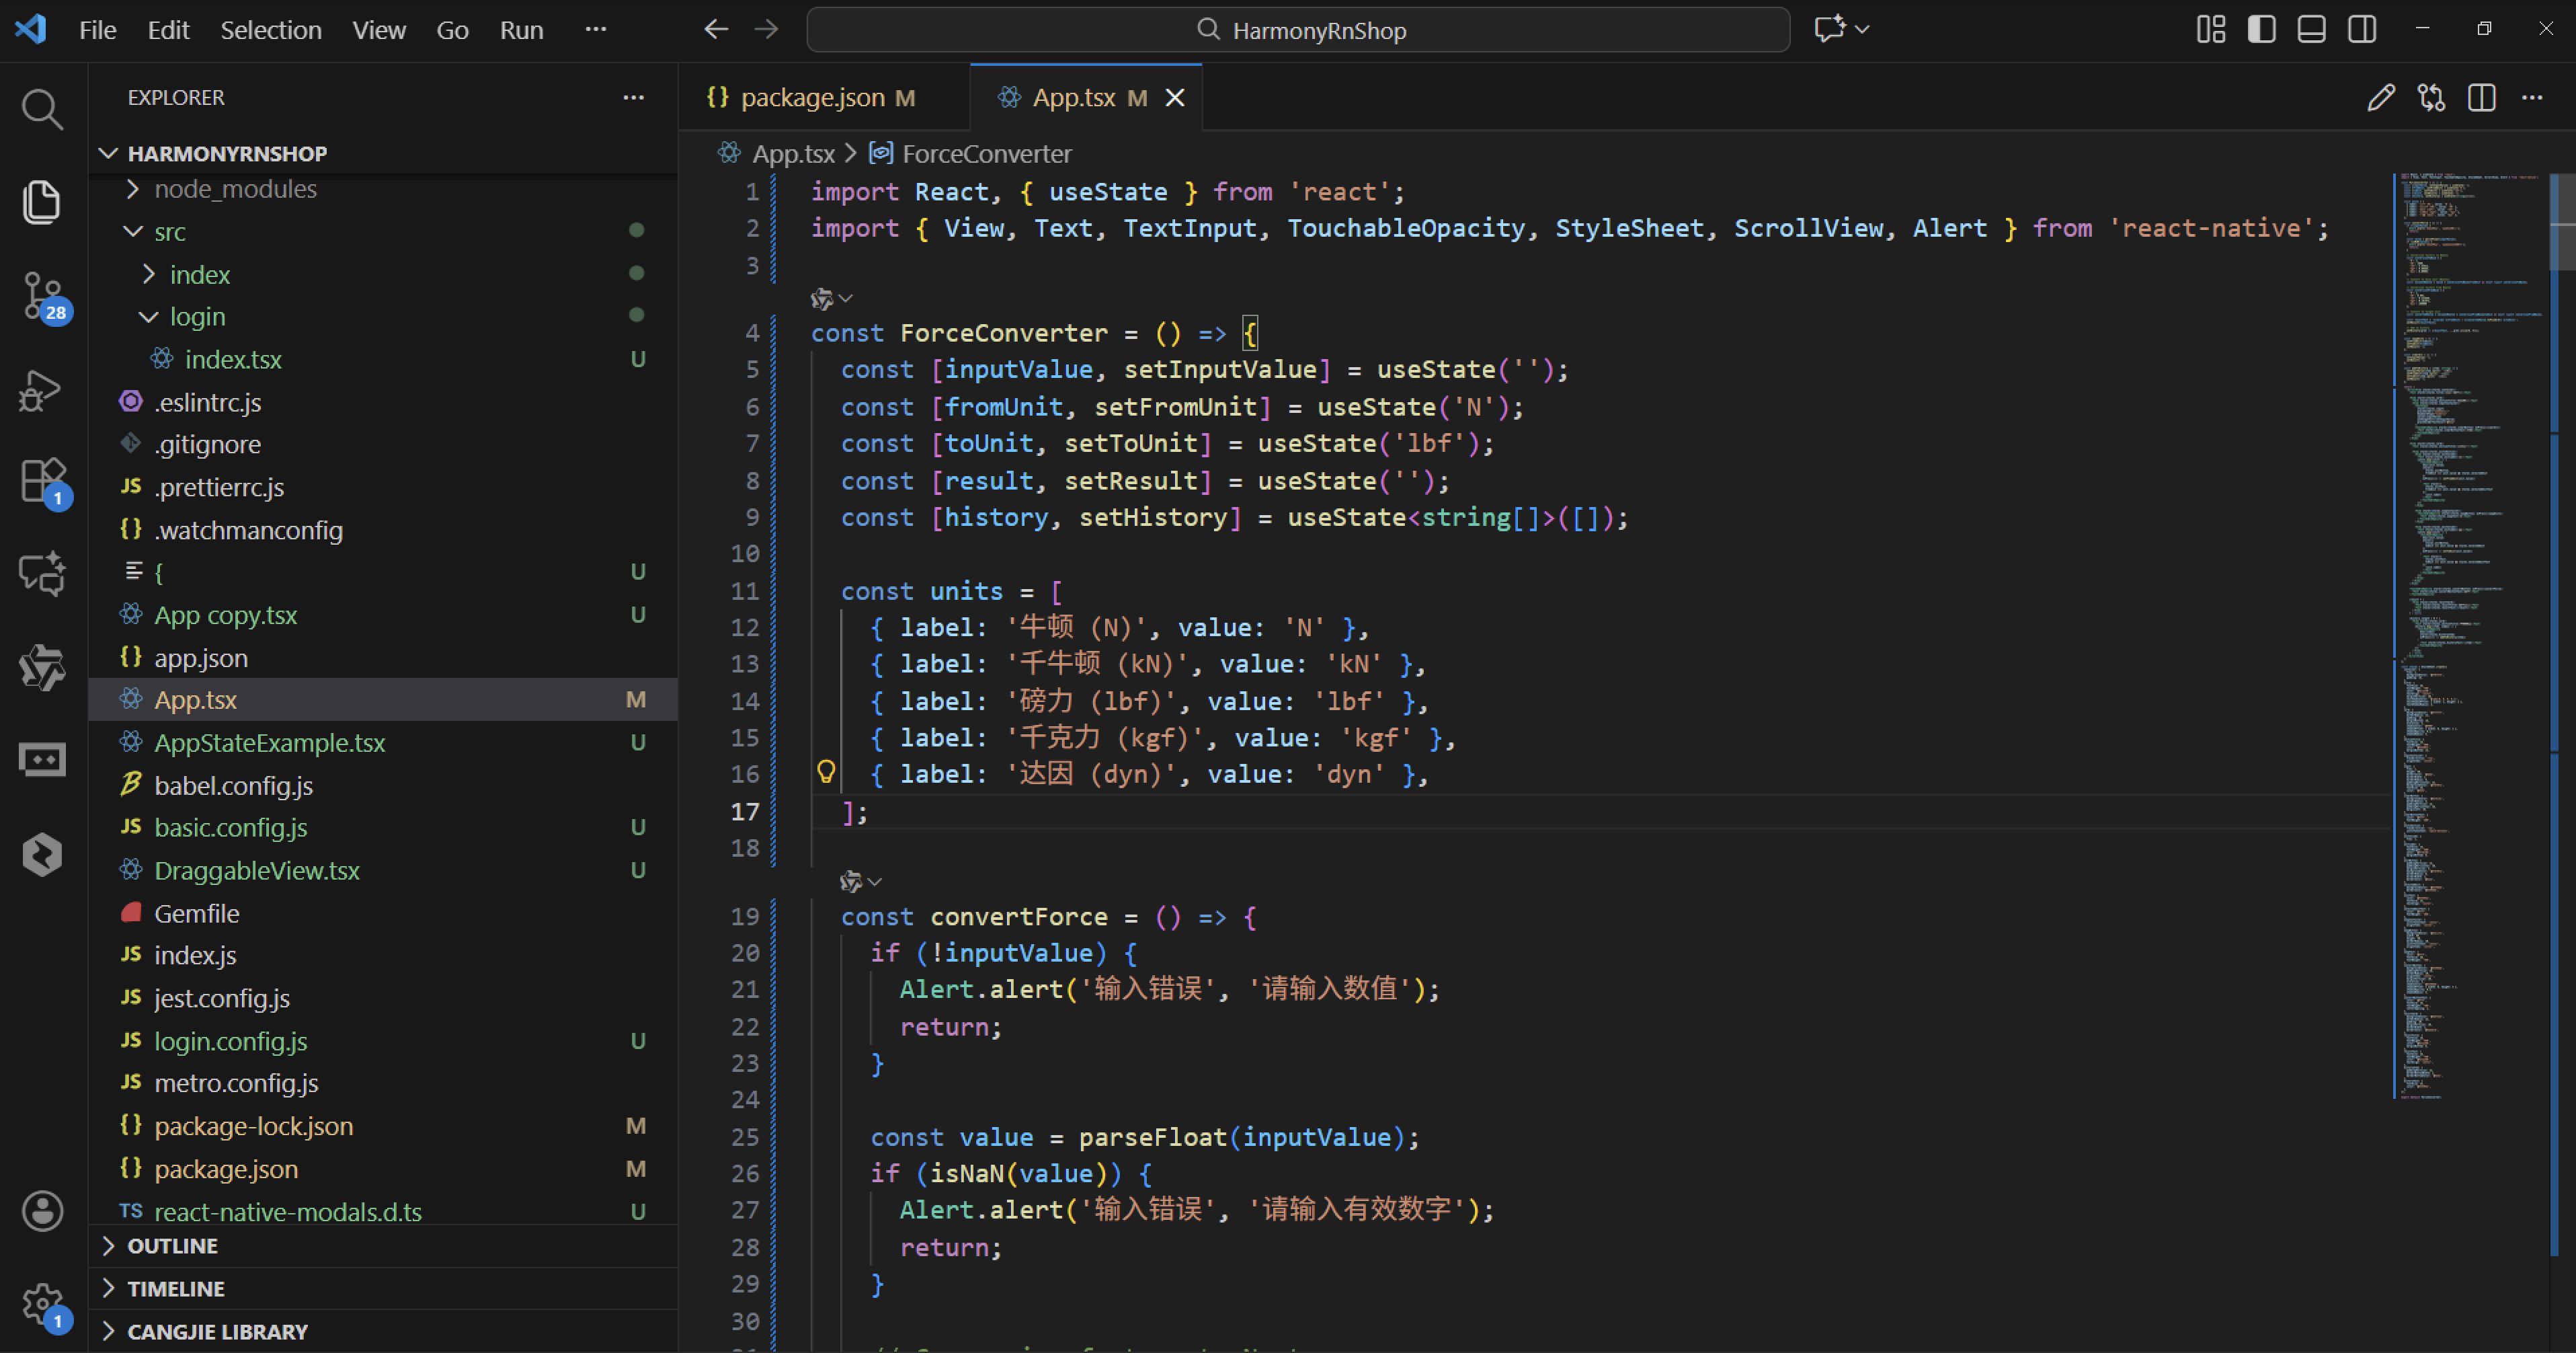
真实项目演示效果:
import React, { useState } from 'react';
import { View, Text, TextInput, TouchableOpacity, StyleSheet, ScrollView, Alert } from 'react-native';

const ForceConverter = () => {
  const [inputValue, setInputValue] = useState('');
  const [fromUnit, setFromUnit] = useState('N');
  const [toUnit, setToUnit] = useState('lbf');
  const [result, setResult] = useState('');
  const [history, setHistory] = useState<string[]>([]);

  const units = [
    { label: '牛顿 (N)', value: 'N' },
    { label: '千牛顿 (kN)', value: 'kN' },
    { label: '磅力 (lbf)', value: 'lbf' },
    { label: '千克力 (kgf)', value: 'kgf' },
    { label: '达因 (dyn)', value: 'dyn' },
  ];

  const convertForce = () => {
    if (!inputValue) {
      Alert.alert('输入错误', '请输入数值');
      return;
    }

    const value = parseFloat(inputValue);
    if (isNaN(value)) {
      Alert.alert('输入错误', '请输入有效数字');
      return;
    }

    // Conversion factors to Newton
    const conversionToBase = {
      'N': 1,
      'kN': 1000,
      'lbf': 4.44822,
      'kgf': 9.80665,
      'dyn': 0.00001
    };

    // Convert to base unit (Newton)
    const valueInNewton = value * conversionToBase[fromUnit as keyof typeof conversionToBase];

    // Conversion factors from Newton
    const conversionFromBase = {
      'N': 1,
      'kN': 0.001,
      'lbf': 0.224809,
      'kgf': 0.101972,
      'dyn': 100000
    };

    // Convert to target unit
    const convertedValue = valueInNewton * conversionFromBase[toUnit as keyof typeof conversionFromBase];

    const resultText = `${value} ${fromUnit} = ${convertedValue.toFixed(6)} ${toUnit}`;
    setResult(resultText);

    // Add to history
    setHistory(prev => [resultText, ...prev.slice(0, 4)]);
  };

  const swapUnits = () => {
    setFromUnit(toUnit);
    setToUnit(fromUnit);
    setResult('');
  };

  const clearAll = () => {
    setInputValue('');
    setResult('');
  };

  const addToHistory = (item: string) => {
    setInputValue(item.split(' ')[0]);
    setFromUnit(item.split(' ')[1]);
    setToUnit(item.split(' ')[3]);
    setResult('');
  };

  return (
    <ScrollView style={styles.container}>
      <Text style={styles.title}>力单位换算器</Text>

      <View style={styles.card}>
        <Text style={styles.sectionTitle}>输入数值</Text>
        <View style={styles.inputContainer}>
          <TextInput
            style={styles.input}
            placeholder="请输入力值"
            keyboardType="numeric"
            value={inputValue}
            onChangeText={setInputValue}
            placeholderTextColor="#aaa"
          />
          <TouchableOpacity style={styles.clearButton} onPress={clearAll}>
            <Text style={styles.clearButtonText}>清除</Text>
          </TouchableOpacity>
        </View>
      </View>

      <View style={styles.card}>
        <Text style={styles.sectionTitle}>选择单位</Text>

        <View style={styles.unitsSection}>
          <View style={styles.unitColumn}>
            <Text style={styles.unitLabel}>从:</Text>
            {units.map((unit) => (
              <TouchableOpacity
                key={unit.value}
                style={[
                  styles.unitButton,
                  fromUnit === unit.value && styles.selectedUnit
                ]}
                onPress={() => setFromUnit(unit.value)}
              >
                <Text style={[
                  styles.unitText,
                  fromUnit === unit.value && styles.selectedUnitText
                ]}>
                  {unit.label}
                </Text>
              </TouchableOpacity>
            ))}
          </View>

          <View style={styles.swapContainer}>
            <TouchableOpacity style={styles.swapButton} onPress={swapUnits}>
              <Text style={styles.swapText}>⇄</Text>
            </TouchableOpacity>
          </View>

          <View style={styles.unitColumn}>
            <Text style={styles.unitLabel}>到:</Text>
            {units.map((unit) => (
              <TouchableOpacity
                key={unit.value}
                style={[
                  styles.unitButton,
                  toUnit === unit.value && styles.selectedUnit
                ]}
                onPress={() => setToUnit(unit.value)}
              >
                <Text style={[
                  styles.unitText,
                  toUnit === unit.value && styles.selectedUnitText
                ]}>
                  {unit.label}
                </Text>
              </TouchableOpacity>
            ))}
          </View>
        </View>
      </View>

      <TouchableOpacity style={styles.convertButton} onPress={convertForce}>
        <Text style={styles.convertButtonText}>换算</Text>
      </TouchableOpacity>

      {result ? (
        <View style={styles.resultCard}>
          <Text style={styles.resultTitle}>换算结果</Text>
          <Text style={styles.resultText}>{result}</Text>
        </View>
      ) : null}

      {history.length > 0 ? (
        <View style={styles.card}>
          <Text style={styles.sectionTitle}>历史记录</Text>
          {history.map((item, index) => (
            <TouchableOpacity
              key={index}
              style={styles.historyItem}
              onPress={() => addToHistory(item)}
            >
              <Text style={styles.historyText}>{item}</Text>
            </TouchableOpacity>
          ))}
        </View>
      ) : null}
    </ScrollView>
  );
};

const styles = StyleSheet.create({
  container: {
    flex: 1,
    backgroundColor: '#f0f2f5',
    padding: 16,
  },
  title: {
    fontSize: 28,
    fontWeight: '700',
    color: '#2c3e50',
    textAlign: 'center',
    marginVertical: 20,
    textShadowColor: 'rgba(0, 0, 0, 0.1)',
    textShadowOffset: { width: 1, height: 1 },
    textShadowRadius: 2,
  },
  card: {
    backgroundColor: '#ffffff',
    borderRadius: 12,
    padding: 16,
    marginBottom: 16,
    elevation: 3,
    shadowColor: '#000',
    shadowOffset: { width: 0, height: 2 },
    shadowOpacity: 0.1,
    shadowRadius: 4,
  },
  sectionTitle: {
    fontSize: 18,
    fontWeight: '600',
    color: '#34495e',
    marginBottom: 12,
  },
  inputContainer: {
    flexDirection: 'row',
    alignItems: 'center',
  },
  input: {
    flex: 1,
    height: 50,
    borderColor: '#ddd',
    borderWidth: 1,
    borderRadius: 8,
    paddingHorizontal: 12,
    backgroundColor: '#f8f9fa',
    fontSize: 16,
    color: '#333',
  },
  clearButton: {
    backgroundColor: '#e74c3c',
    borderRadius: 8,
    paddingVertical: 12,
    paddingHorizontal: 16,
    marginLeft: 10,
  },
  clearButtonText: {
    color: '#fff',
    fontWeight: '600',
  },
  unitsSection: {
    flexDirection: 'row',
    justifyContent: 'space-between',
  },
  unitColumn: {
    flex: 1,
  },
  unitLabel: {
    fontSize: 16,
    fontWeight: '600',
    color: '#7f8c8d',
    marginBottom: 8,
  },
  unitButton: {
    paddingVertical: 12,
    paddingHorizontal: 10,
    marginVertical: 4,
    backgroundColor: '#f8f9fa',
    borderRadius: 8,
    borderWidth: 1,
    borderColor: '#eee',
  },
  selectedUnit: {
    backgroundColor: '#3498db',
    borderColor: '#3498db',
  },
  unitText: {
    color: '#34495e',
    fontSize: 15,
    textAlign: 'center',
  },
  selectedUnitText: {
    color: '#fff',
    fontWeight: '600',
  },
  swapContainer: {
    justifyContent: 'center',
    alignItems: 'center',
  },
  swapButton: {
    backgroundColor: '#2ecc71',
    width: 40,
    height: 40,
    borderRadius: 20,
    justifyContent: 'center',
    alignItems: 'center',
  },
  swapText: {
    color: '#fff',
    fontSize: 20,
    fontWeight: '700',
  },
  convertButton: {
    backgroundColor: '#3498db',
    paddingVertical: 16,
    borderRadius: 10,
    alignItems: 'center',
    marginVertical: 10,
    elevation: 3,
    shadowColor: '#3498db',
    shadowOffset: { width: 0, height: 4 },
    shadowOpacity: 0.3,
    shadowRadius: 5,
  },
  convertButtonText: {
    color: '#fff',
    fontSize: 18,
    fontWeight: '700',
    letterSpacing: 1,
  },
  resultCard: {
    backgroundColor: '#d5f5e3',
    borderRadius: 12,
    padding: 20,
    marginVertical: 10,
    borderWidth: 1,
    borderColor: '#abebc6',
  },
  resultTitle: {
    fontSize: 16,
    fontWeight: '600',
    color: '#27ae60',
    marginBottom: 8,
  },
  resultText: {
    fontSize: 18,
    fontWeight: '700',
    color: '#27ae60',
    textAlign: 'center',
  },
  historyItem: {
    paddingVertical: 12,
    borderBottomWidth: 1,
    borderBottomColor: '#eee',
  },
  historyText: {
    fontSize: 14,
    color: '#34495e',
  },
});

export default ForceConverter;
这段React Native力单位转换器代码展现了一个高度完善的工程化组件架构,其设计哲学体现了现代前端开发中状态管理、算法设计和用户体验优化的深度结合。
从组件状态管理的角度来看,代码采用了React Hooks的设计模式,通过useState钩子定义了四个关键状态变量。输入数值状态负责捕获用户的键盘输入信息,其字符串类型的设计既保证了输入兼容性,又为后续验证提供了基础。源单位和目标单位状态不仅定义了转换的起点和终点,更重要的是通过交换功能实现了双向转换的便捷操作。结果状态存储当前计算输出,而历史记录状态则通过数组形式维护了用户的查询历史。这种状态分离的设计哲学不仅使得代码逻辑更加清晰,更重要的是为后续的功能扩展提供了良好的基础框架。
转换算法的核心架构采用了中介基准单位的转换策略,选择牛顿作为统一的转换基准。这种设计思想的巧妙之处在于将复杂的多对多转换关系简化为多个一对一的转换关系。conversionToBase和conversionFromBase这两个转换系数对象构成了转换逻辑的数学基础。每个单位只需要定义与牛顿之间的转换系数,就能实现任意两个单位之间的互转。这种架构避免了维护所有单位之间两两转换关系的复杂度,使得新增单位时只需要添加该单位与牛顿的转换关系即可。
在转换系数的数学设计上,不同力单位体系的内在联系得到了精确表达。牛顿作为国际单位制中的标准力单位,与千牛顿之间的转换关系直接反映了十进制体系的简洁性。磅力、千克力、达因等单位的转换系数则体现了各自的历史定义和物理含义。例如,磅力与牛顿的4.44822倍转换系数反映了英制单位体系与公制单位体系之间的精确换算关系。千克力与牛顿的9.80665倍转换系数正是标准重力加速度的数值,这种精确的数值定义确保了转换的科学准确性。
用户交互功能的设计体现了对操作便捷性的深度关注。单位交换功能通过swapUnits函数实现,这个函数同时更新源单位和目标单位状态,并清空当前结果,为用户提供了重新计算的明确起点。这种设计哲学反映了现代交互设计中"减少用户认知负荷"的重要原则。
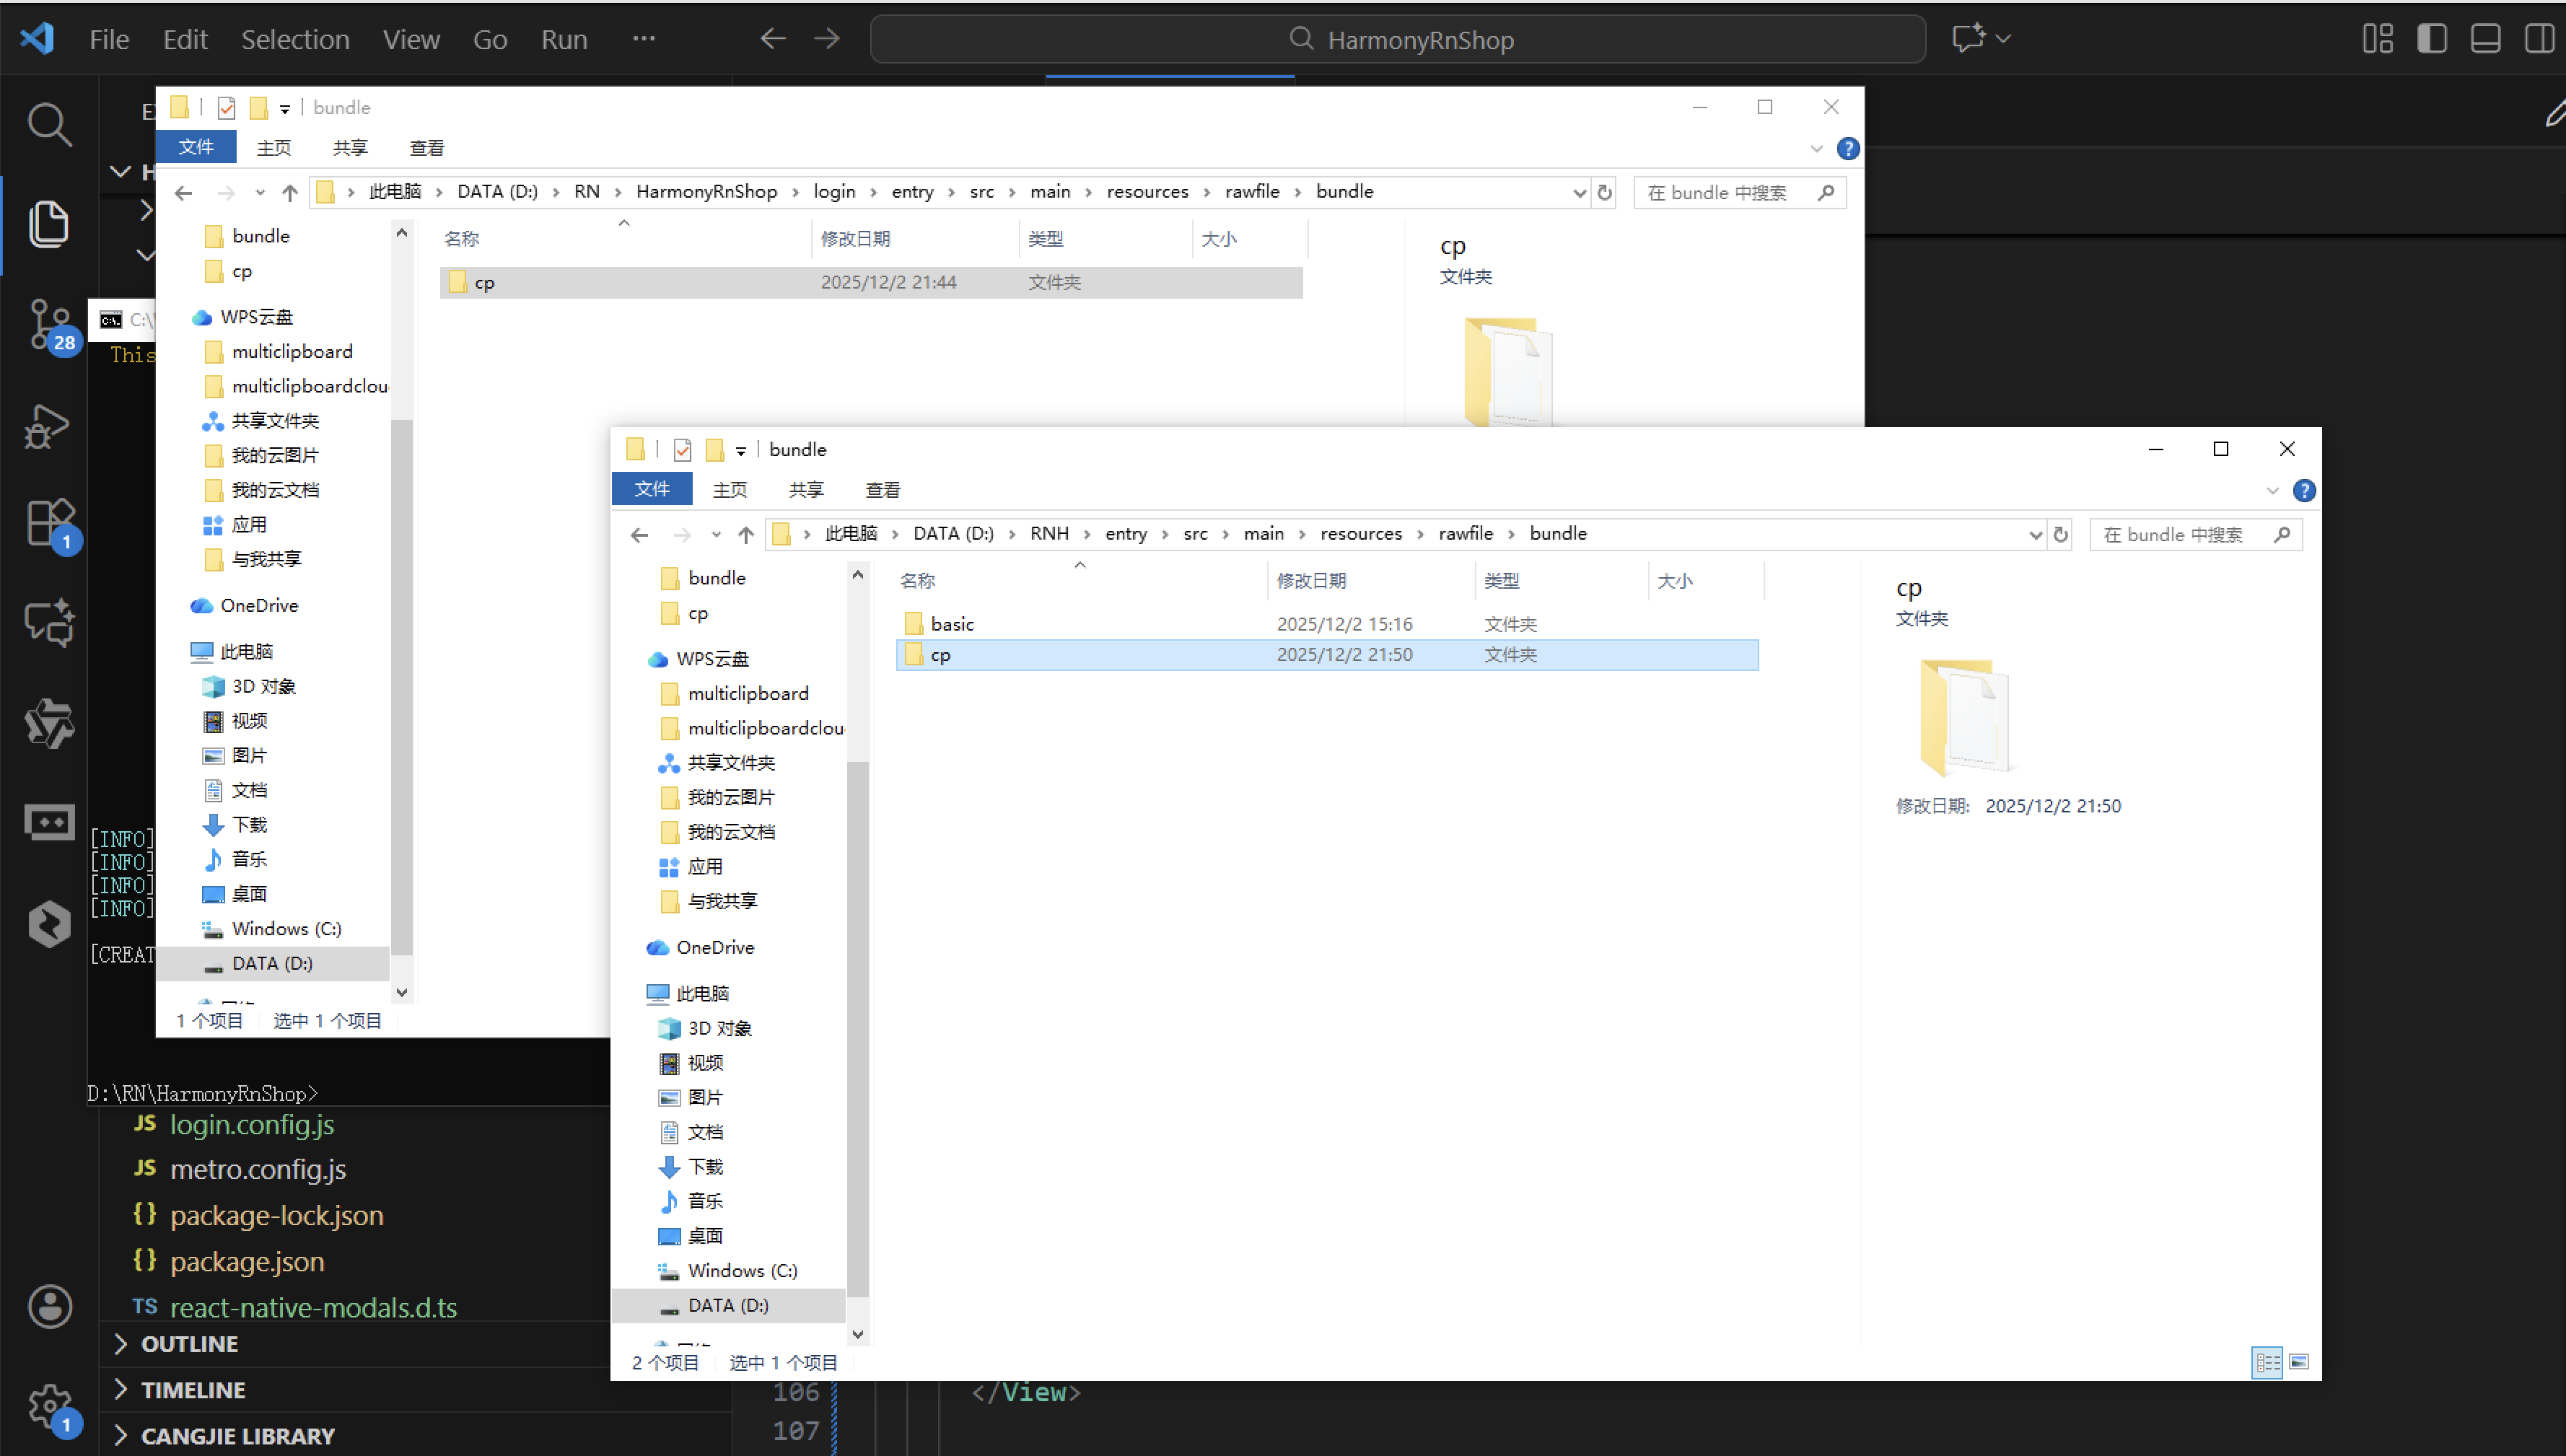
打包
接下来通过打包命令npn run harmony将reactNative的代码打包成为bundle,这样可以进行在开源鸿蒙OpenHarmony中进行使用。

打包之后再将打包后的鸿蒙OpenHarmony文件拷贝到鸿蒙的DevEco-Studio工程目录去:
最后运行效果图如下显示:
欢迎大家加入开源鸿蒙跨平台开发者社区,一起共建开源鸿蒙跨平台生态。

开源鸿蒙跨平台开发社区汇聚开发者与厂商,共建“一次开发,多端部署”的开源生态,致力于降低跨端开发门槛,推动万物智联创新。
更多推荐
 17
17 0
0- 0


 已为社区贡献24条内容

所有评论(0)